

How To Take Good Pictures On Iphone 8
Are you struggling to take beautiful photos with your iPhone 8 Plus camera? Capturing incredible iPhone images can seem difficult, but it's actually easy to get the hang of. In this article, you'll learn how to effortlessly operate your iPhone 8 Plus camera. And you'll come away with the ability to take jaw-dropping iPhone photos that will satisfy you for years to come.
Table Of Contents: iPhone 8 Plus Camera Features
Click any title link below to go straight to that section of the article:
1. Quickly Open The Camera For Fast Photography
2. Activate The Gridlines For Well-Composed Photos
3. Use The Volume Controls To Take Photos Unobtrusively
4. Pick a Shooting Mode To Create The Best Photos
5. Turn On Portrait Mode For Beautiful Portrait Shots
6. Focus Manually For Tack Sharp Images
7. Expose Manually To Capture Perfect Detail
8. Activate HDR For Shooting High-Contrast Scenes
9. Use The Telephoto Lens To Get Closer To Your Subjects
10. Turn On Live Photos To Record Special Moments In Time
11. Use The Self-Timer For Hands Free Shooting
12. Use Burst Mode For Unbelievable Action Shots
13. How Does iPhone 8 Plus Camera Compare To Other iPhones?
1. Quickly Open The Camera For Fast Photography
Do you fail to capture beautiful photographs because you can't get your iPhone camera app open fast enough? If so, you don't have to worry any longer. Because there are actually three fast ways you can open your iPhone 8 Plus camera.
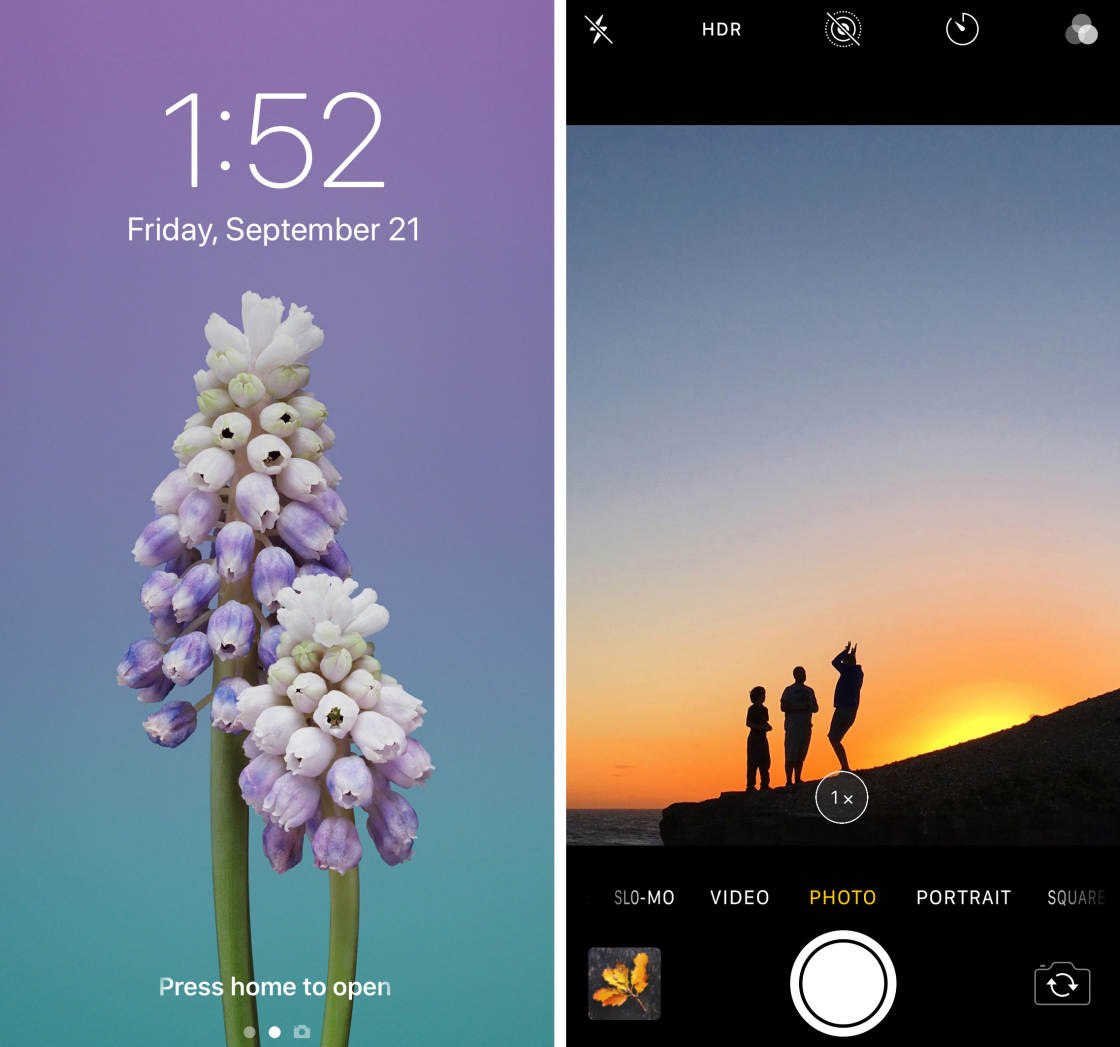
First, you can quickly open your camera from the lock screen—without even entering your passcode.
Press the power button or the Home button to reach the iPhone 8+ lock screen. Then swipe left. The camera will spring open, ready for action. This is a fantastic way to get those split-second, once-in-a-lifetime shots.
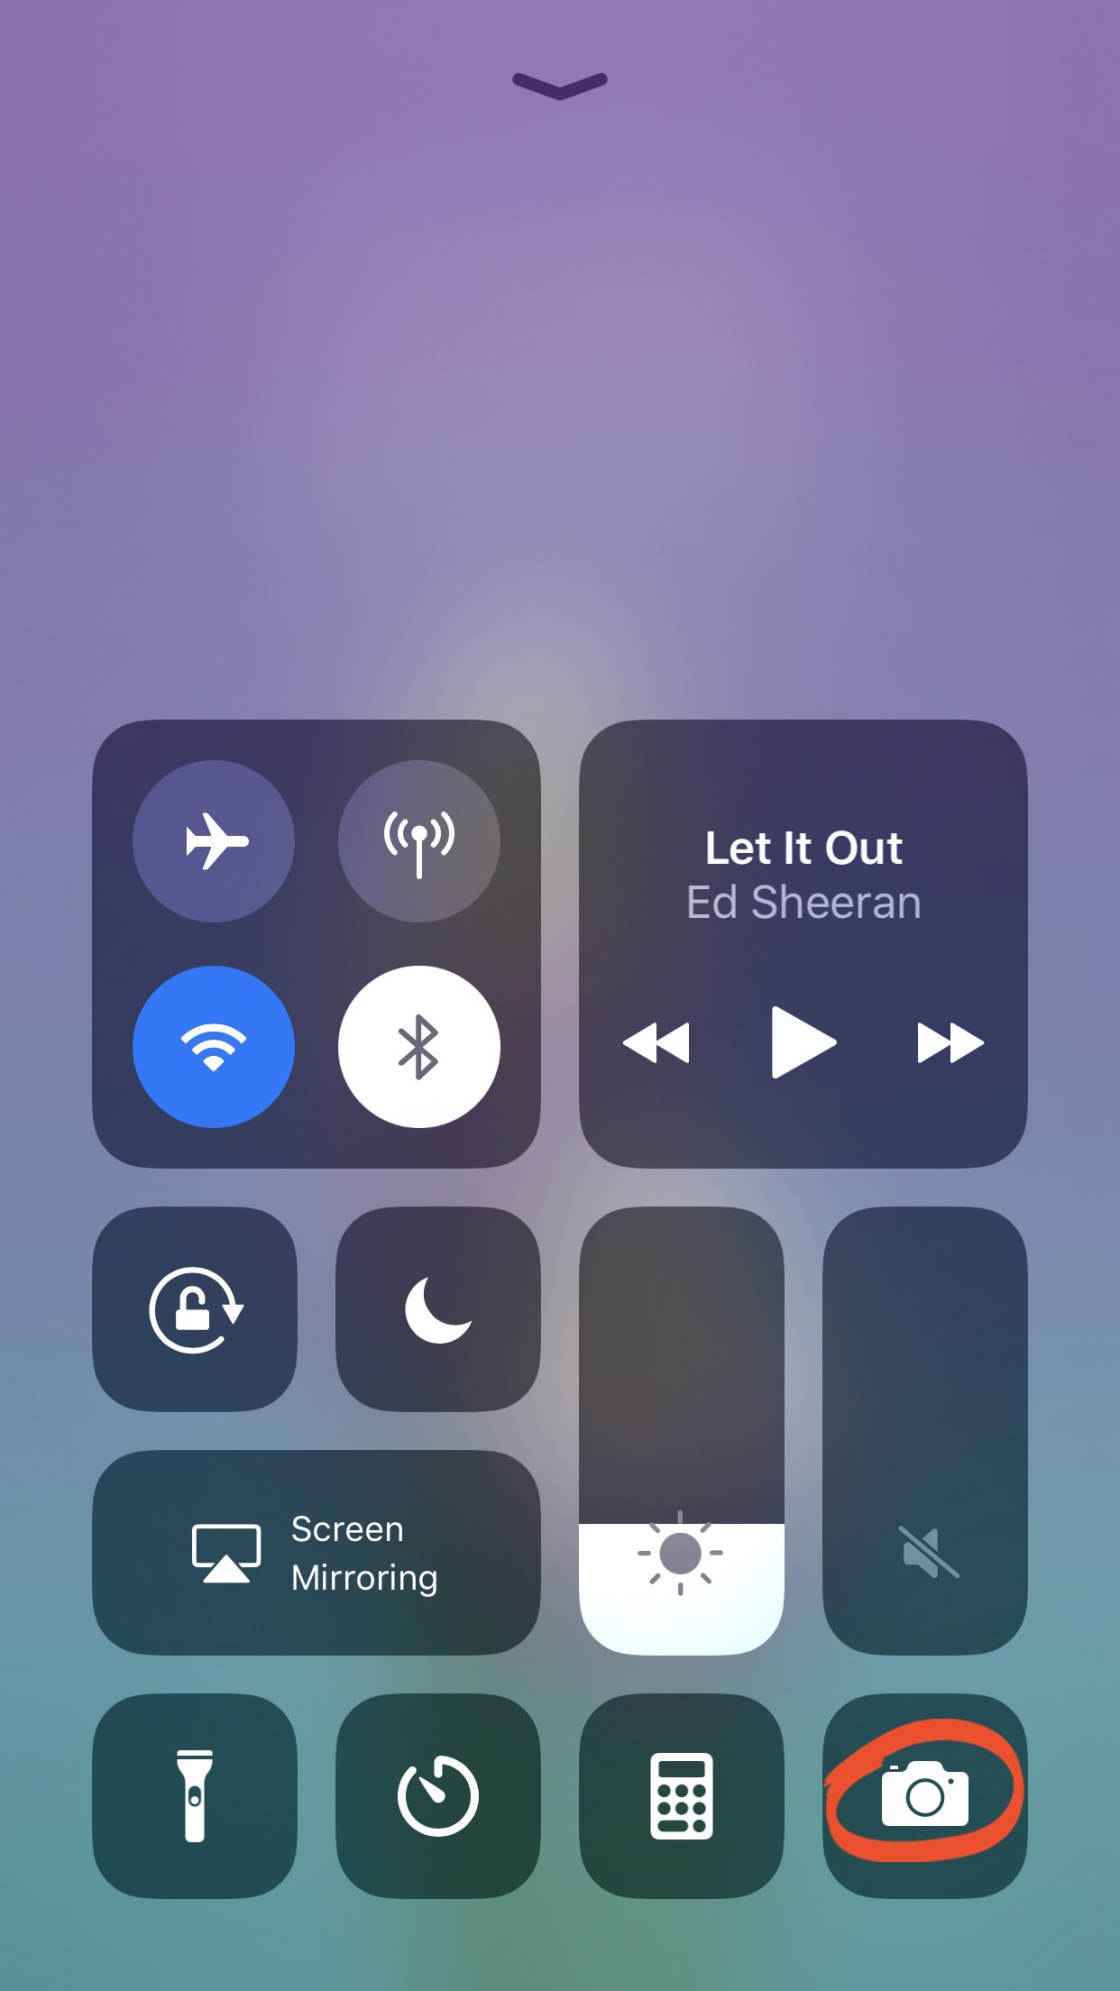
Second, you can open the camera from the Control Center.
Access the Control Center on your iPhone by swiping up from the bottom edge of the screen. A set of icons will slide upward—this is the Control Center. Look for the Camera icon in the bottom right-hand corner. Select the icon to open the iPhone camera.
Does it matter how your iPhone screen is being used at the time (e.g., whether it's on the lock screen, on Netflix, etc.)? Fortunately, no! You can pull up the Control Center no matter how you're using your iPhone.
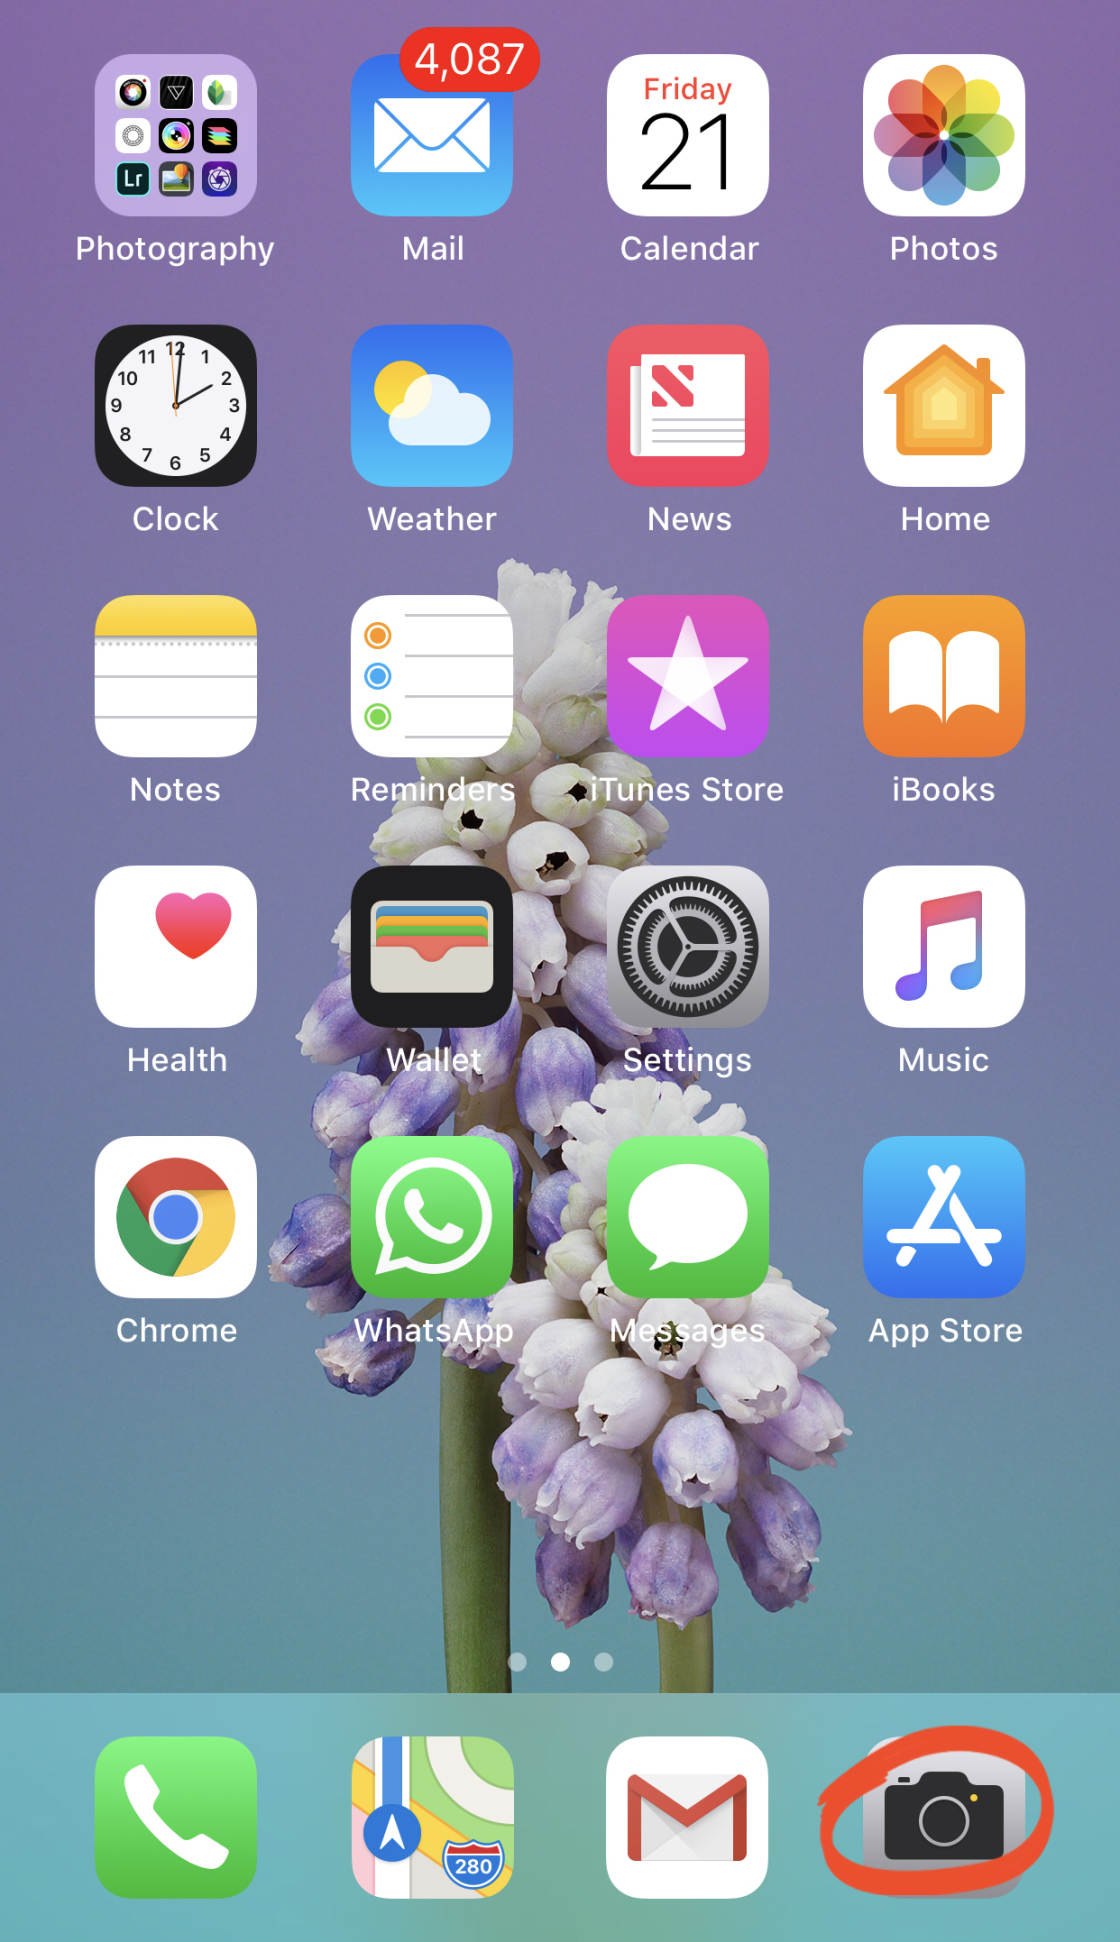
Third, you can open your iPhone camera the classic way: from the Camera icon on the Home screen. Simply tap the icon to access the Camera app. To do this quickly, I recommend placing your Camera icon in the dock at the bottom of the Home screen.
How do you place your camera in the dock?
It's quite simple! Tap and hold any Home screen icon. After a moment, the icons will begin to jiggle. Drag the Camera icon down to the dock.
Finally, press the Home button to stop the icons from shaking.
Now you know three speedy ways to open the camera on iPhone 8 Plus. You won't struggle to get those spur-of-the-moment shots any longer. You'll be able to open your iPhone camera quickly—and the results will show in your photos!
2. Activate The Gridlines For Well-Composed Photos
Do you want to instantly improve your compositions? Then use the camera gridlines.
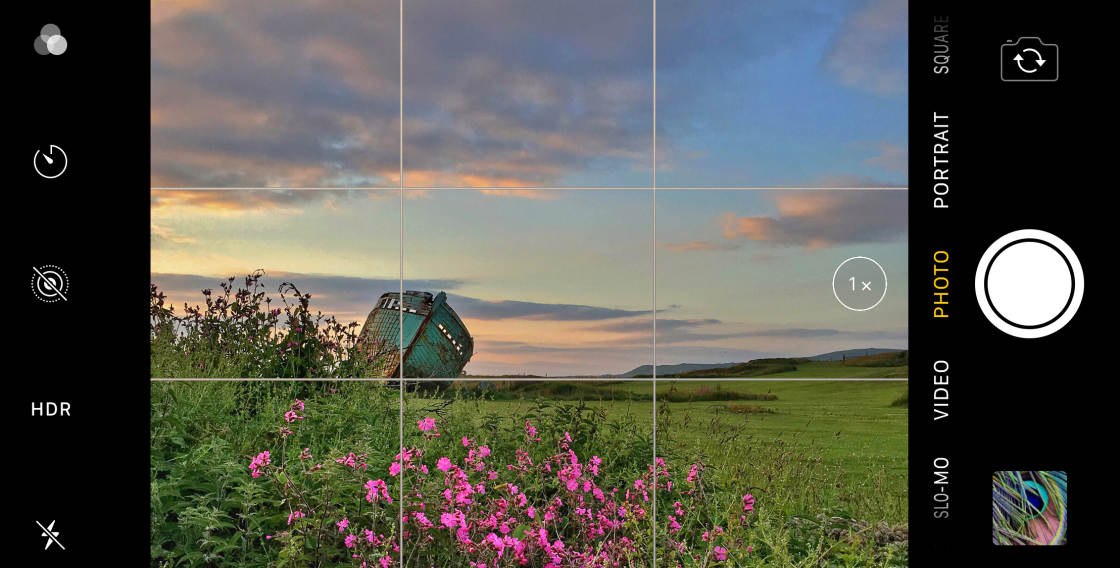
The camera gridlines are a set of lines that split the screen into thirds, as shown below.
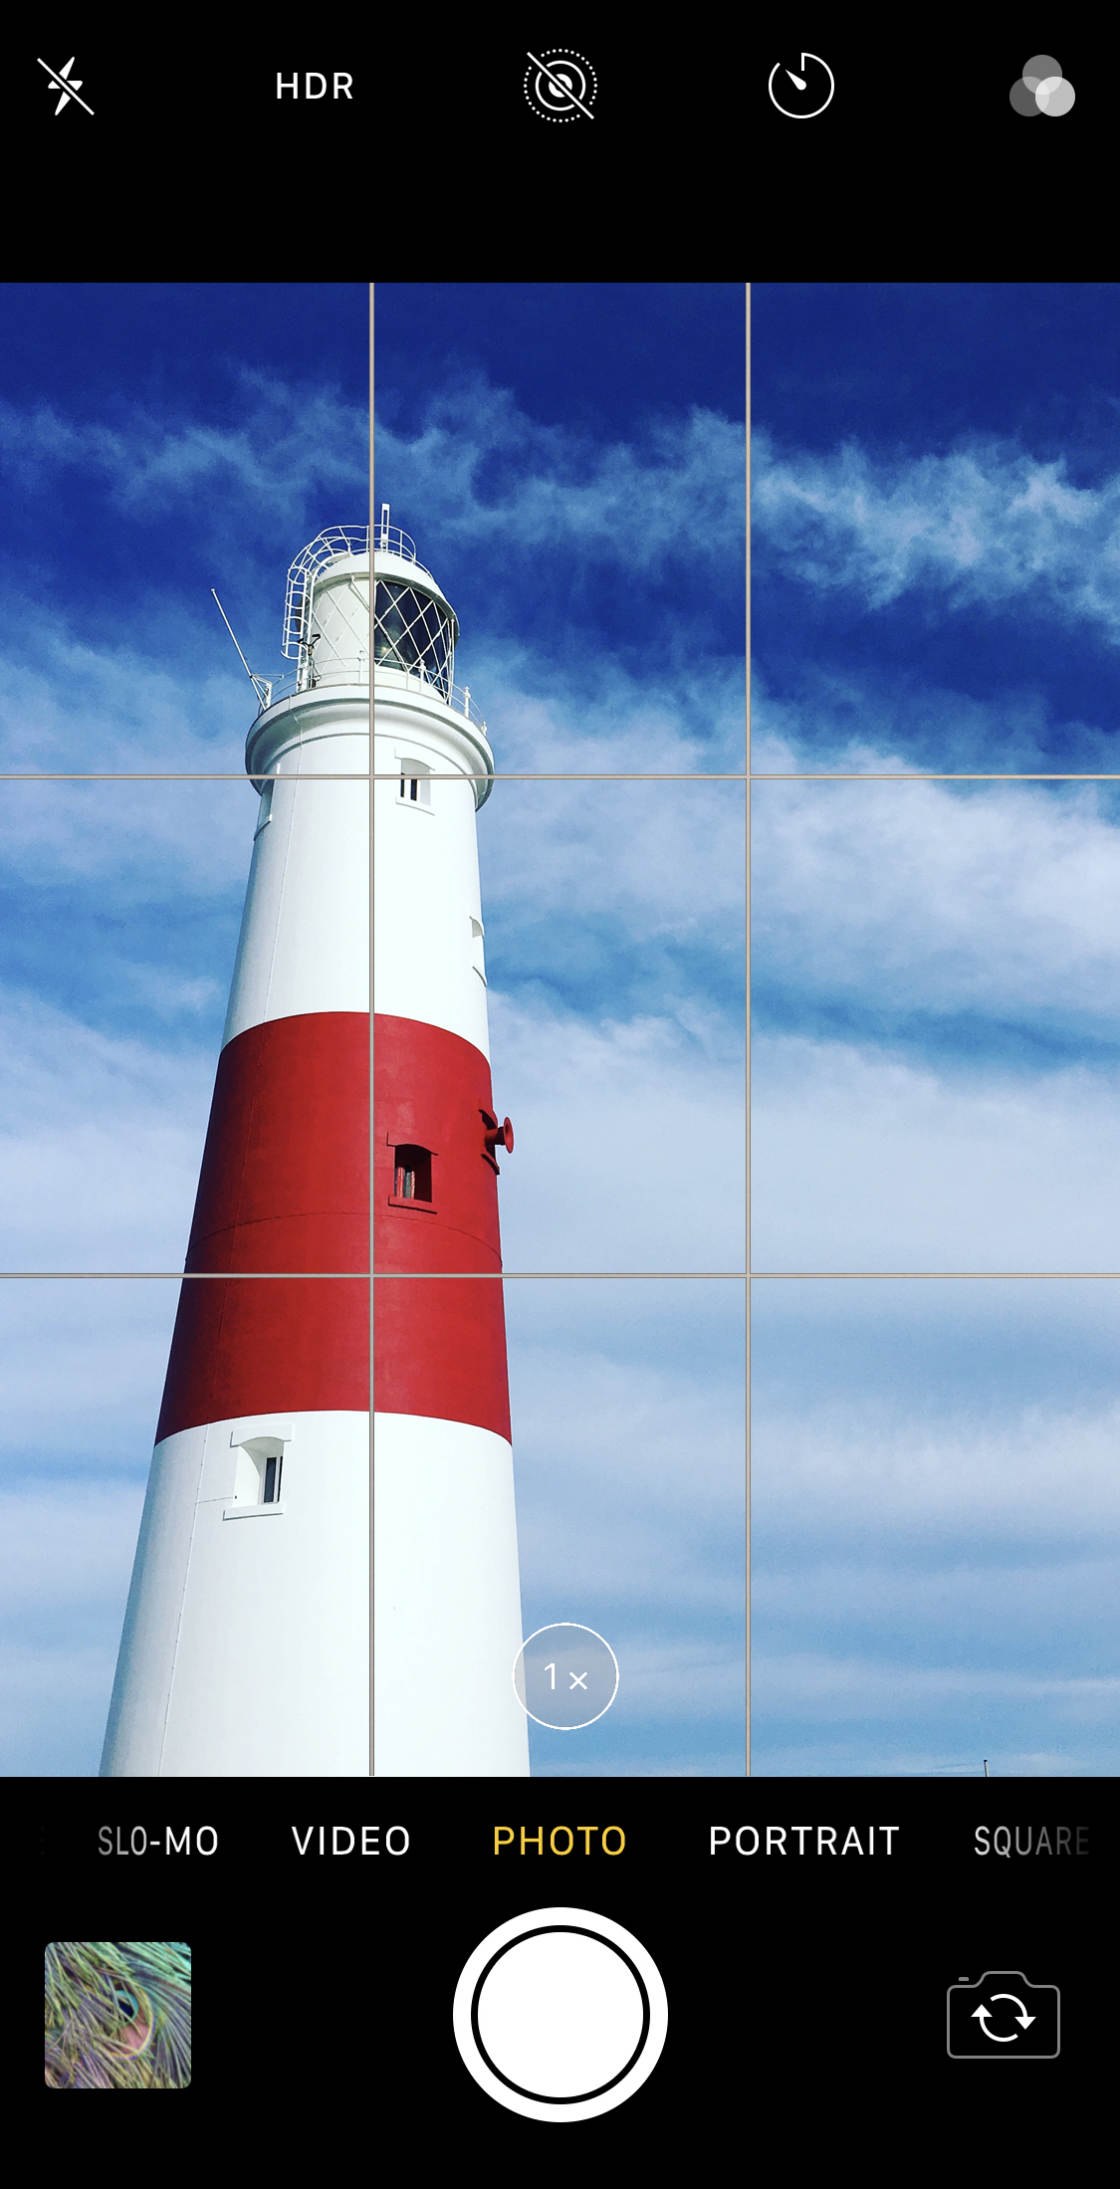
Camera gridlines allow you to effortlessly use the rule of thirds, a fundamental composition principle. The rule of thirds helps you create stronger, more impactful images.
According to the rule of thirds, it is best to place your horizon lines along one of the gridlines. The same goes for your main subject: place it along one of the gridlines. If you can place your subject at the intersection of two lines (known as junction points), even better!
But how do you activate the gridlines?
To turn on the gridlines, select the Settings icon on the Home screen. Scroll down and press Camera. Then select the Grid option.
That's it! Now you'll be able to effortlessly use the rule of thirds in your photos. And your compositions will immediately improve.
To create more pleasing images, align your subjects with the gridlines and junction points. Activating the gridlines will help you do this—and you'll really take your compositions to the next level.
3. Use The Volume Controls To Take Photos Unobtrusively
Do you sometimes wish you could take photos without attracting attention?
If so, you're going to love this trick. You see, there are actually two simple ways that you can take photos with your iPhone 8 Plus camera—without even touching the shutter button!
Make sure that you have the Camera app open. Then press either of the volume buttons on the side of your iPhone to take a photo.
You can also take a photo with the built-in volume controls on your Apple headphones. First, plug your headphones into the iPhone. You need non-wireless headphones, which come with your iPhone 8 Plus. Then press either the volume up or volume down button to take a photo.
This trick is fantastic when you're taking photos of strangers, or even of people who are camera-shy. If you're taking photos in public, you can pretend that you're casually listening to music—when you're actually snapping beautiful photographs!
By using the volume controls to trip the shutter, you will be able to remain unnoticed by everyone around you. You'll be able to take photos quietly and unobtrusively. You'll be invisible, but your photos will be stunning.
4. Pick a Shooting Mode To Create The Best Photos
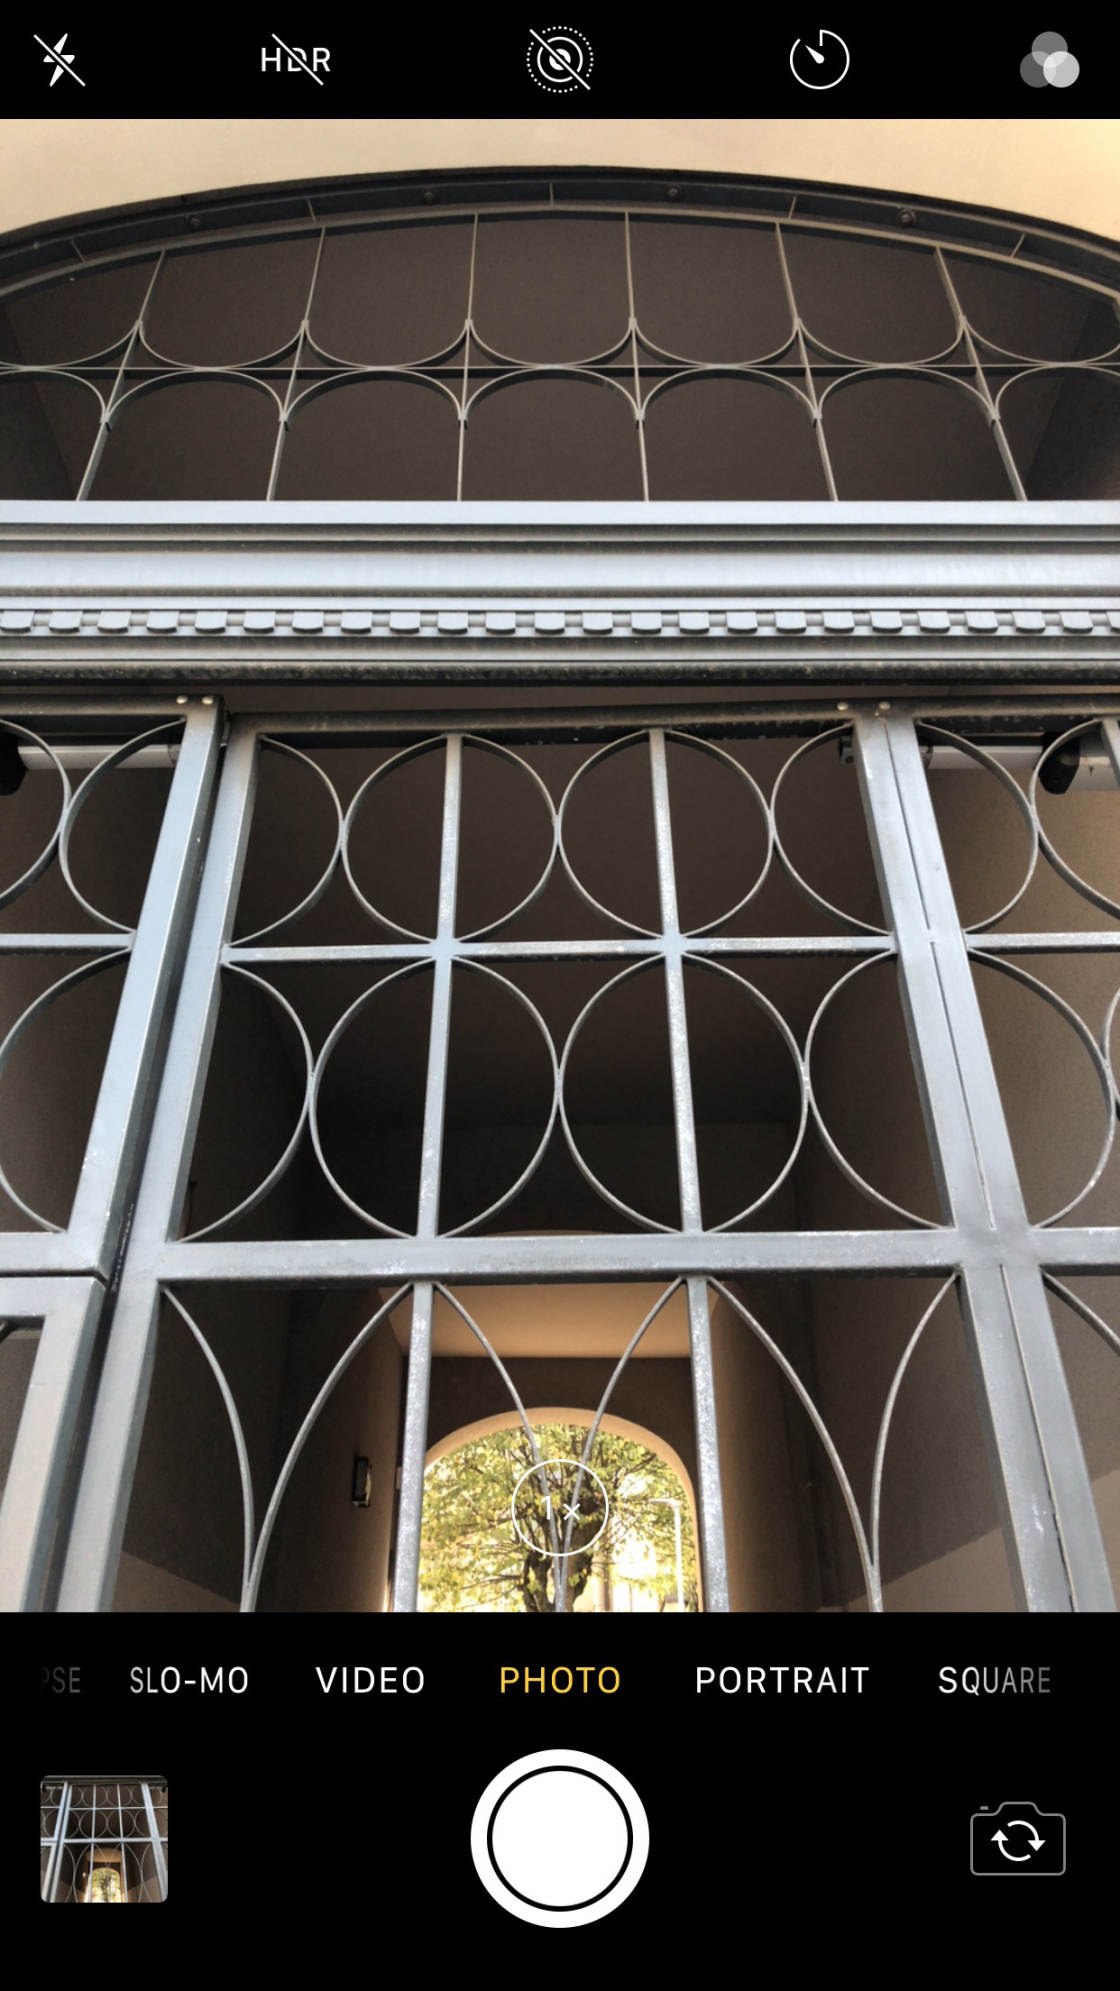
The number of iPhone 8 Plus shooting modes can seem overwhelming. You open the camera, and you see a whole slew of options across the bottom: Photo, Portrait, Square, Pano, etc. But what do they all mean? And how do you choose which one to use for beautiful iPhone 8 Plus photography?
I have good news for you: 95% of the time, you can keep your camera set to Photo mode, and you'll be able to capture stunning images. This should be your go-to camera mode.
But what about the other modes? How do you use them to take stunning images?
Square mode crops the field of view so that you can take square photos. This can be great for composing images, especially more abstract images.
However, it's generally best to work in Photo mode and simply crop your photo into a square later. This is because Square mode decreases resolution by cropping the photo ahead of time, and this change is irreversible.
Time-Lapse mode allows you to record a special type of video with your iPhone camera. It takes a series of photos over a period of time and creates a video. When you play it back, you'll see a scene changing over time. This can be great when you want to capture a video of a subtly changing scene.
Pano mode allows you to take beautiful panoramic shots. This is extremely useful for photographing very wide or very tall scenes.
To shoot a panorama, set your iPhone to Pano mode. Then press the shutter button.
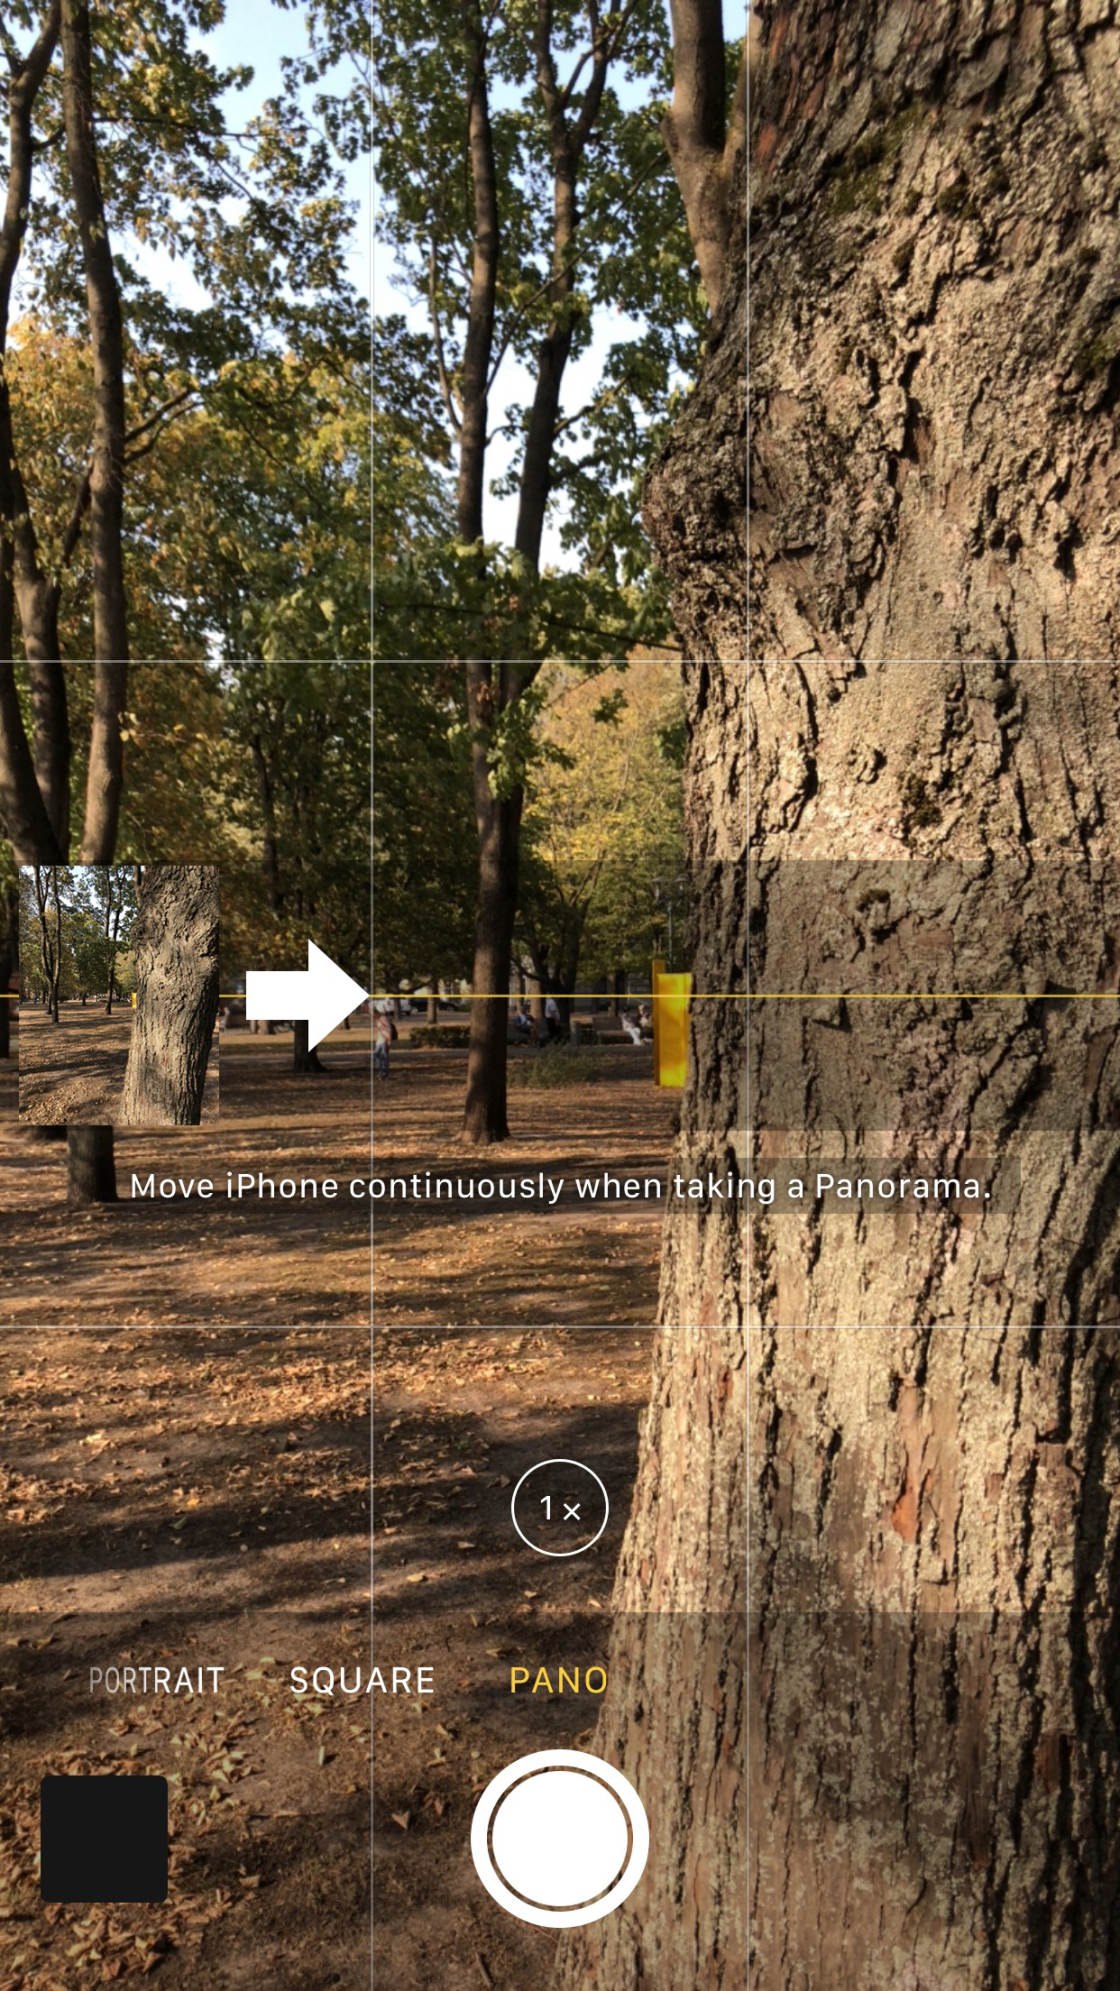
Once you have released the shutter, you have only begun to take your panorama photograph. Smoothly pan your iPhone across the scene, following the on-screen instructions. To finish your panorama, simply press the shutter button again.
Video mode allows you to take high-quality videos with your iPhone. Once you are in Video mode, press the shutter button. To finish recording video, press the shutter button again.
Slo-Mo allows you to take slow motion videos. Simply press the shutter button to begin recording, and then again when you're ready to stop. This creates a video that plays in slow motion. Try it for a fun effect!
Finally, the last camera mode is Portrait mode.
This mode is designed to take high-end portrait images. I'll explain how in the next section…
5. Turn On Portrait Mode For Beautiful Portrait Shots
iPhone Portrait mode takes incredible, high-quality portrait photos.
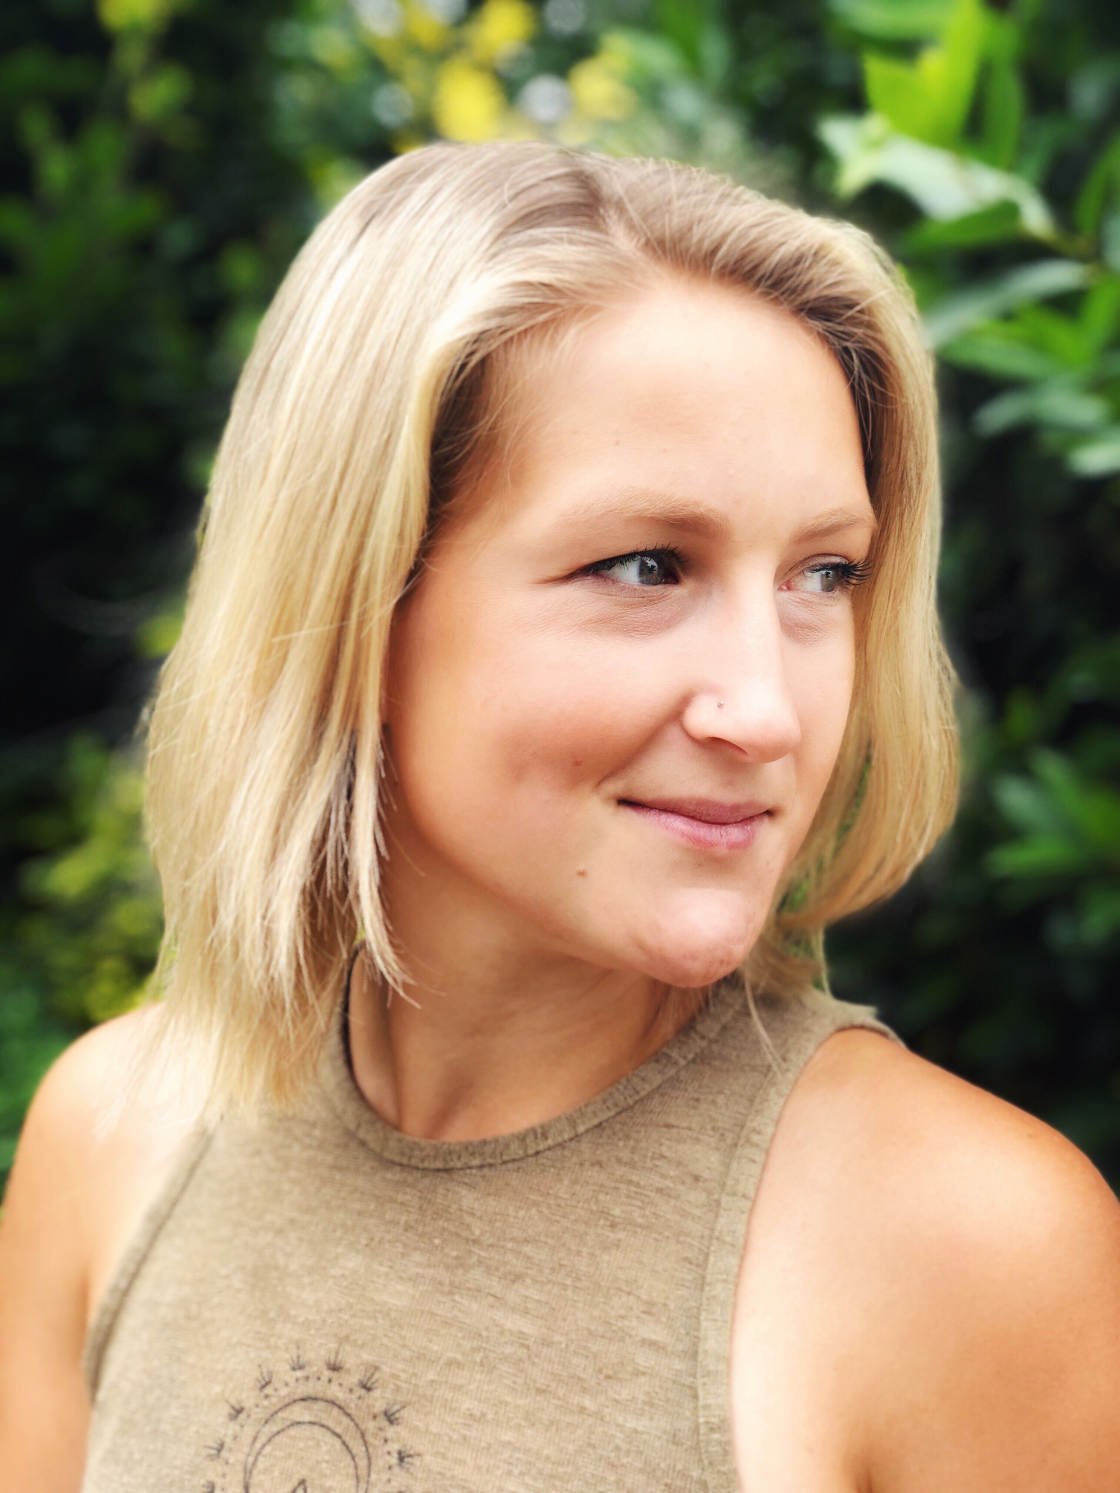
When you take a photo in Portrait mode, Apple's software blurs the background. This allows your subject to really pop off the screen—and gets you photos that look like they came from a high-end DSLR camera.
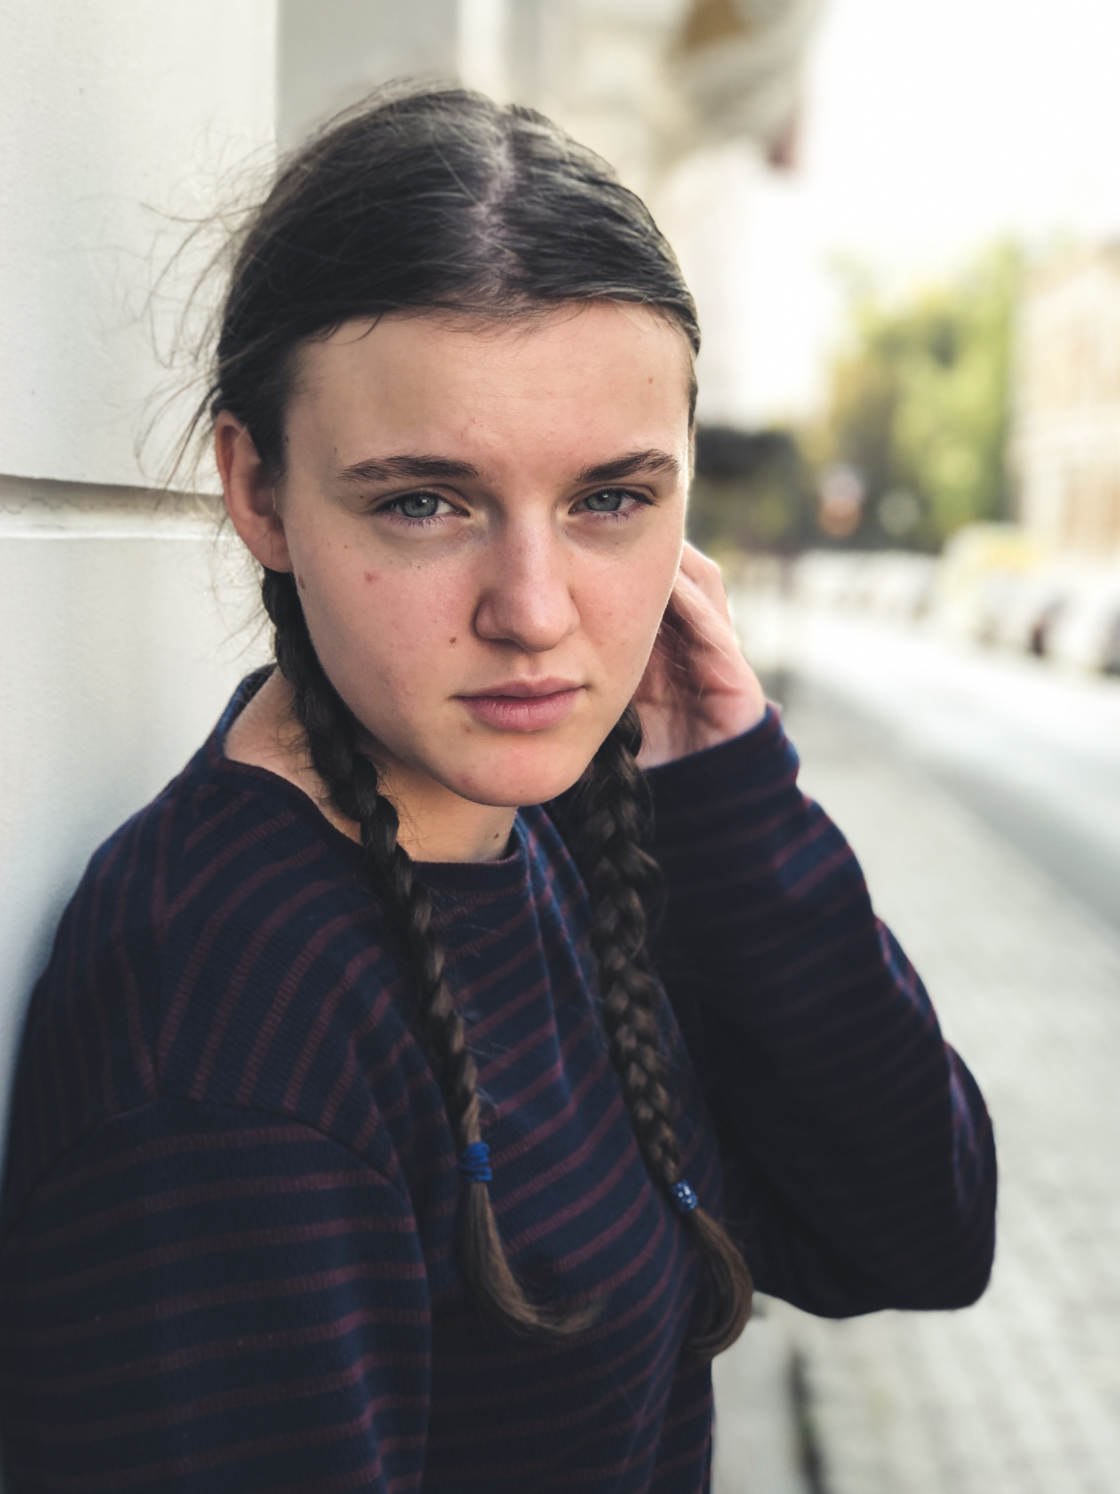
To use Portrait mode, your main subject must be less than eight feet away and no closer than two feet. Make sure that you position your subject so that they fall within this range.
Before you take your shot, you can select a Portrait Lighting option if you wish. However, you can also set Portrait Lighting after taking a picture (you'll learn how to do this at the end of this section).
Portrait Lighting allows you to apply different studio 'lighting' effects to your photo—all by using the camera software!

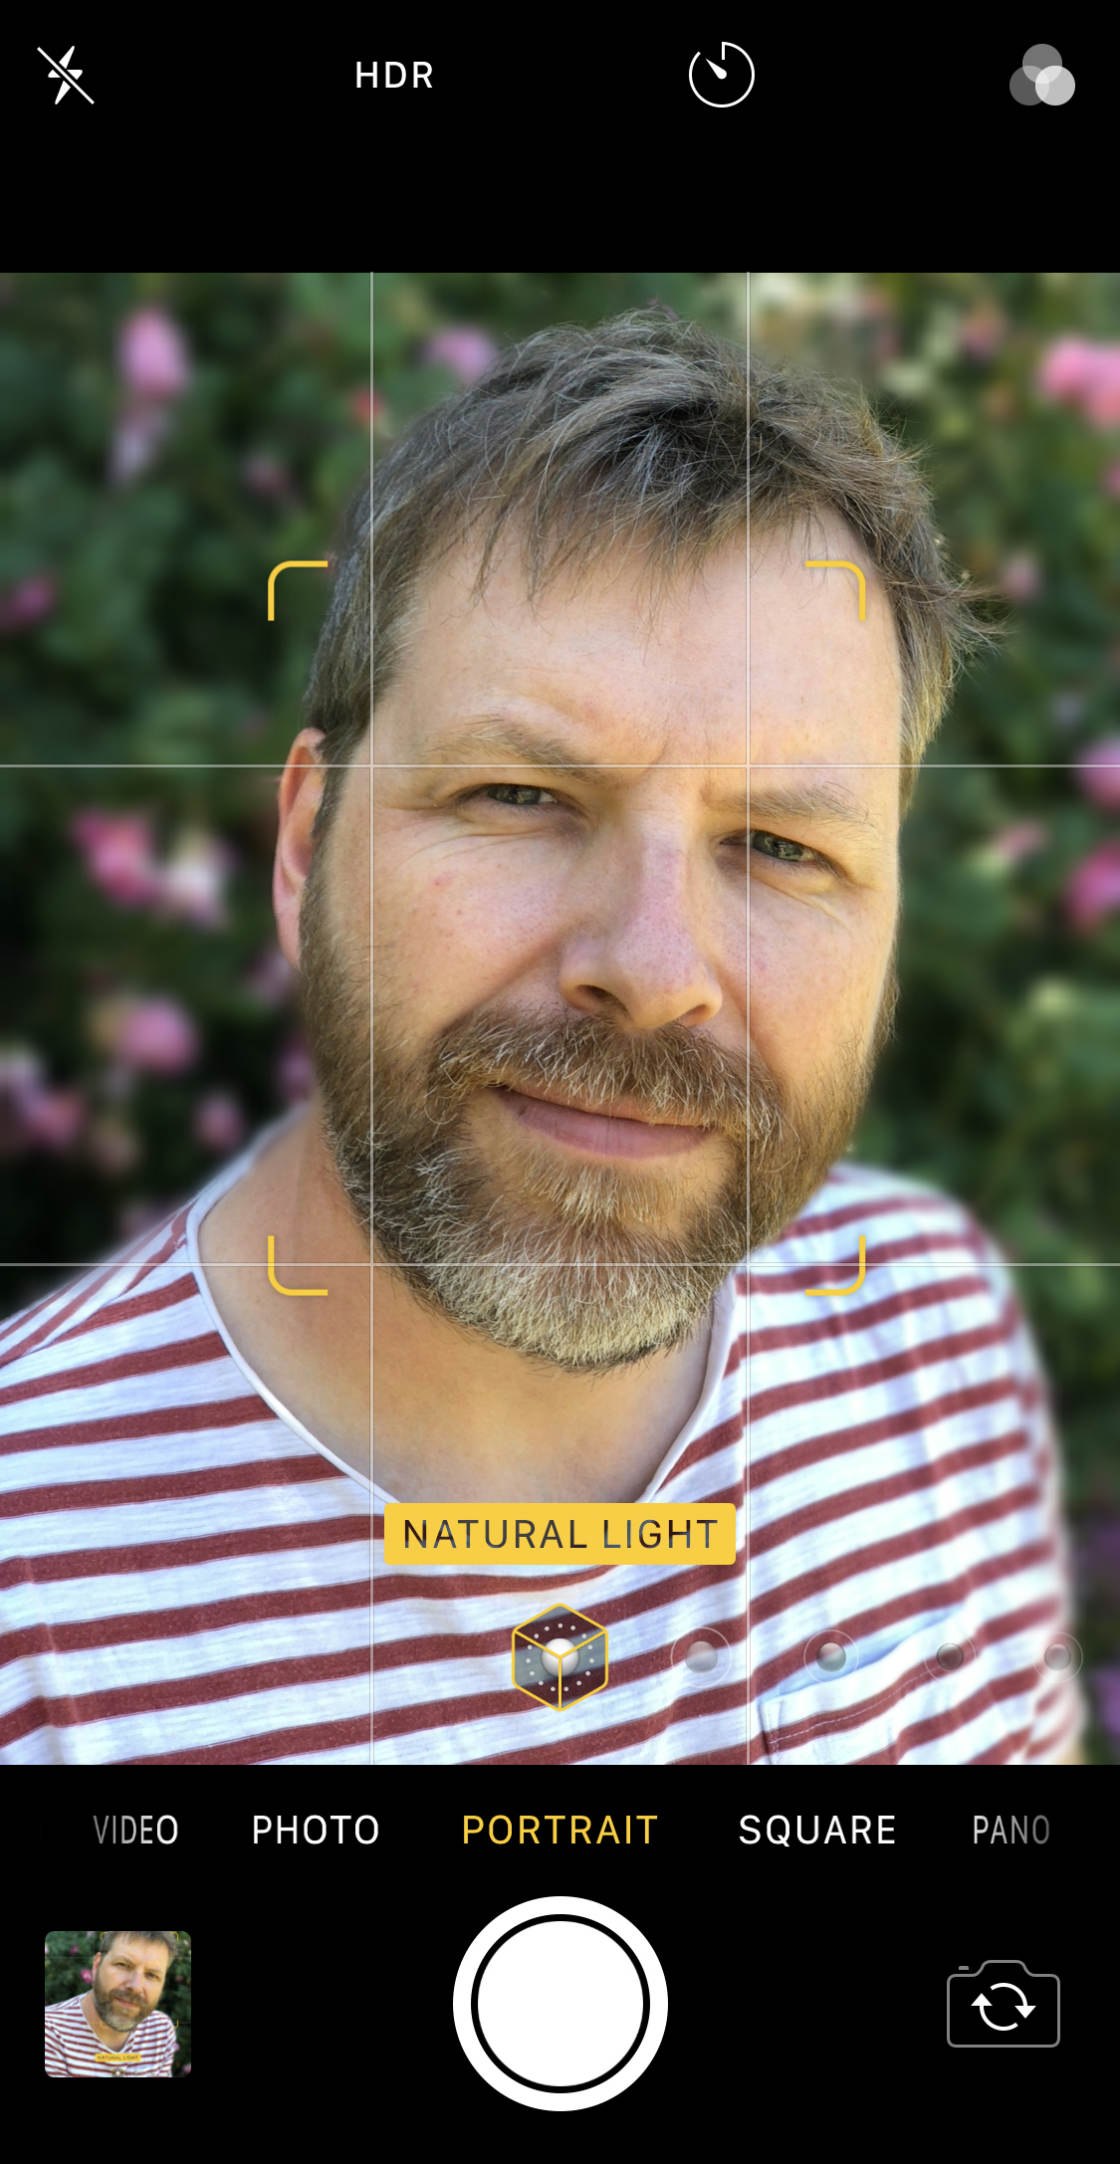
To select a Portrait Lighting option, swipe across the cube icons near the bottom of the screen.
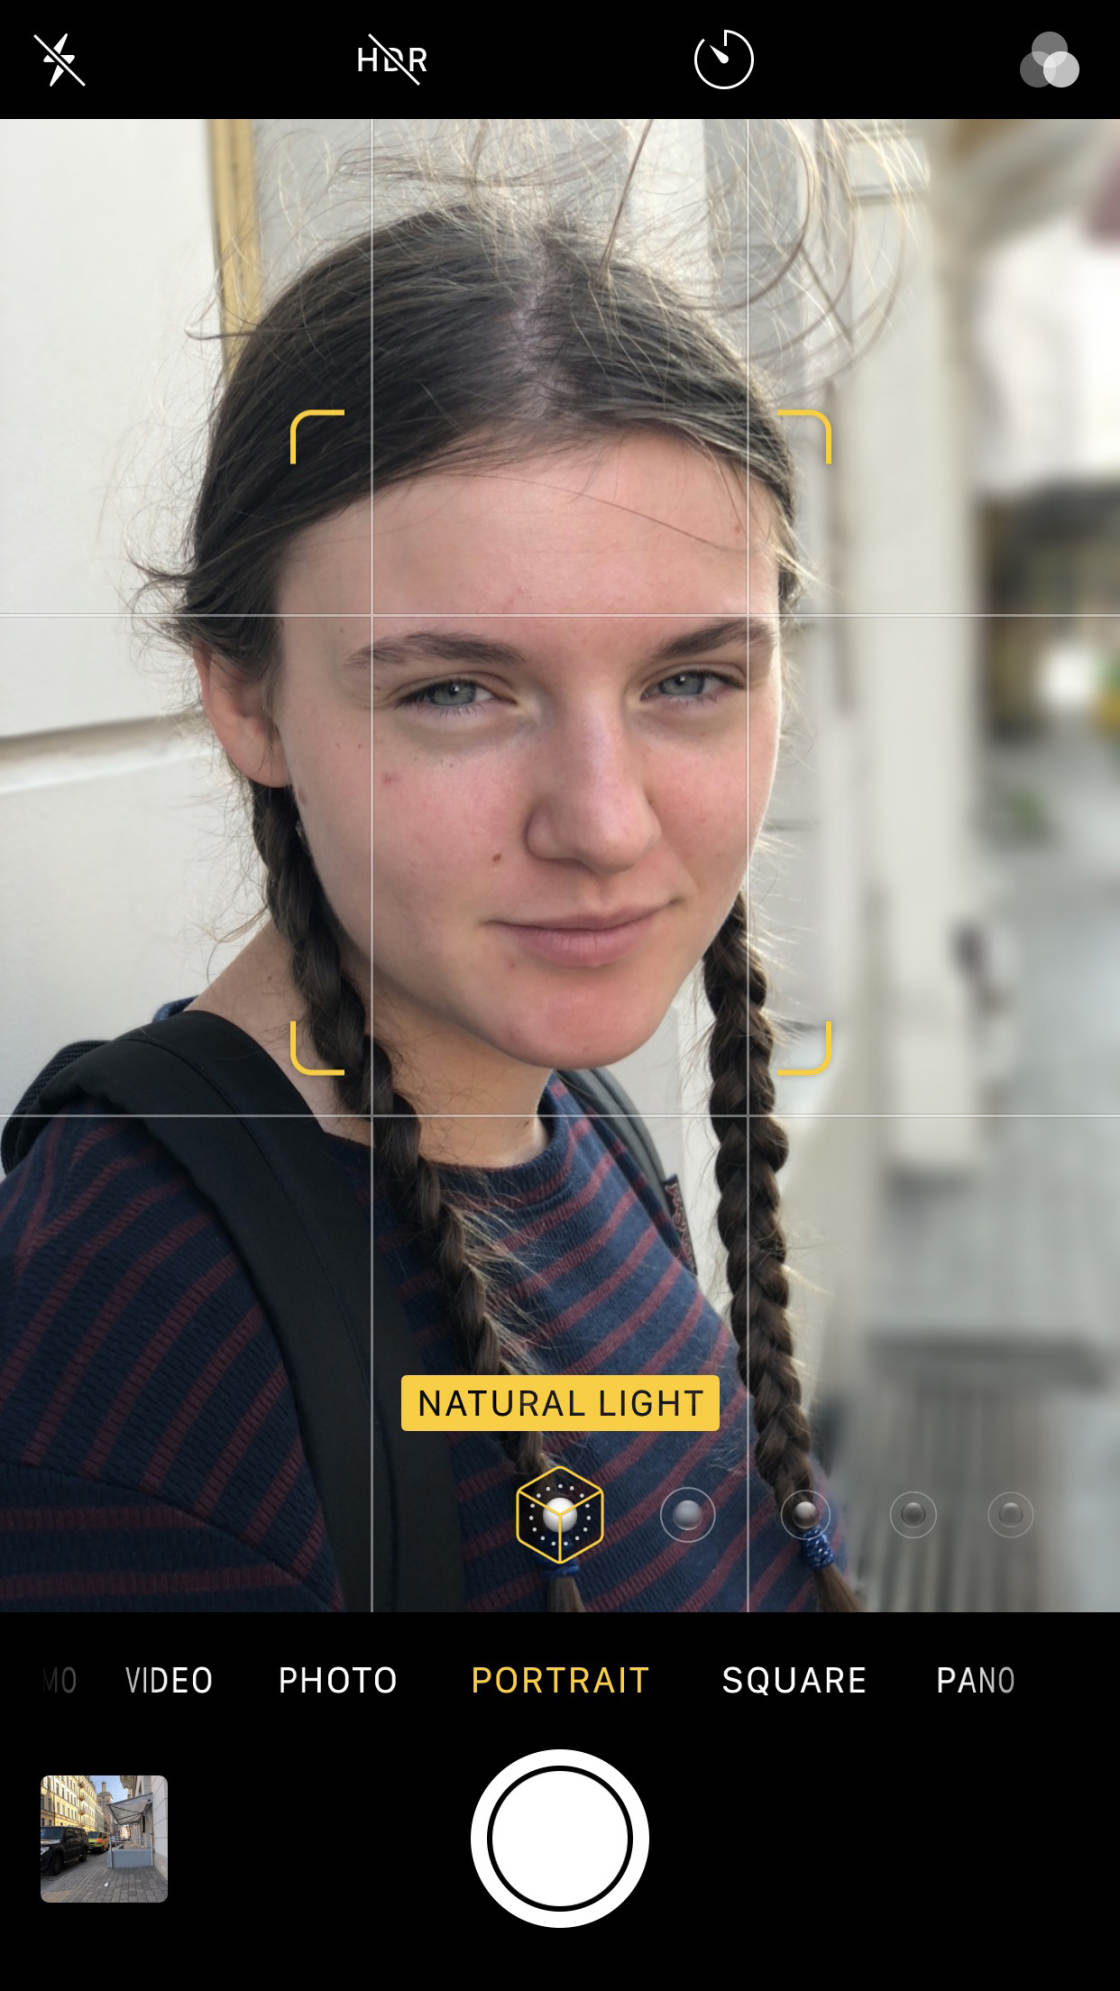
The default option is Natural Light. This applies no real Lighting effect. It simply allows you to take a photo using the available lighting. Use this option if you are happy with your natural lighting situation.
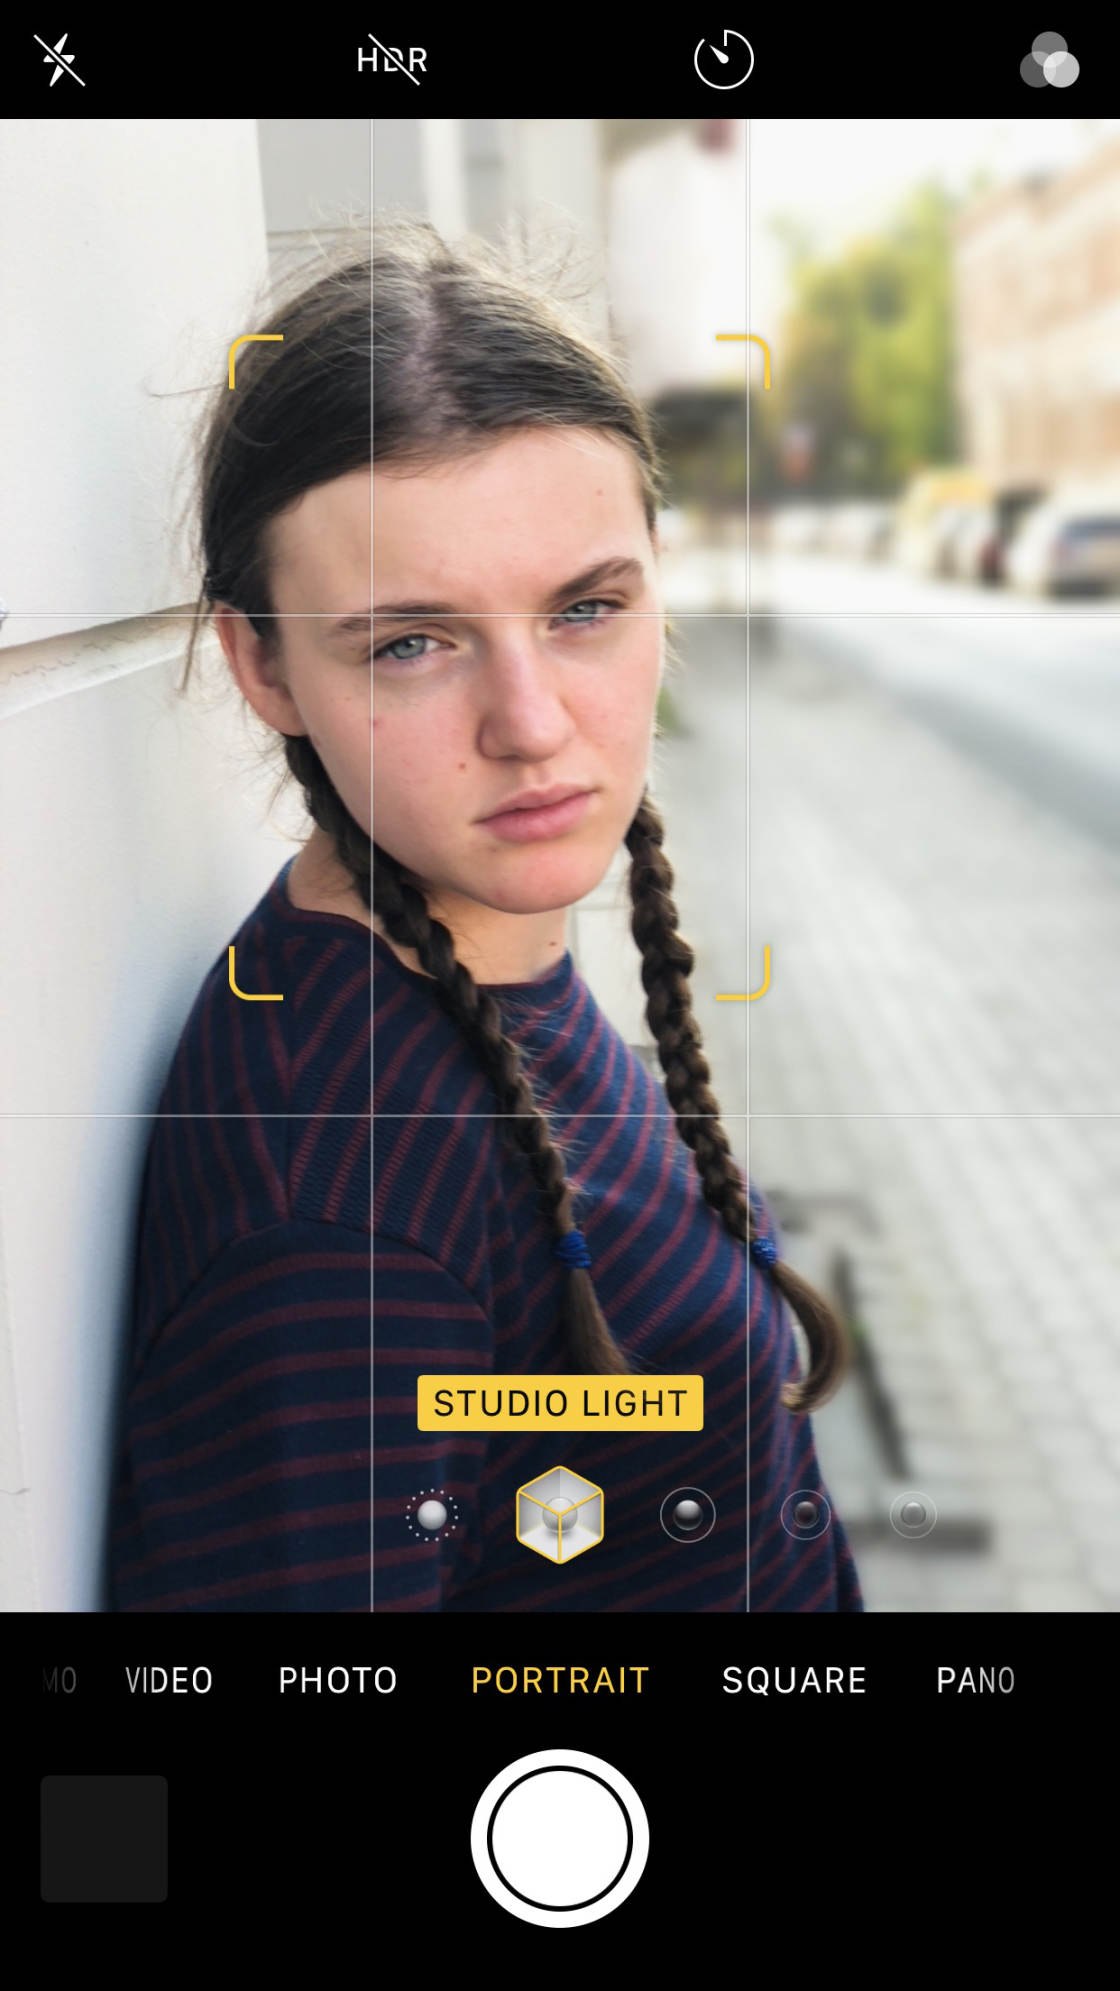
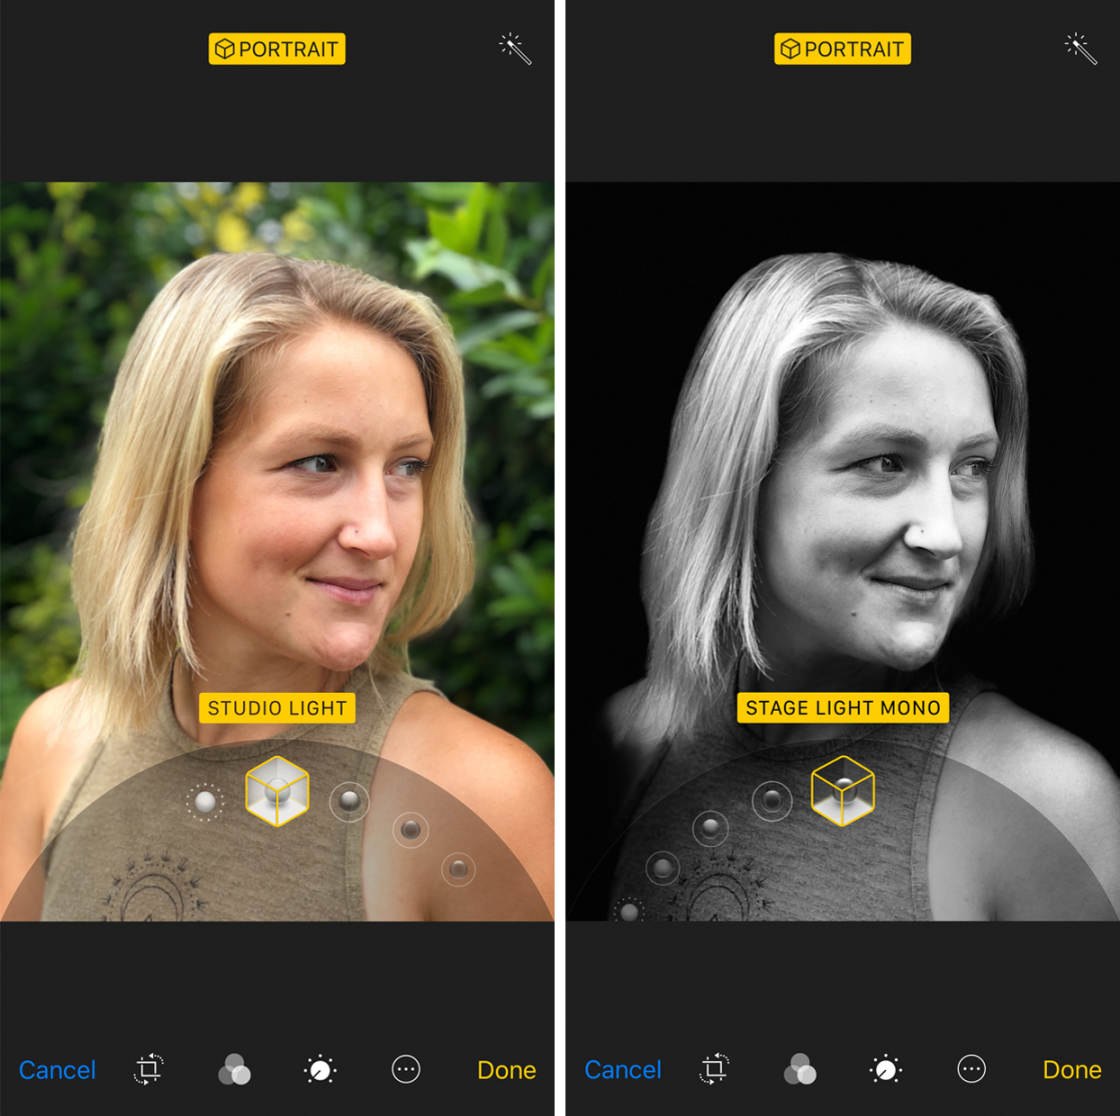
The second option is Studio Light. As shown below, this effect alters your photo by increasing the brightness of the subject's face. This is a subtle way to make your portrait photos pop.
Another Portrait Lighting option is Contour Light which darkens the shadows around the face.
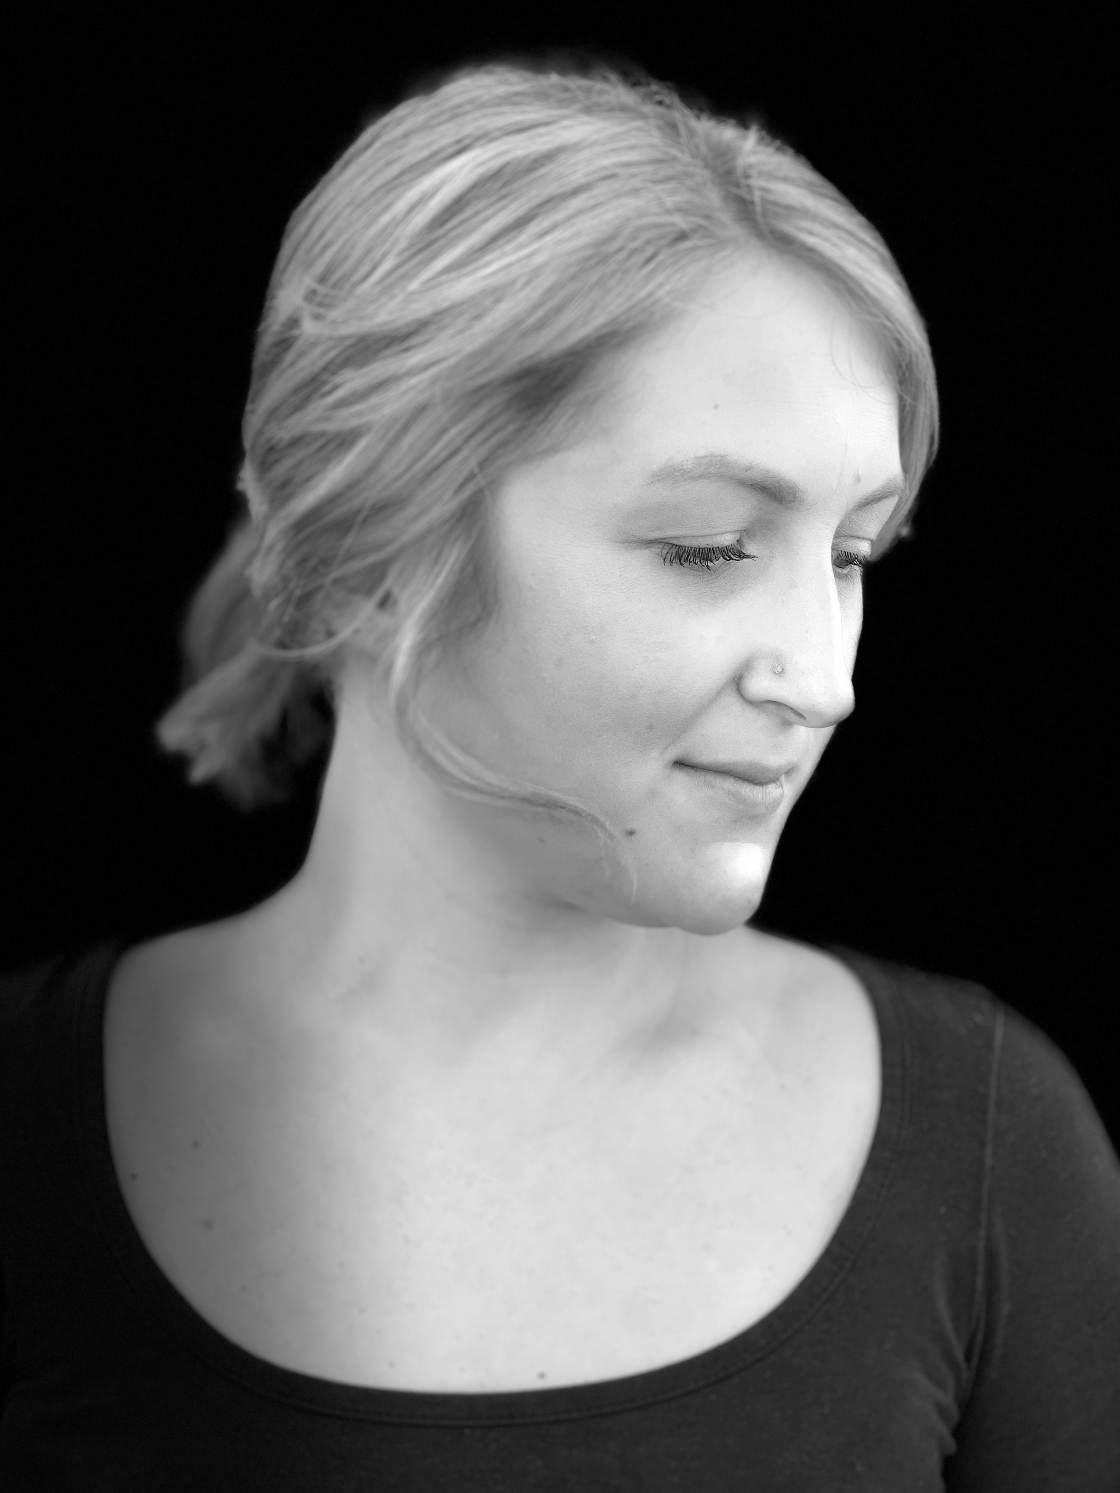
Stage Light puts a spotlight on your subject and blacks out the background—as if your subject were lit on a stage! And Stage Light Mono is the same as Stage Light, but it converts your photo to black and white.
One great thing about Portrait mode is that it's always possible to change the Portrait mode effects on your photos.
You simply have to open the image in the Photos app and tap on Edit.
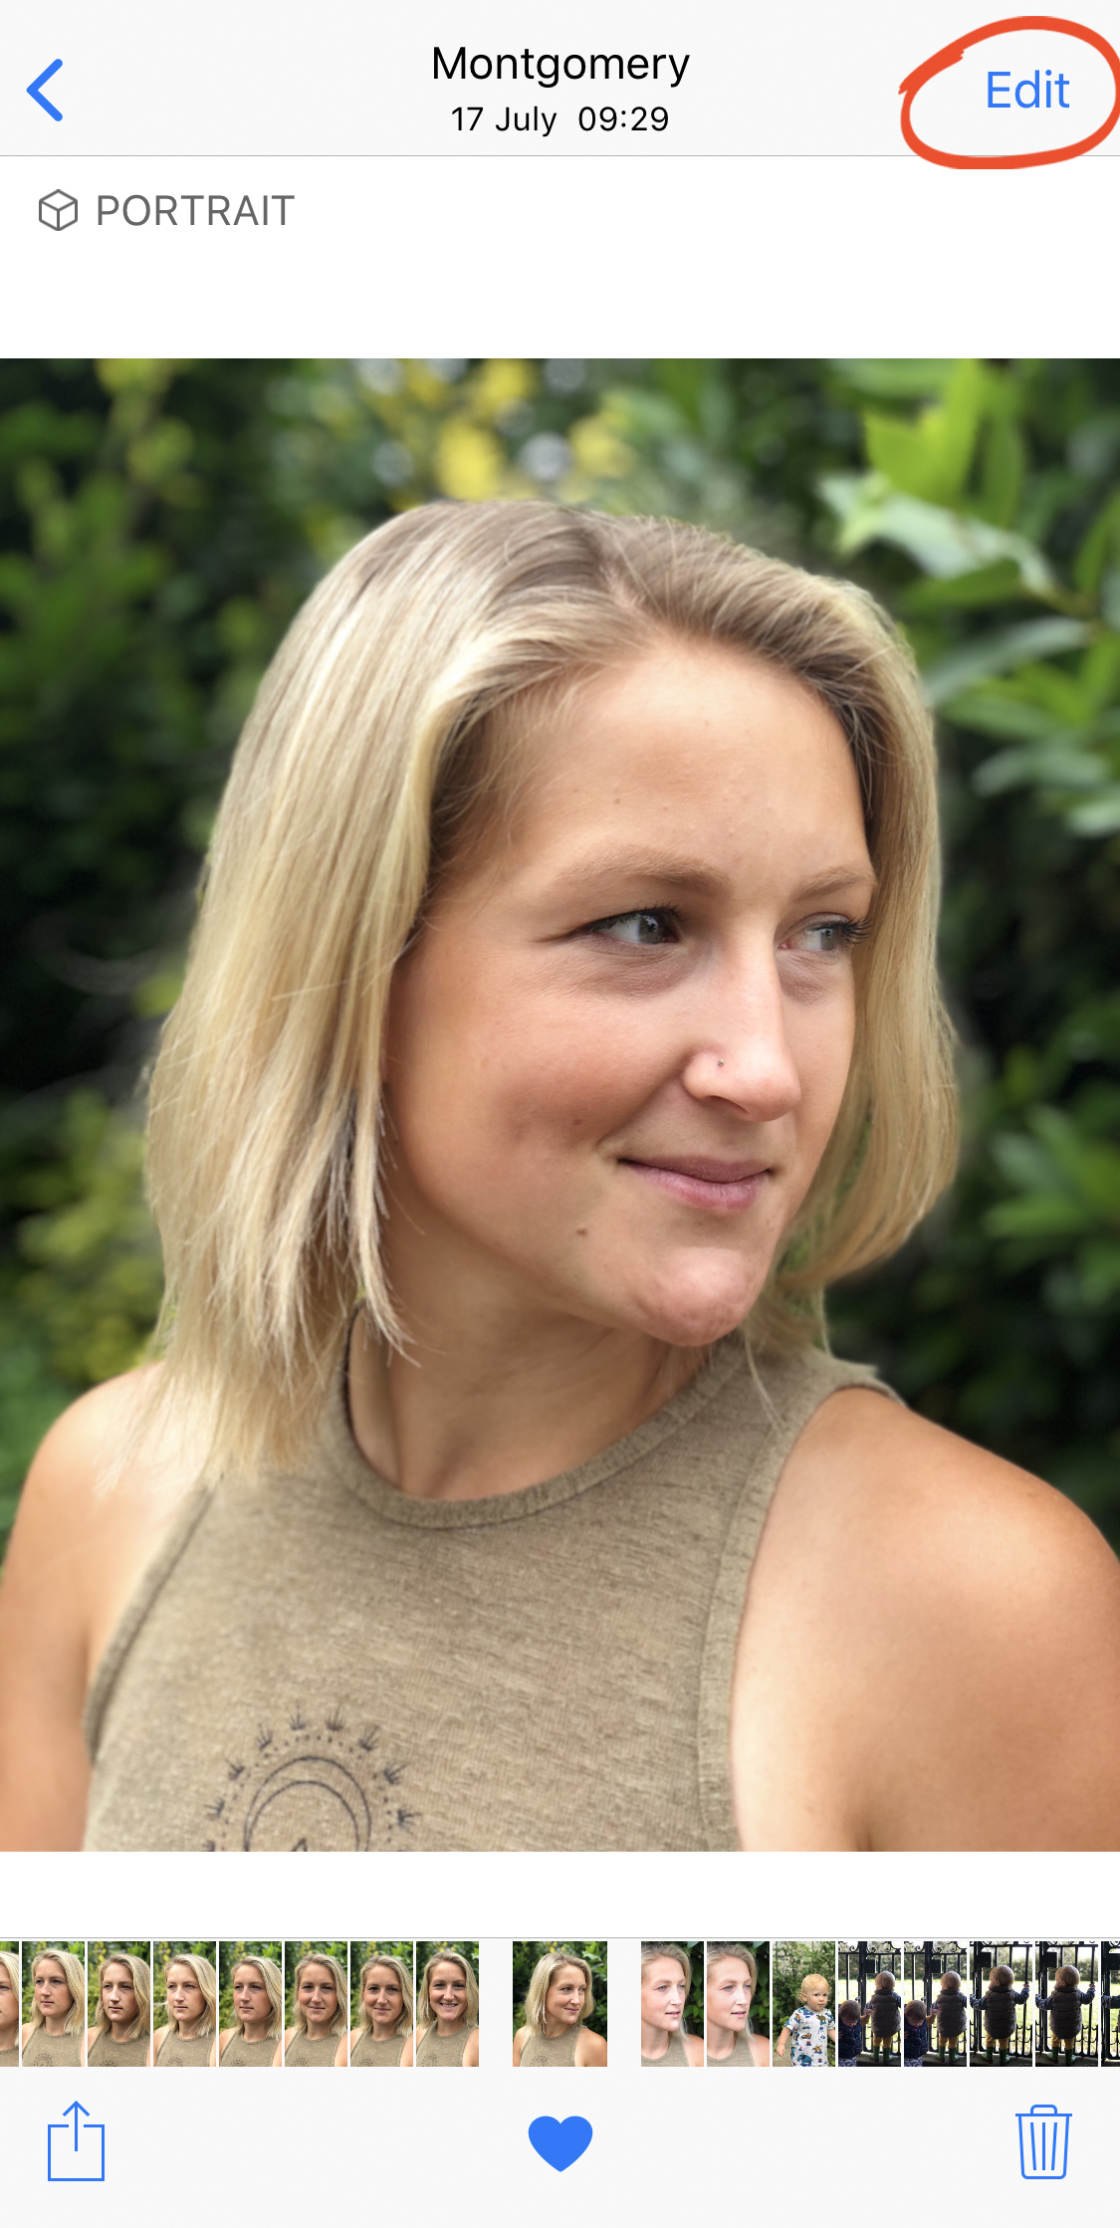
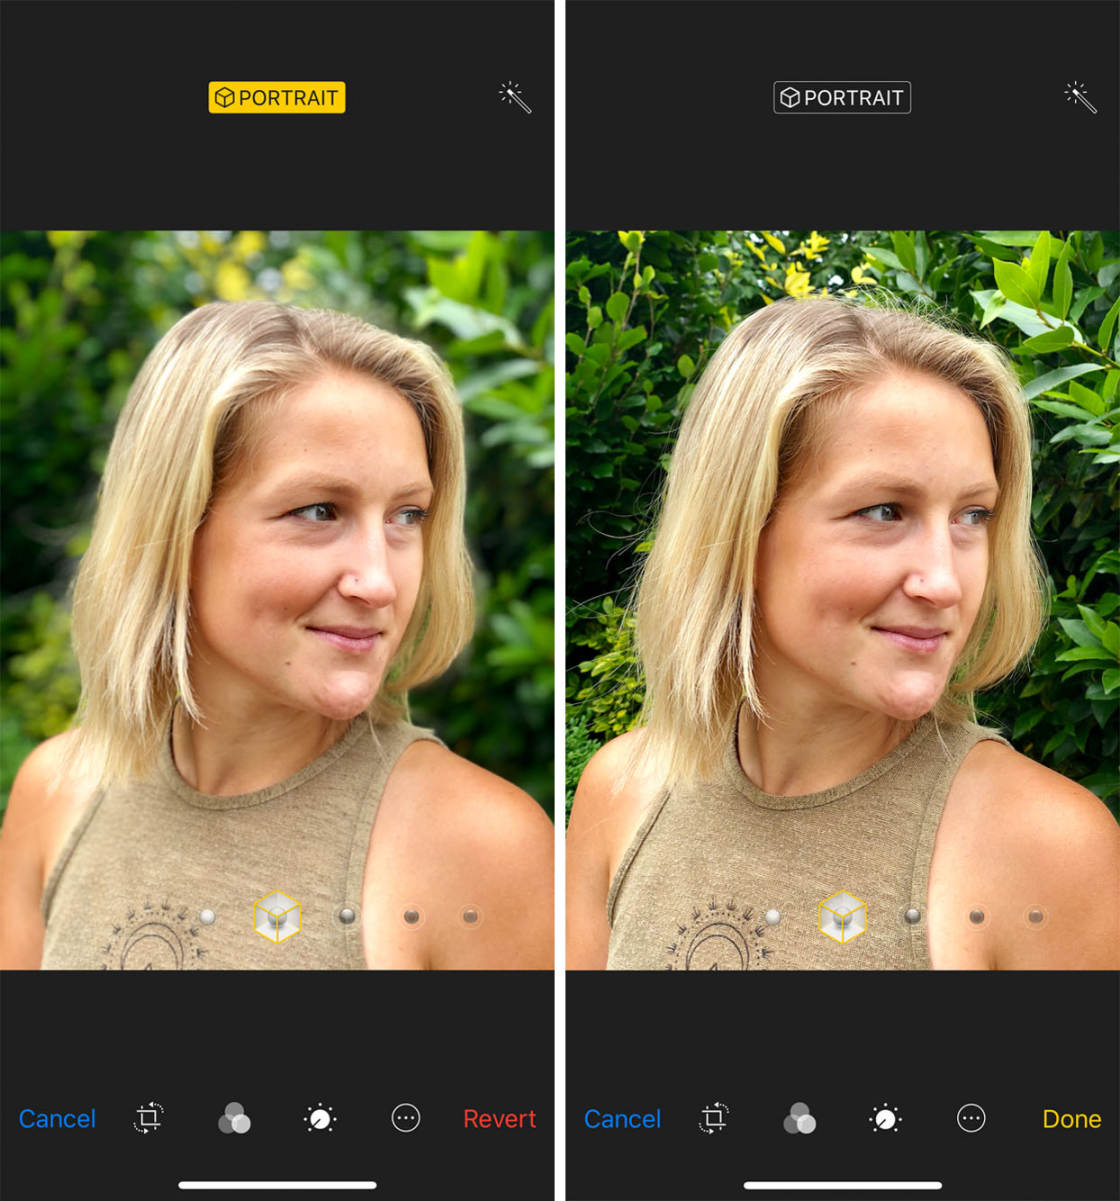
From here, you can flip through different Portrait Lighting options and choose the one you like the best.
Or you can choose to remove Portrait mode entirely by tapping on the word Portrait at the top of the image.
Portrait mode and Portrait Lighting can be great for enhancing the quality of your portrait photos. They can make your portraits pop off the page. So next time you plan on taking portraits, go ahead and try Portrait mode!
6. Focus Manually For Tack Sharp Images
Do you often find that your photos are blurry?
One common culprit of blurry photos is incorrect focusing.
Basically, your camera can only keep a limited amount of the scene in focus (this is called depth of field). So the camera must decide which part of the scene should be sharp.
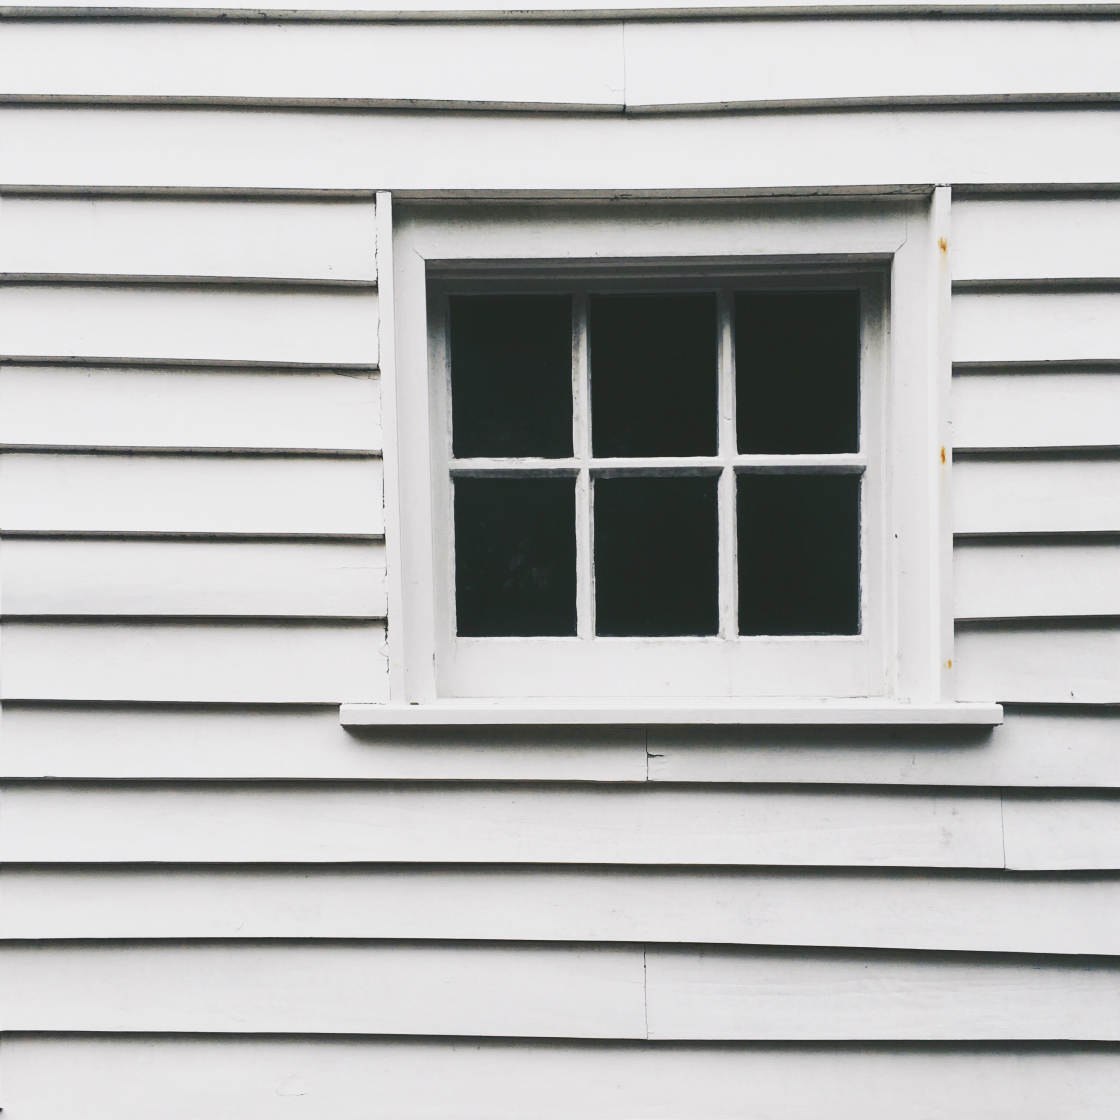
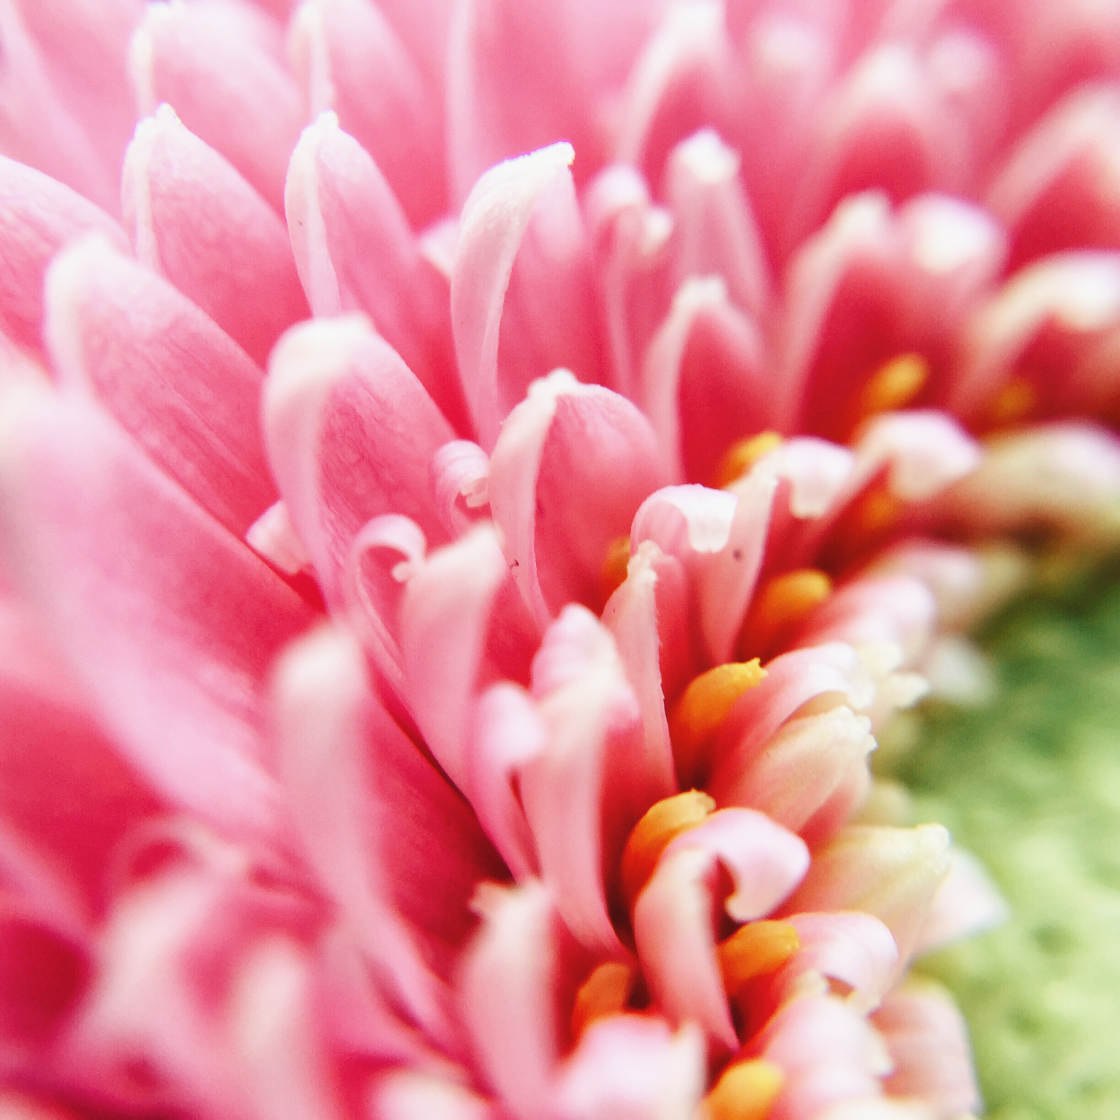
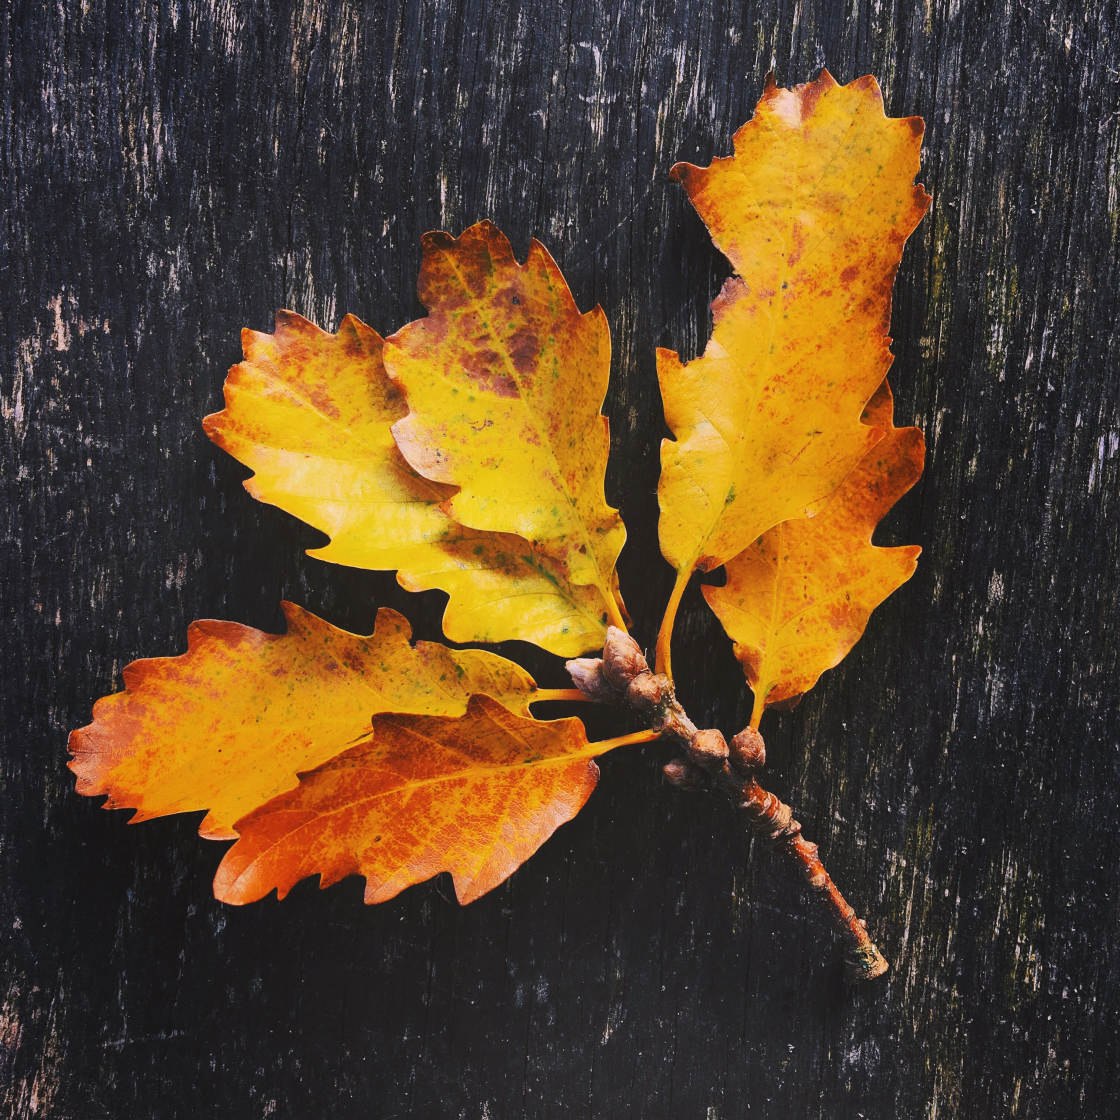
In the image below, the flowers are sharp while the background is blurry. Notice the limited depth of field: The iPhone camera is unable to bring everything into focus.
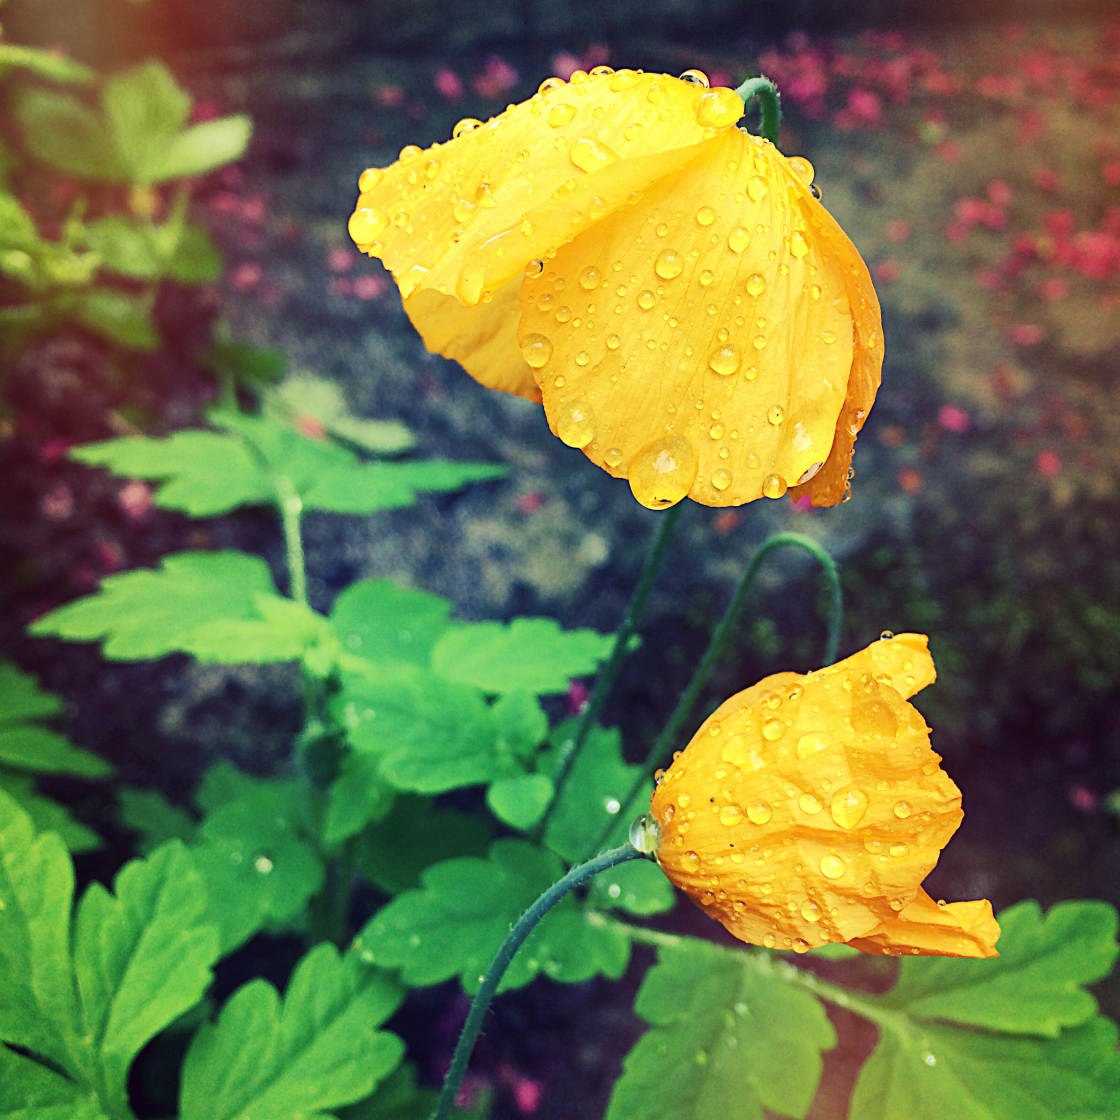
If left to its own devices, the camera tends to choose well—most of the time. But problems occur in certain situations.
When there are several subjects in a scene, your iPhone might not focus on the right one. This can result in the wrong subjects becoming blurry!
Furthermore, when focusing on a very close subject, the iPhone camera may have trouble deciding which part of the subject to focus on.
This is when it becomes vital to use manual focus.
But how do you use manual focus?
Fortunately, it's easy! When composing your image, tap your finger on the area of the subject that you want to appear sharp. You'll see a yellow square appear around your finger, indicating exactly where the camera is focusing.

And that's it! You're done. Your camera will focus where you've directed it.
To refocus, simply tap your finger elsewhere on the screen.
You can also go further with manual focus by using the AE/AF lock. This allows you to lock focus on a particular spot. Once you've activated the AE/AF lock, the focus cannot be changed.
To activate the AE/AF lock, simply tap where you want to focus. Then hold until the words AE/AF Lock appear at the top of the screen in yellow.
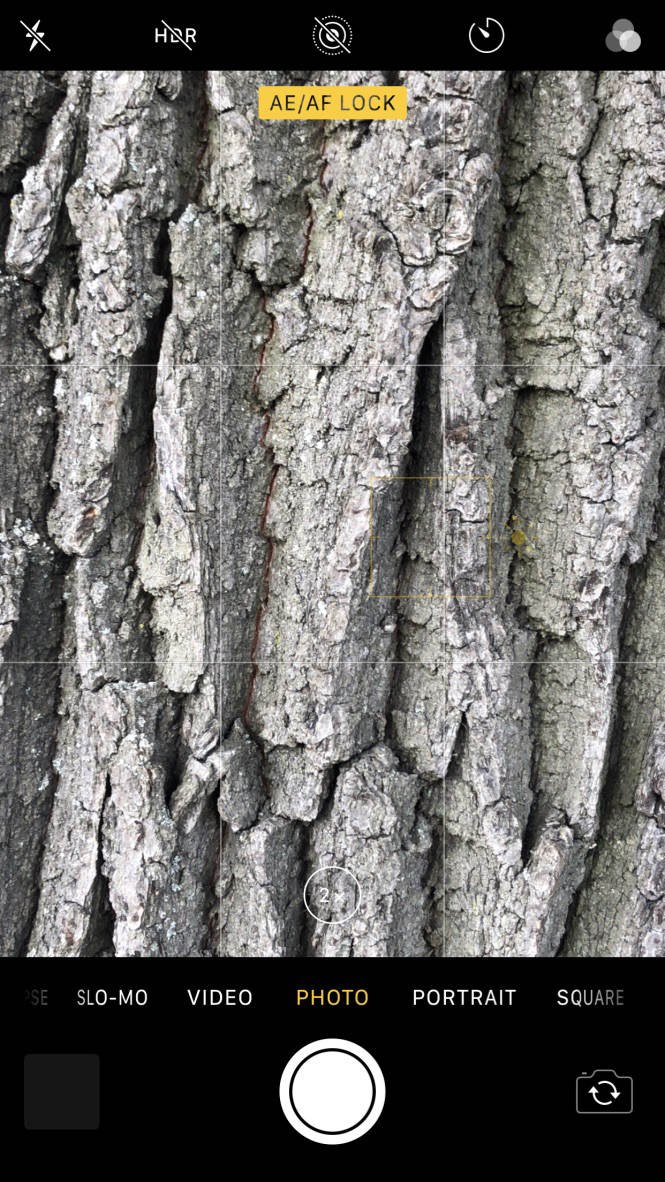
To deactivate the AE/AF lock, tap again on the screen. Or, to lock focus elsewhere, press and hold anywhere else on the screen.
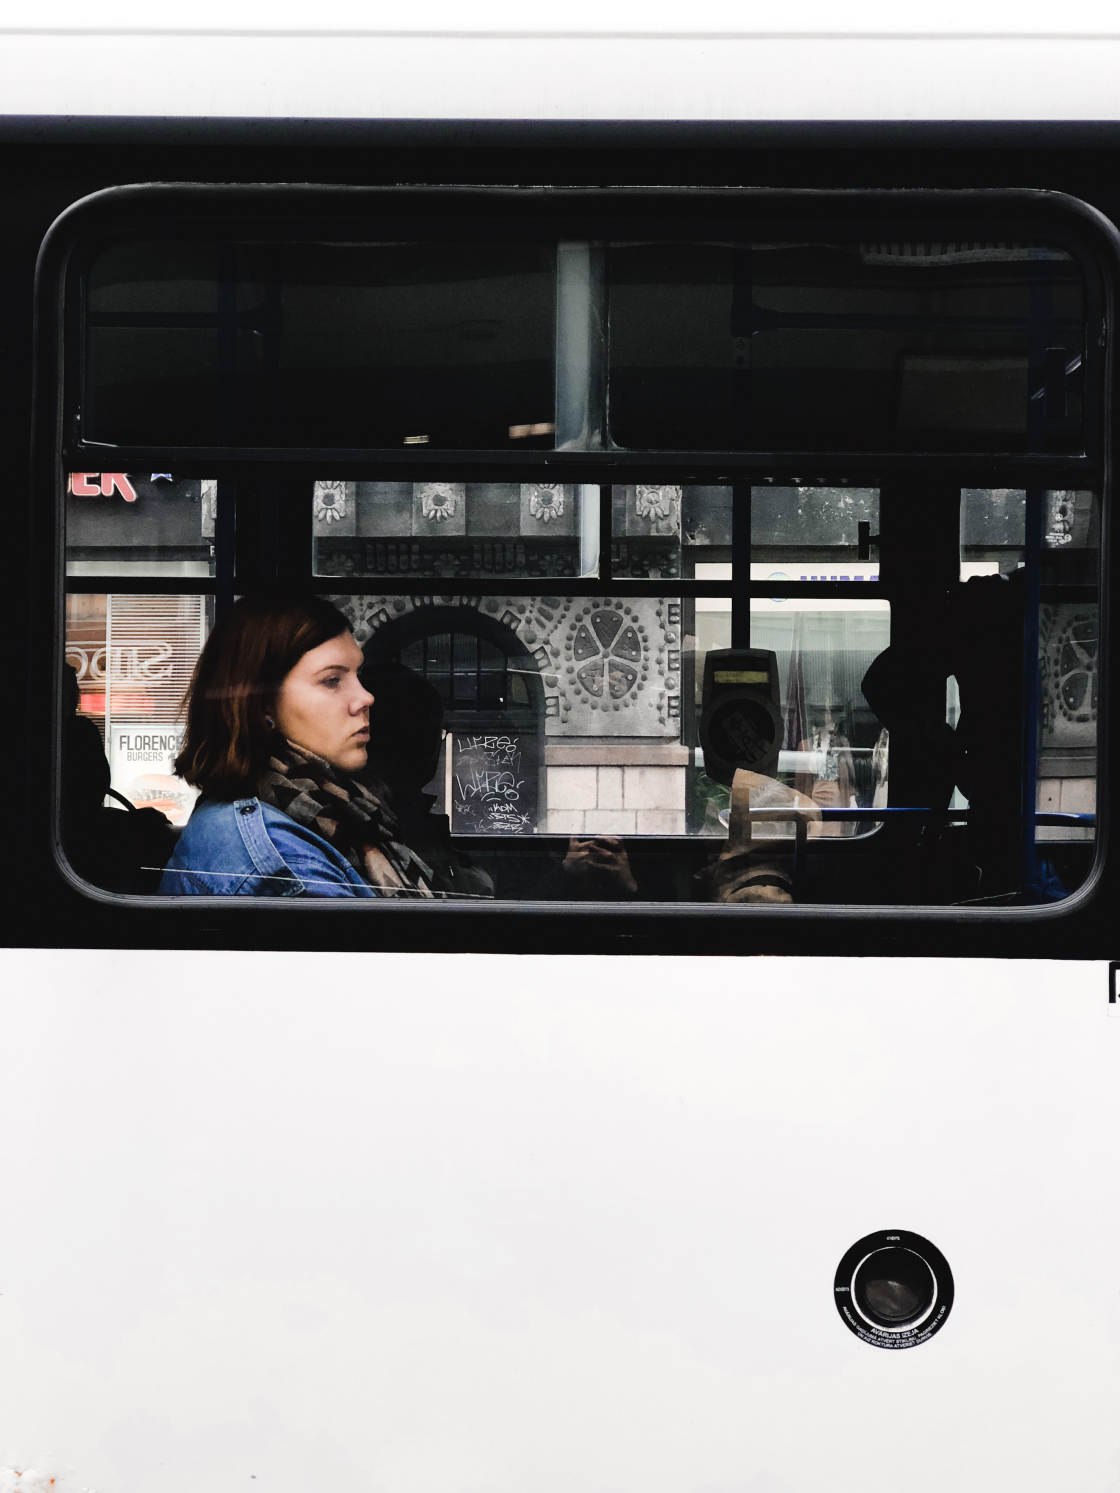
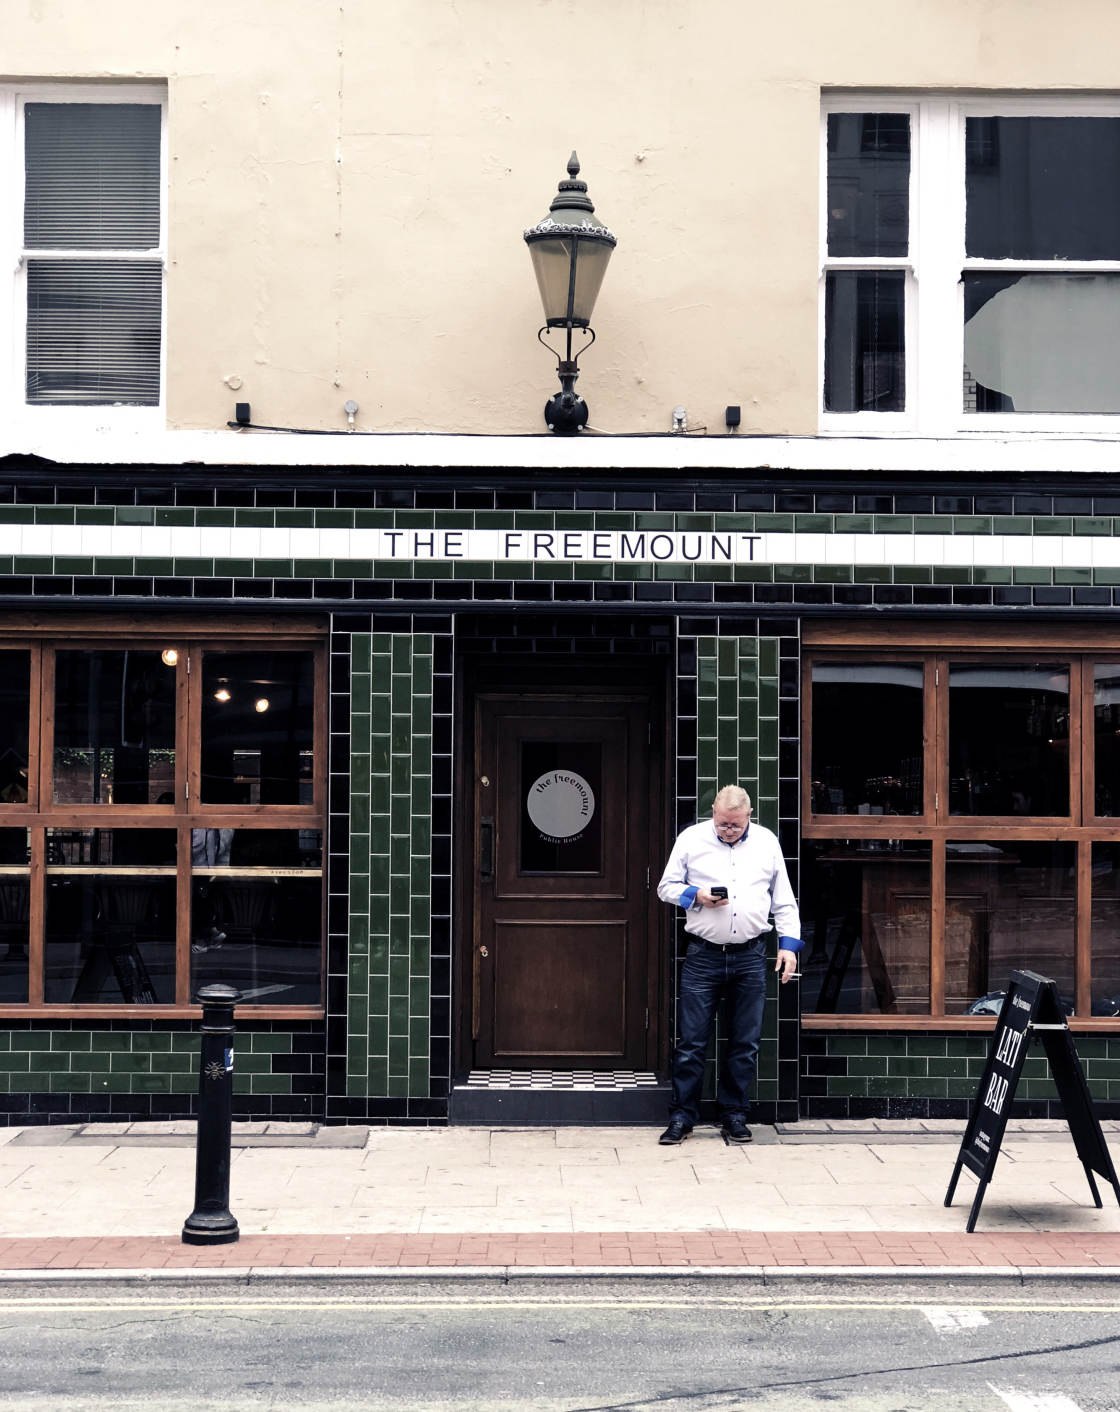
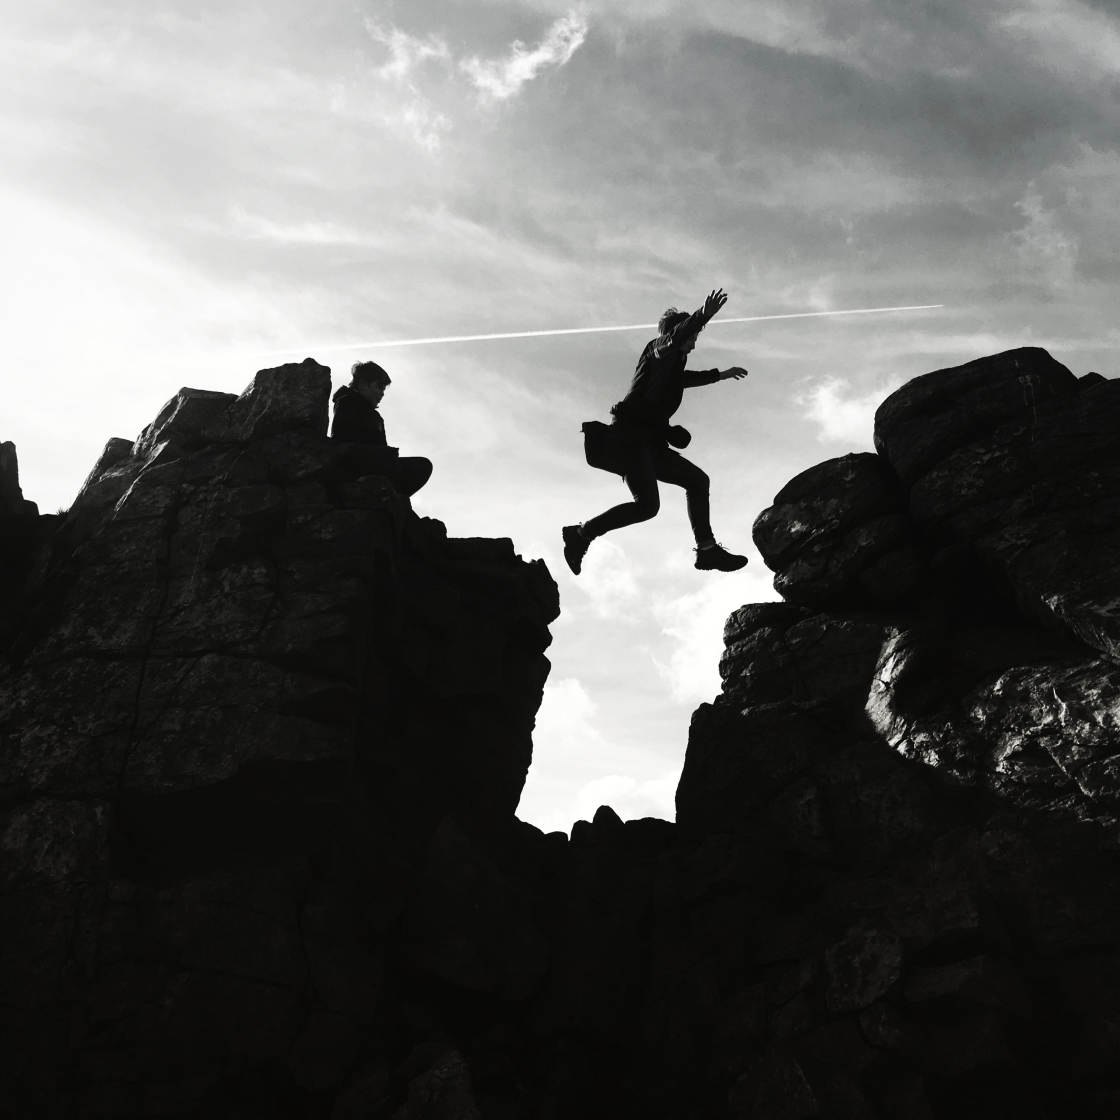
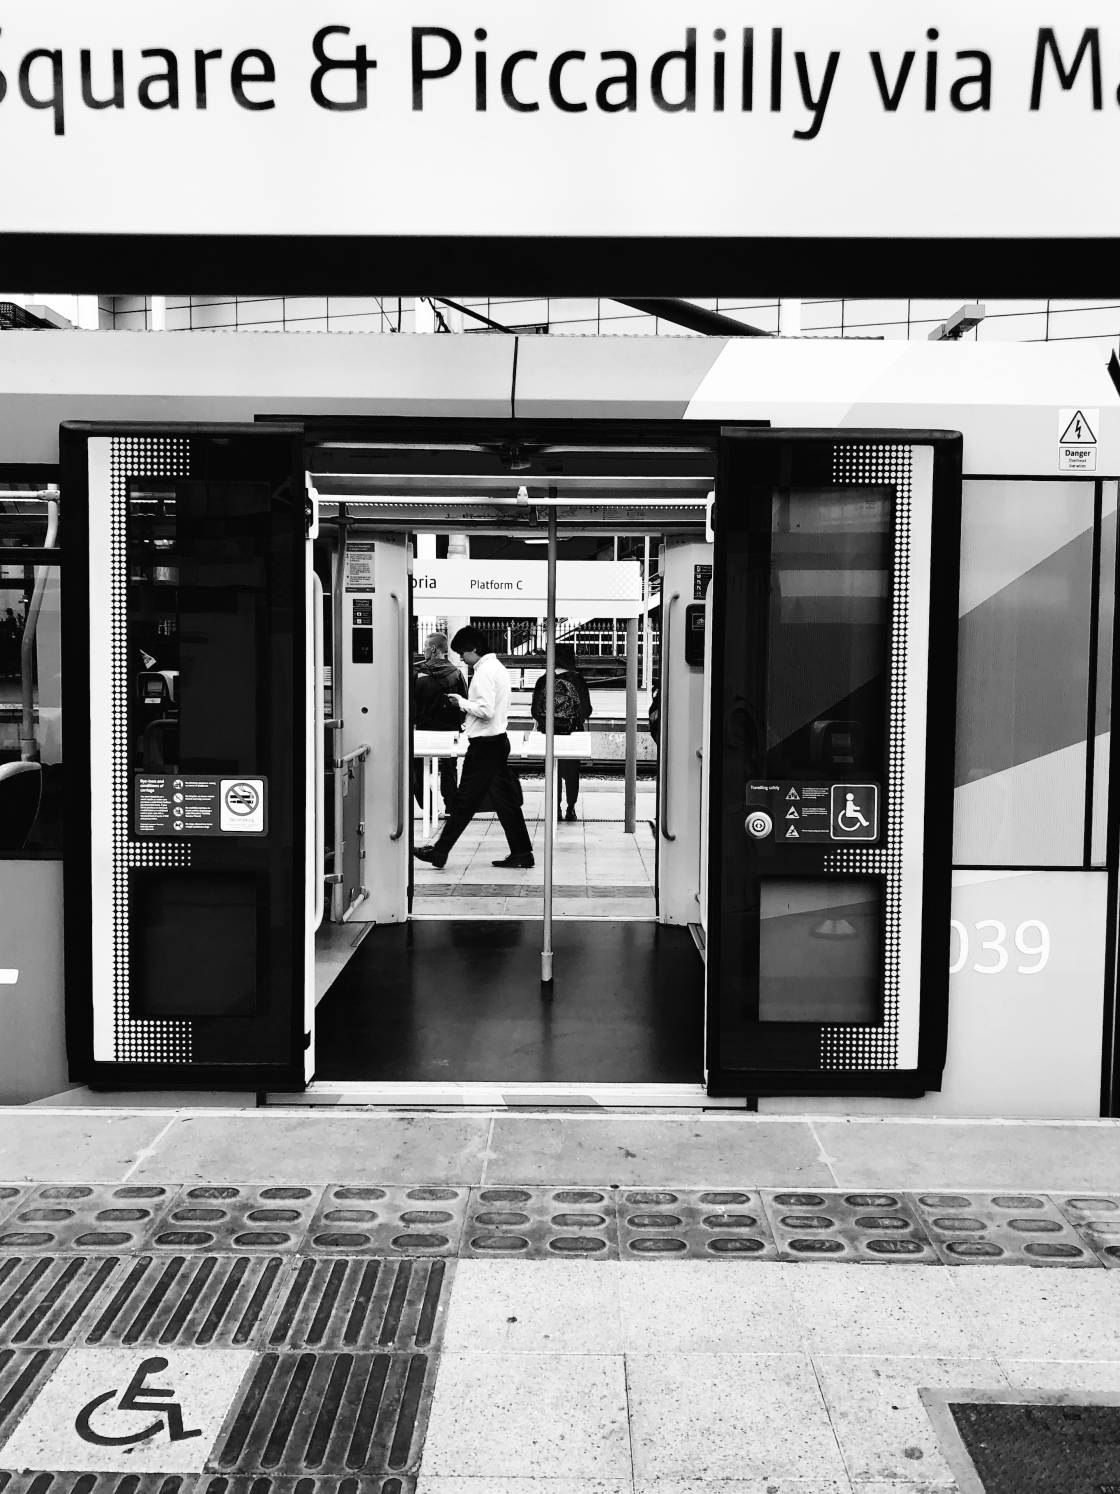
AE/AF lock is especially useful in street photography. When you find a beautiful urban scene, you can lock focus in advance using AE/AF lock. Then simply wait for a person to walk into the scene before pressing the shutter. The person will act as a perfect focal point, and your image will have perfect focus!
If you're looking to improve the sharpness of your photos, manual focus is a great option. In fact, I use manual focus all the time—it's a quick way to ensure that your camera focuses on the right spot!
7. Expose Manually To Capture Perfect Detail
Take a moment to look around the room. Glance into some dark corners, glance at some bright lights. Are you able to see them all clearly? Can you make out the details? You probably can.
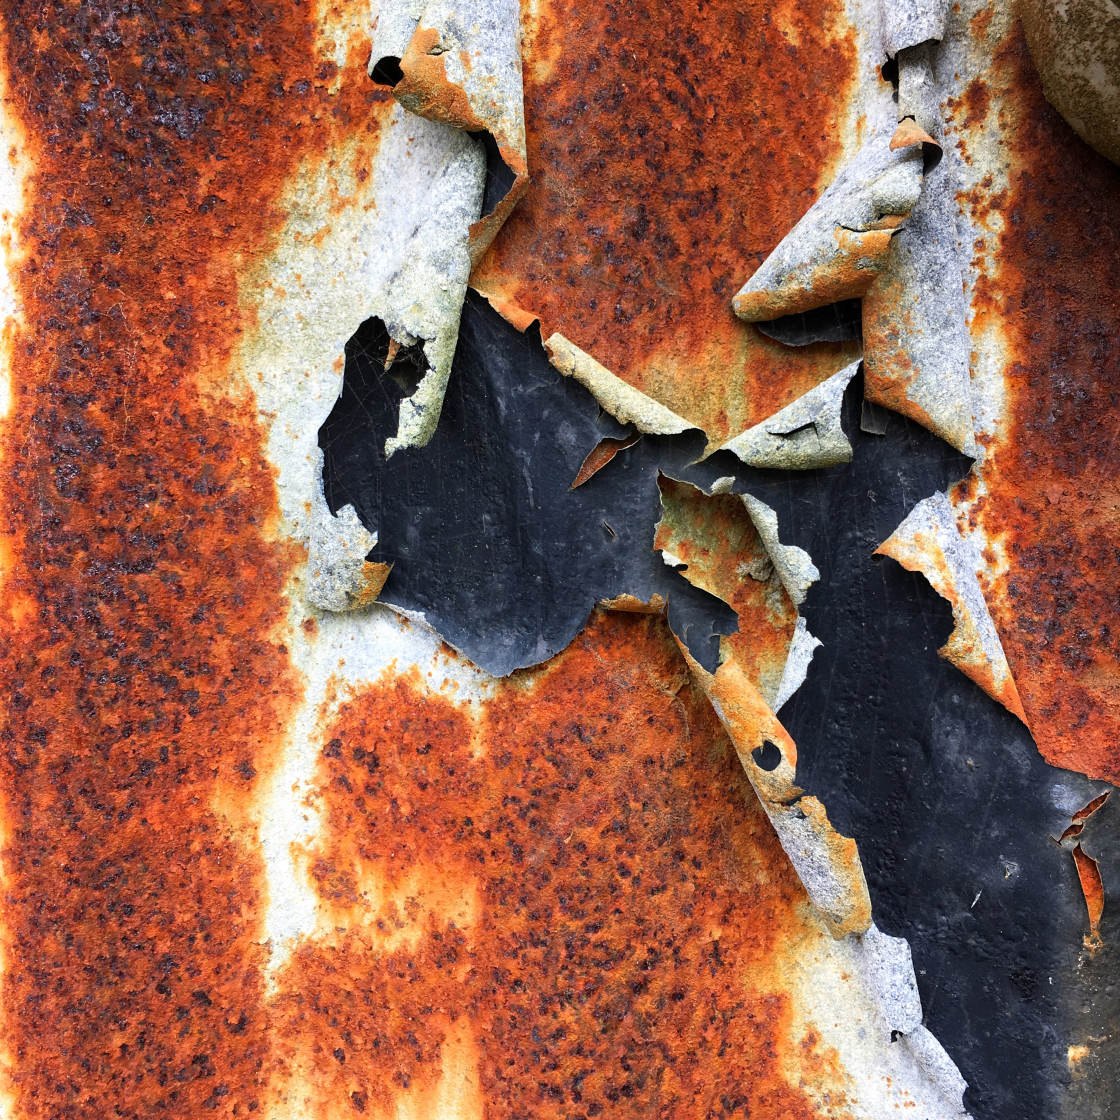
Unfortunately, your camera is more limited than your eye. The camera isn't able to look at a scene with very bright elements and very dark elements and snap a flawless photo. It cannot easily render both light and dark in the same image.

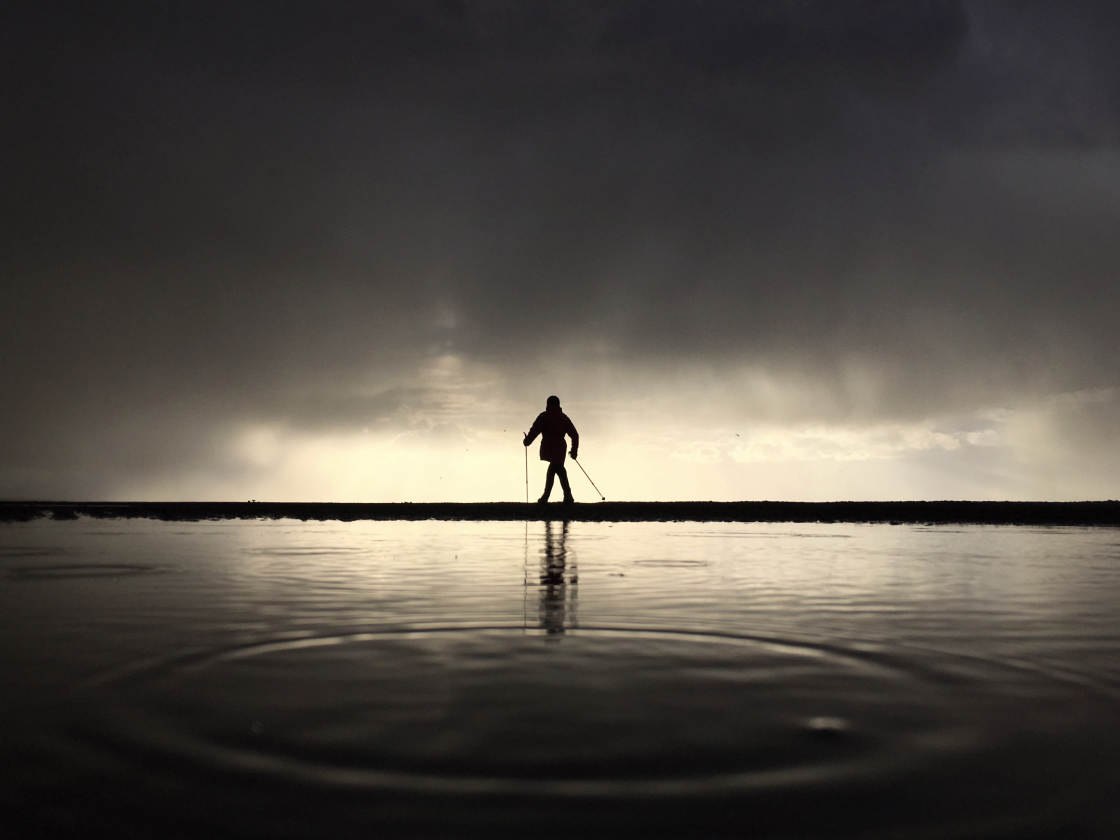
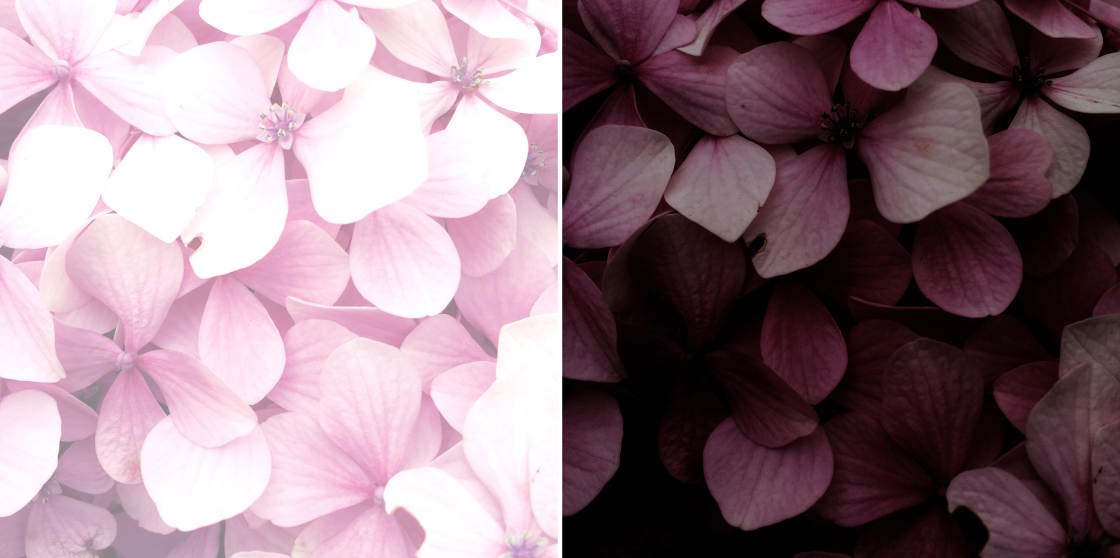
Instead, when faced with a high contrast scene (i.e., very light and very dark, such as in the image above) the camera has to choose what to expose for. That is, it has to decide the level of brightness of the image.
If it makes the scene bright, then the shadows will be perfectly exposed. The viewer will be able to see a beautiful level of detail. However, the highlights will be too bright and will lack detail. This is called overexposure.
The reverse can also happen. The scene can be underexposed, so that the highlights are perfectly rendered. But the shadows will be black and lacking detail.
Generally, the iPhone camera does a decent job of deciding how to expose for an image. But sometimes you might find that the photo on the screen looks too bright or too dark.
How do you deal with this?
You use manual exposure. Tap on the part of the image that you want the camera to focus on. A small Exposure symbol will appear (in the shape of a sun, as shown in the image below).
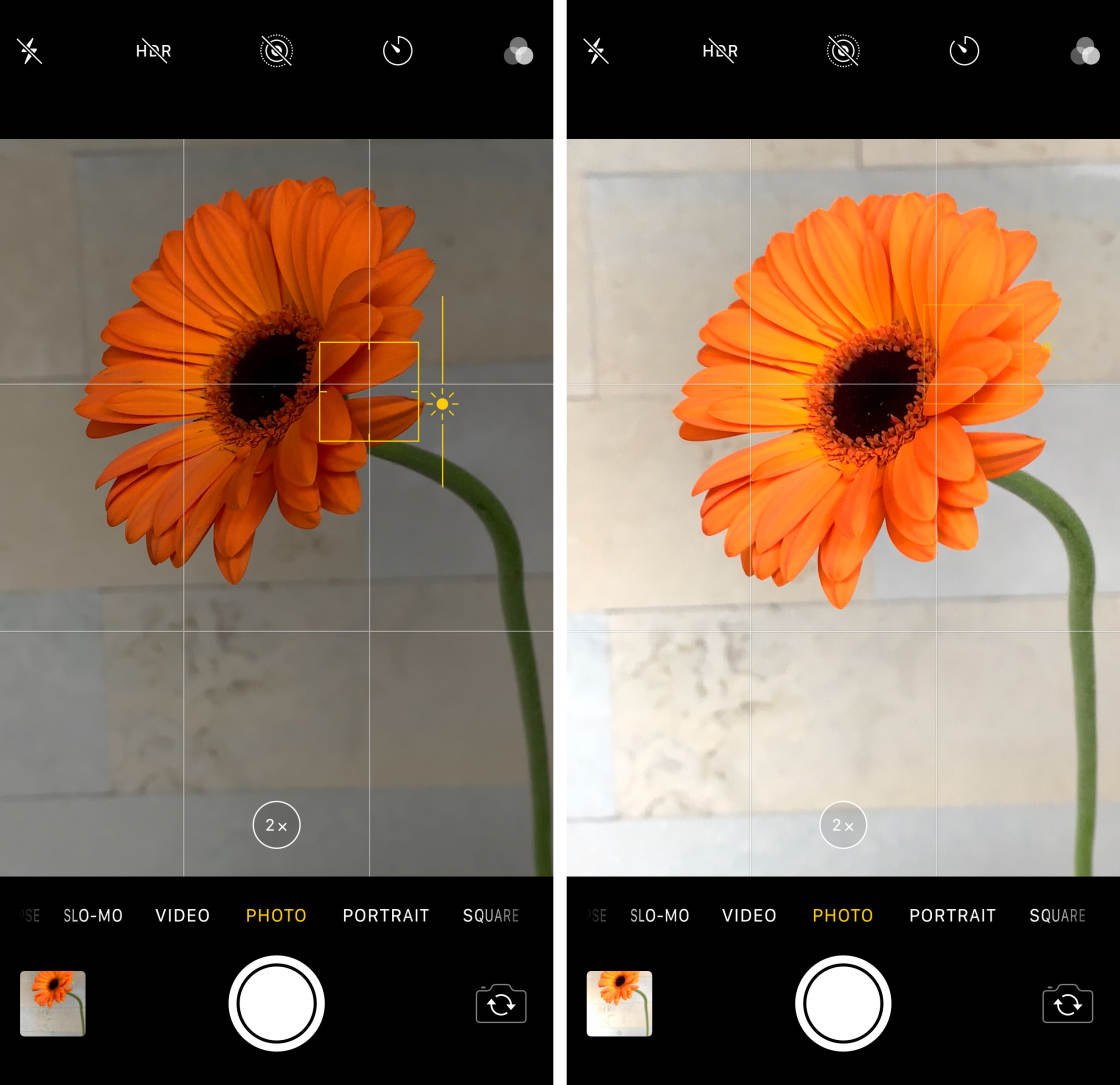
Simply swipe your finger up if you want to brighten the image. Swipe your finger down if you want to darken it. And watch in real time as the exposure changes!
By exposing manually, you'll prevent underexposure and overexposure. You'll ensure that the most important parts of your images are clear and detailed. And you'll consistently get beautifully exposed photos.
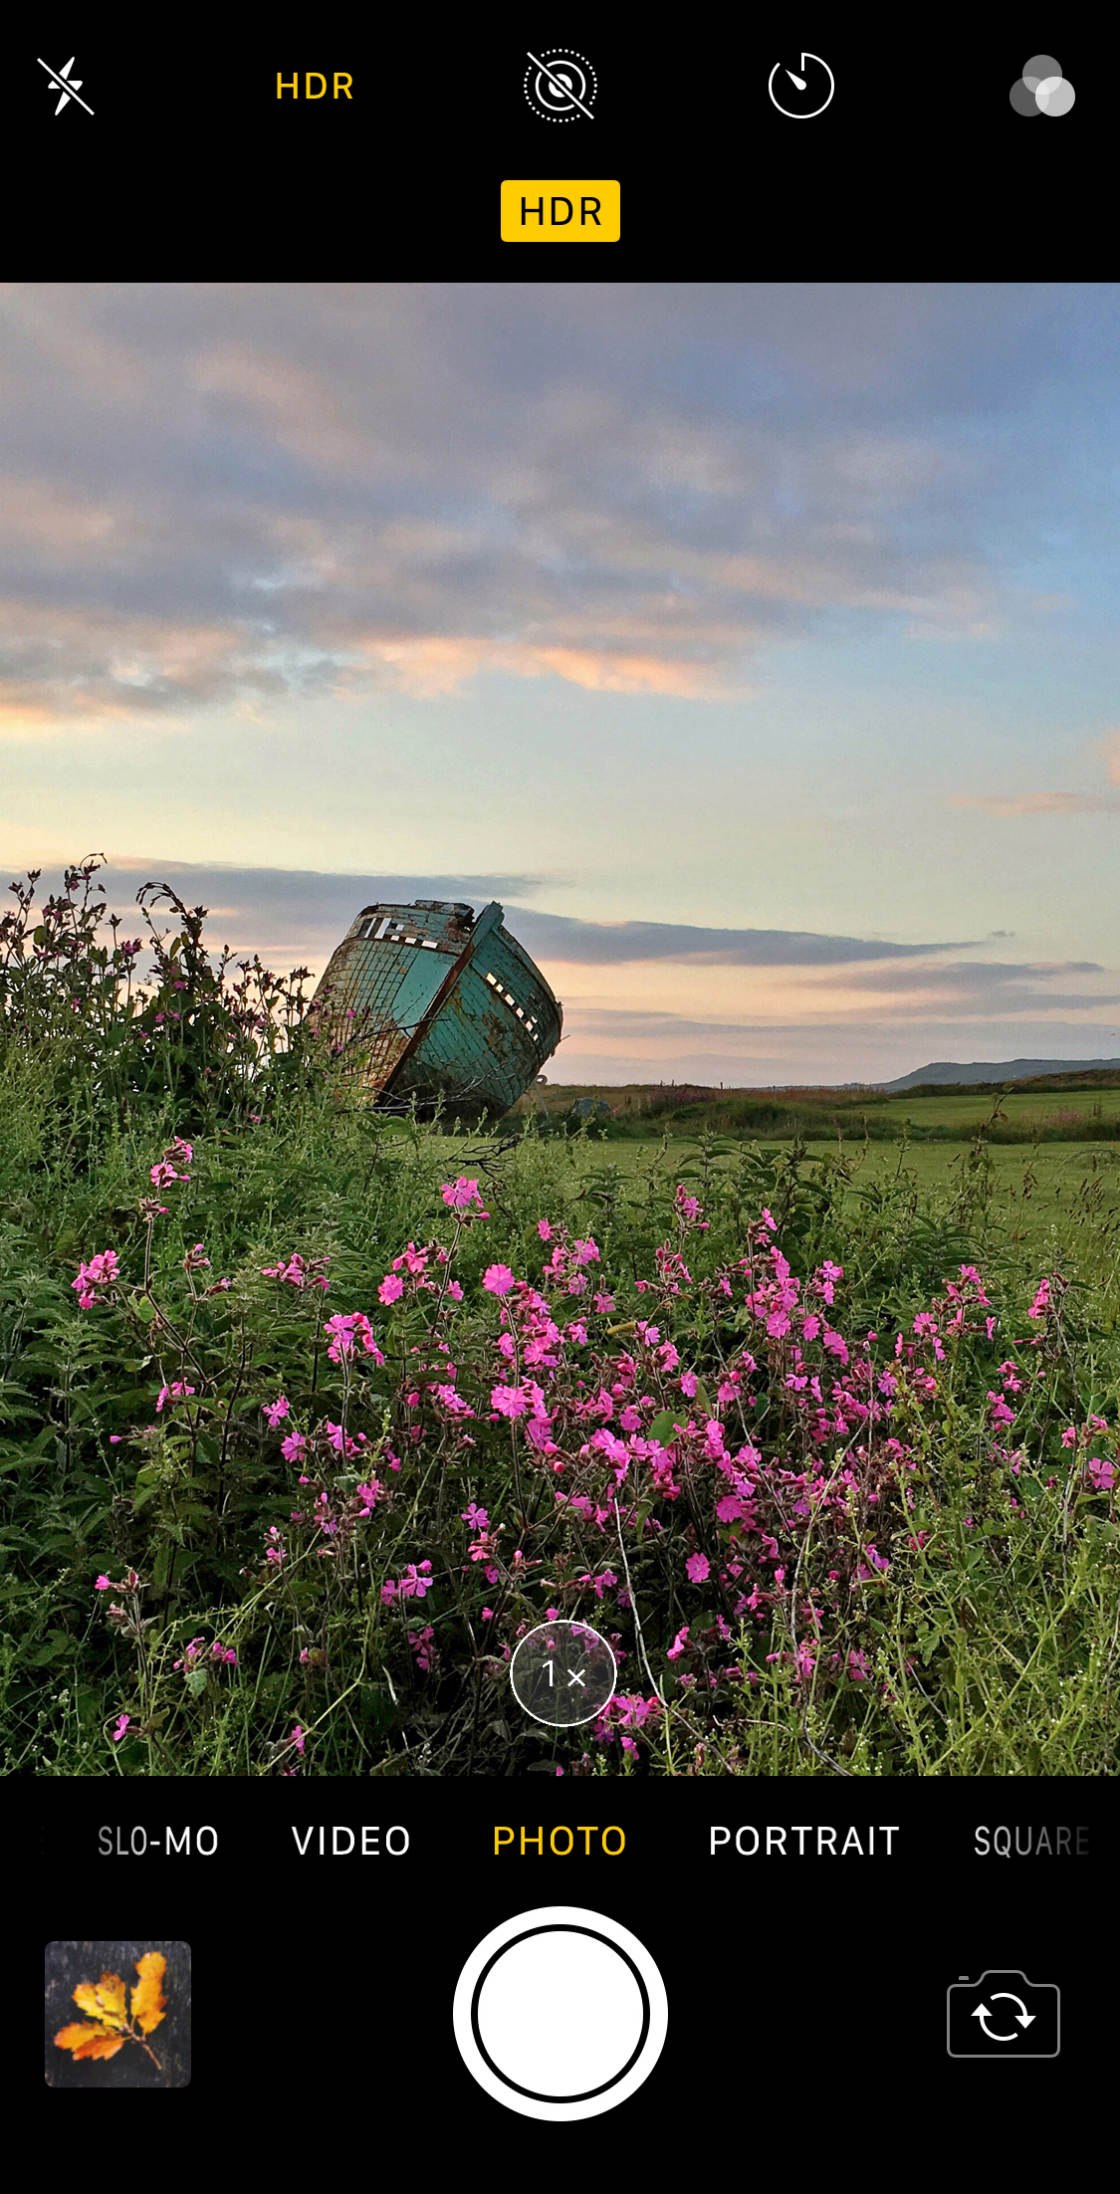
8. Activate HDR For Shooting High-Contrast Scenes
You might think that it's impossible to easily photograph high-contrast scenes. But have you tried the HDR setting on your iPhone?
HDR stands for High Dynamic Range. Simply put, it refers to photos that include details in both the shadows and the highlights. Using the HDR setting on the iPhone allows you to take better exposed, more detailed photos.
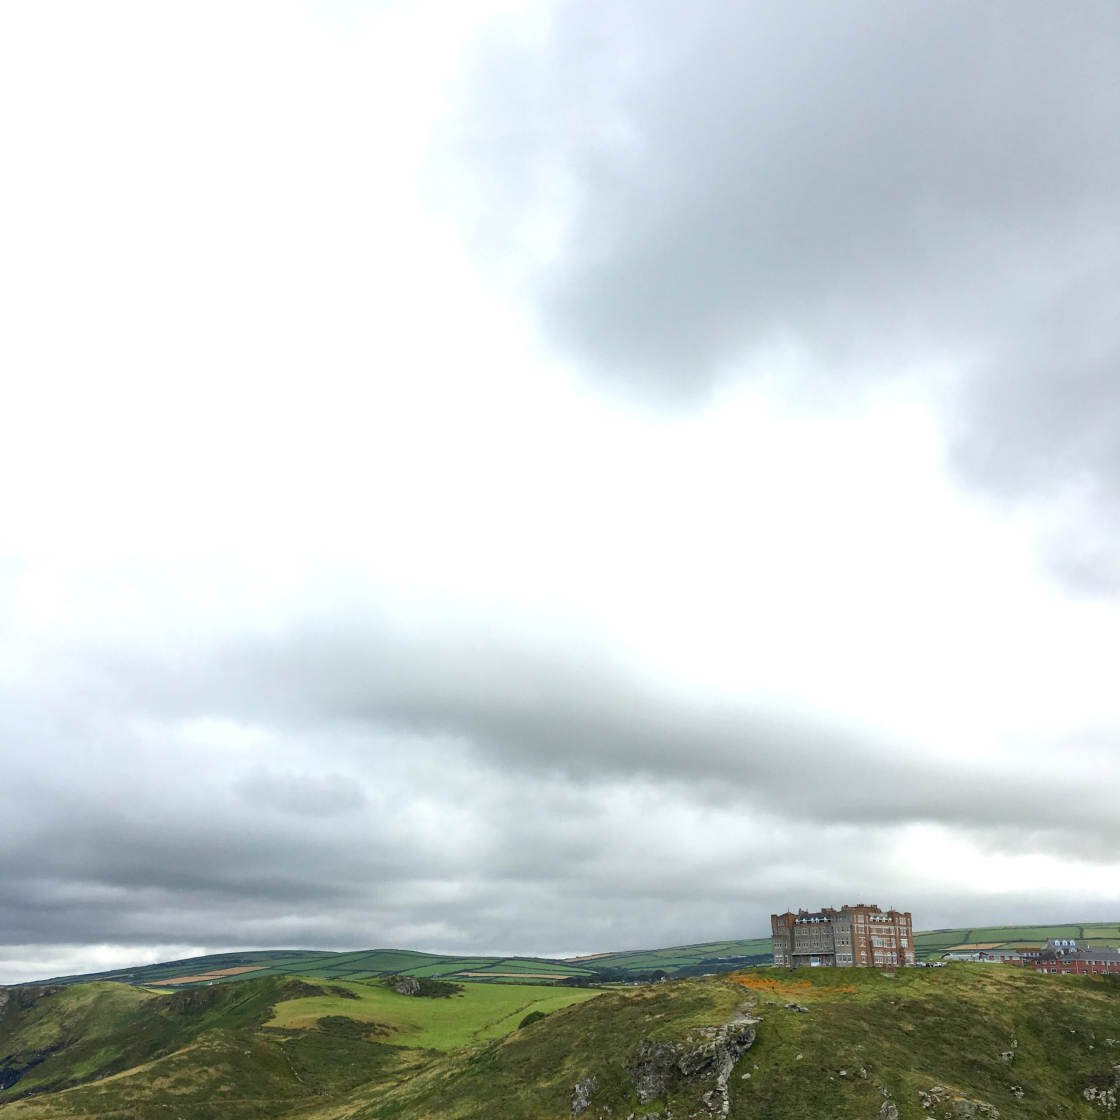
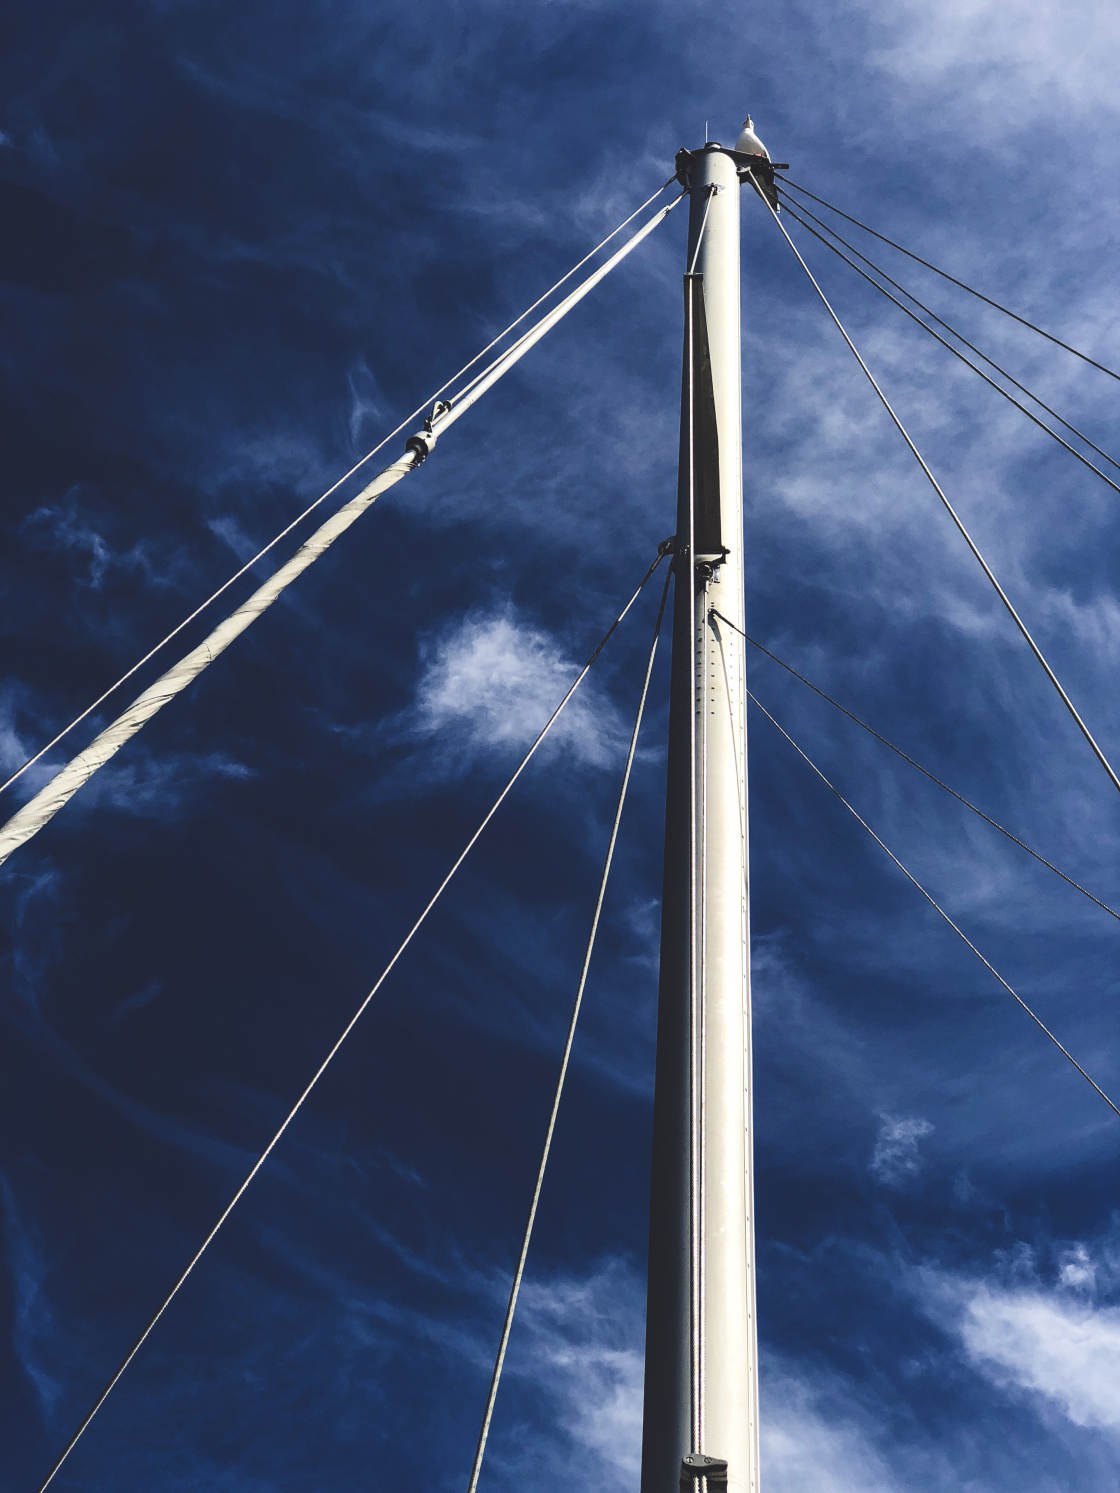
The photo below was taken without HDR. Notice how the brightest parts of the sky are completely over-exposed without any color or detail.
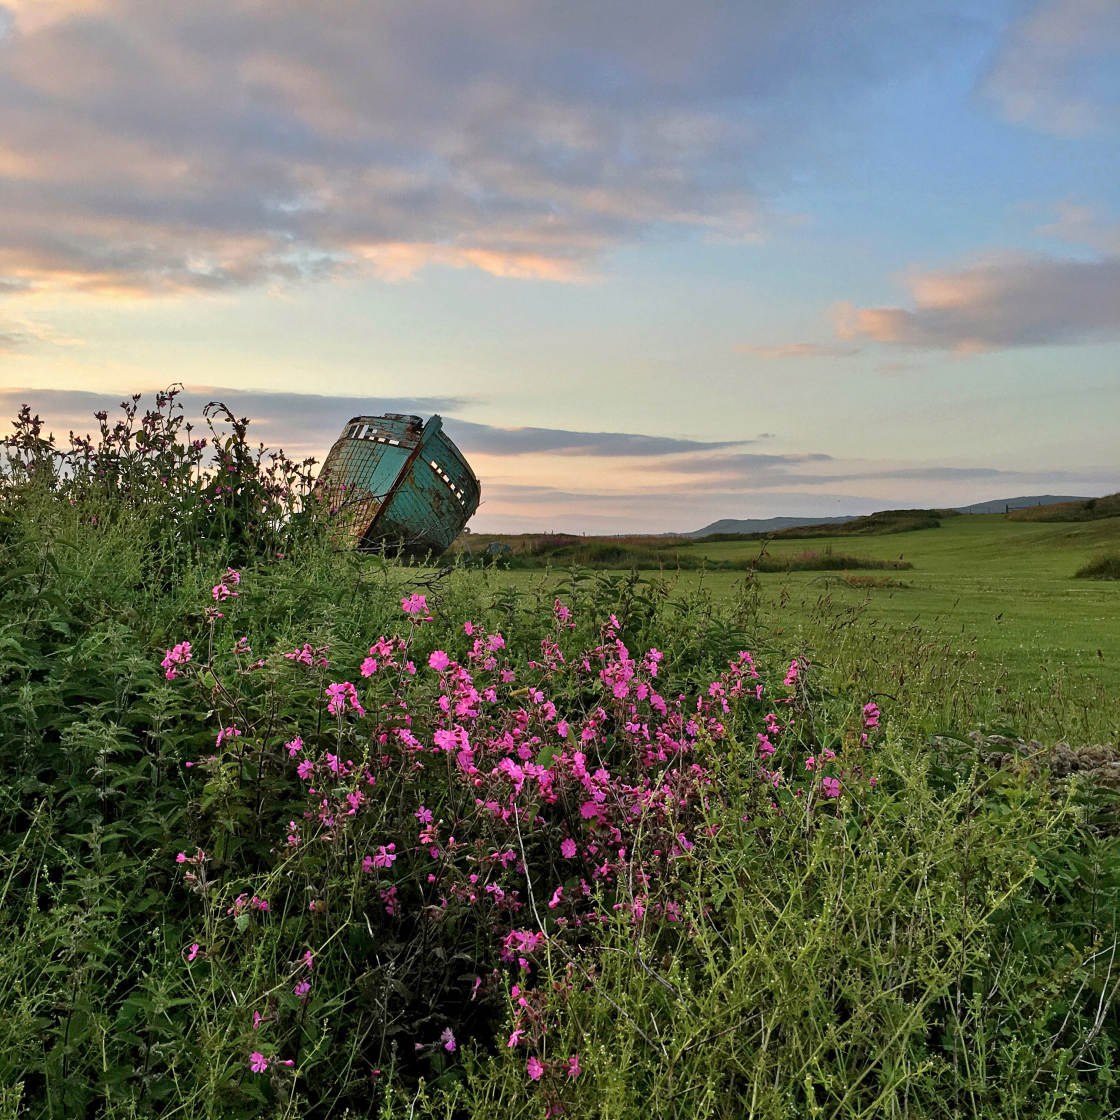
The next photo was taken with HDR.

The HDR photo has captured detail in both the bright and dark areas of the scene.
How do you activate HDR?
First, make sure that you turn off the camera's automatic HDR function.
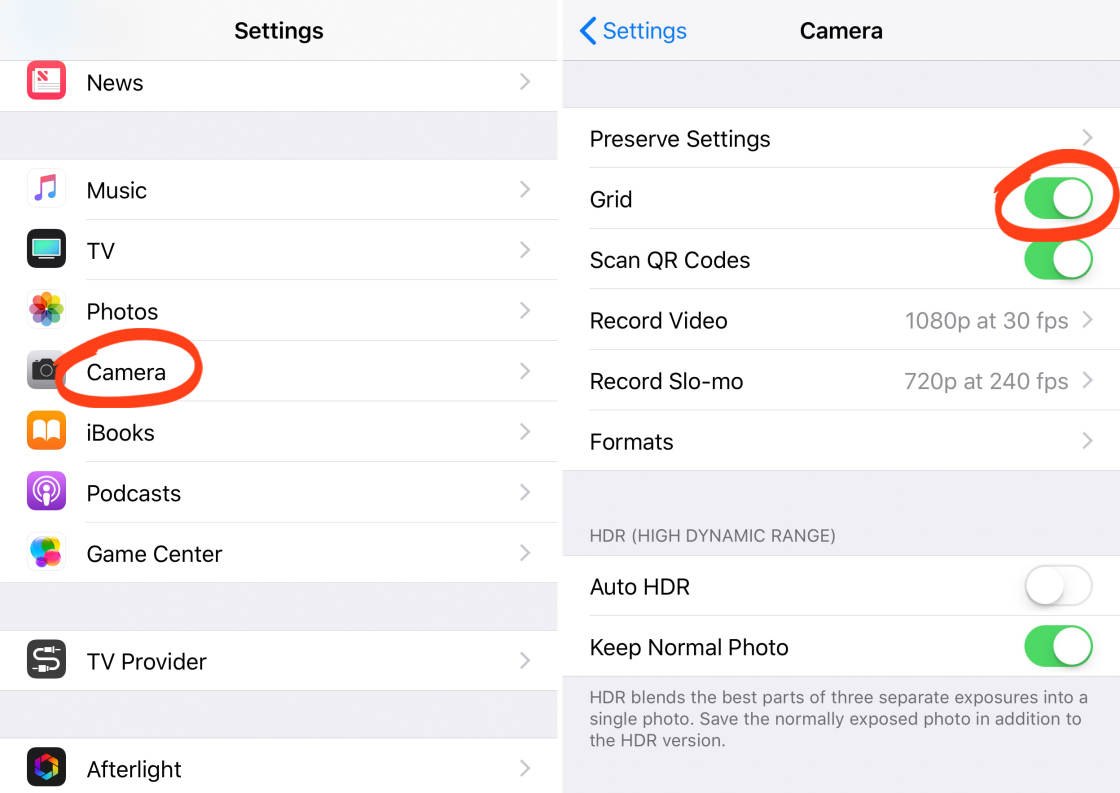
Go to the Home screen. Tap on Settings, then Camera. You'll see the option to deactivate Auto HDR. Press it.
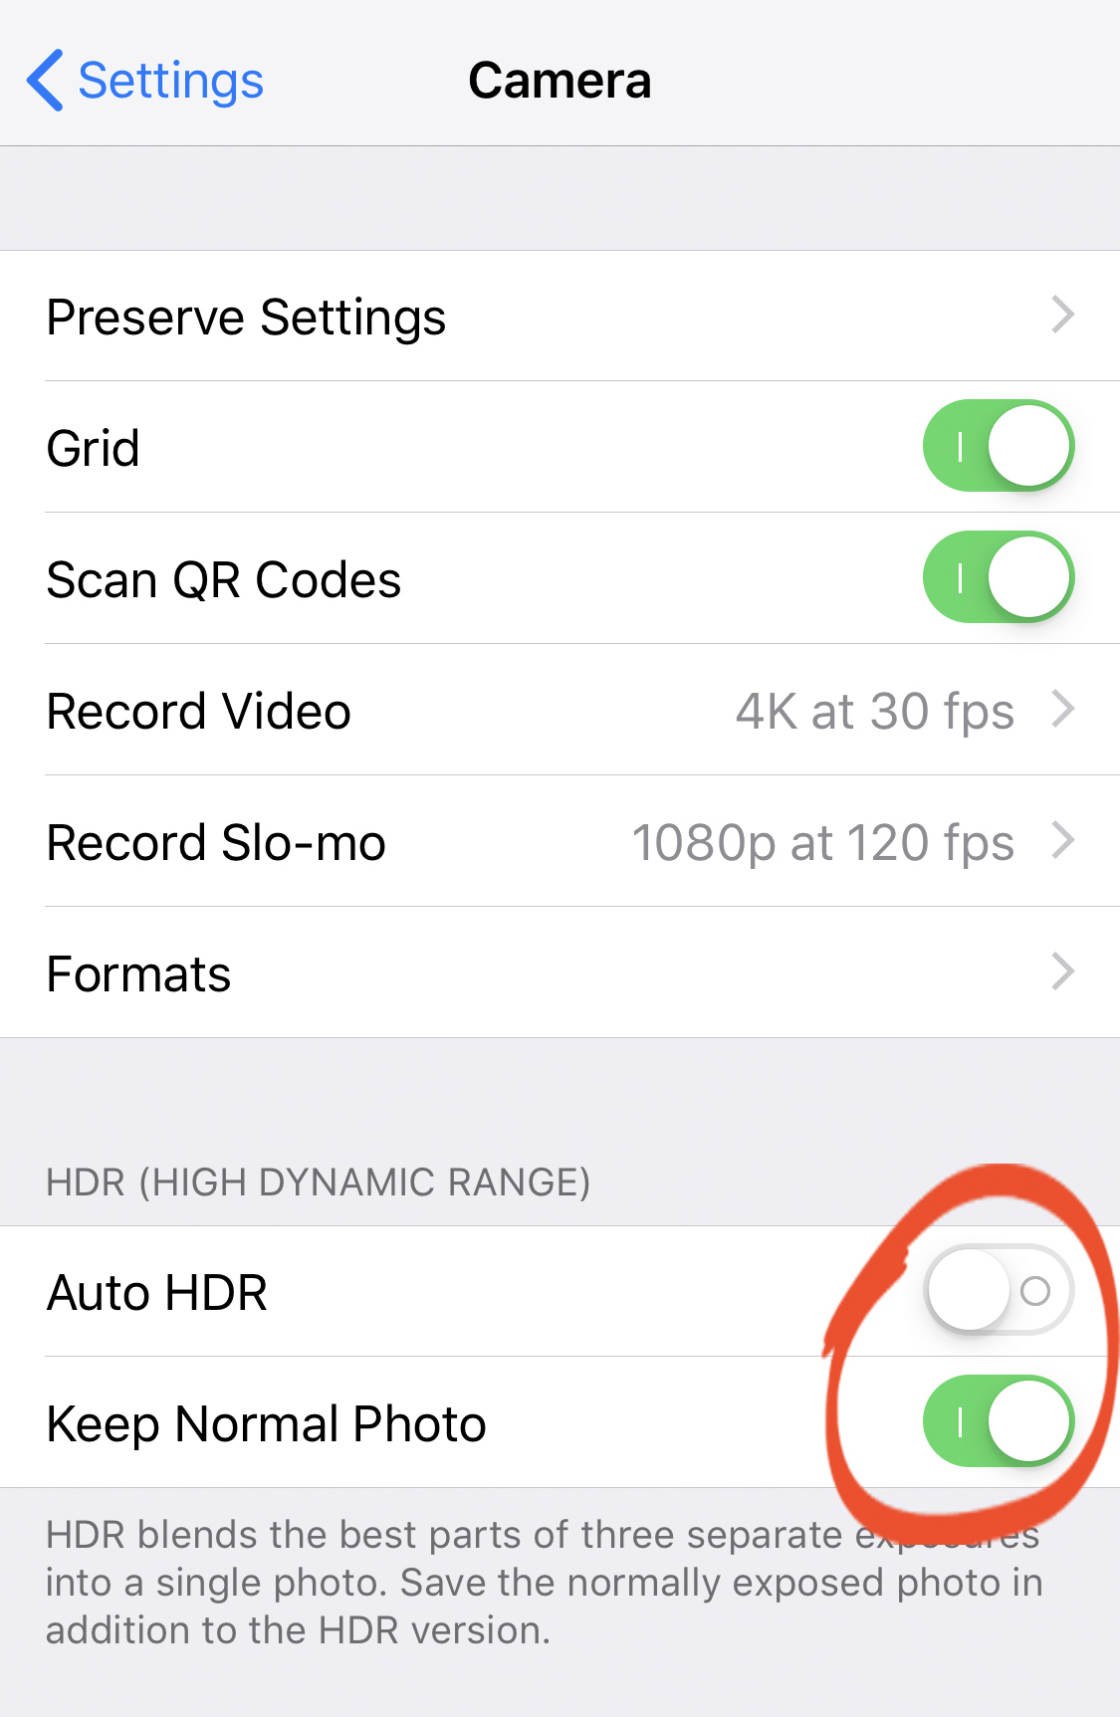
While in the Camera settings, you should also make sure that you have the Keep Normal Photo switched on. This acts as a backup. If you're not happy with your HDR photo, don't worry; your camera will have saved both an HDR and a non-HDR version.
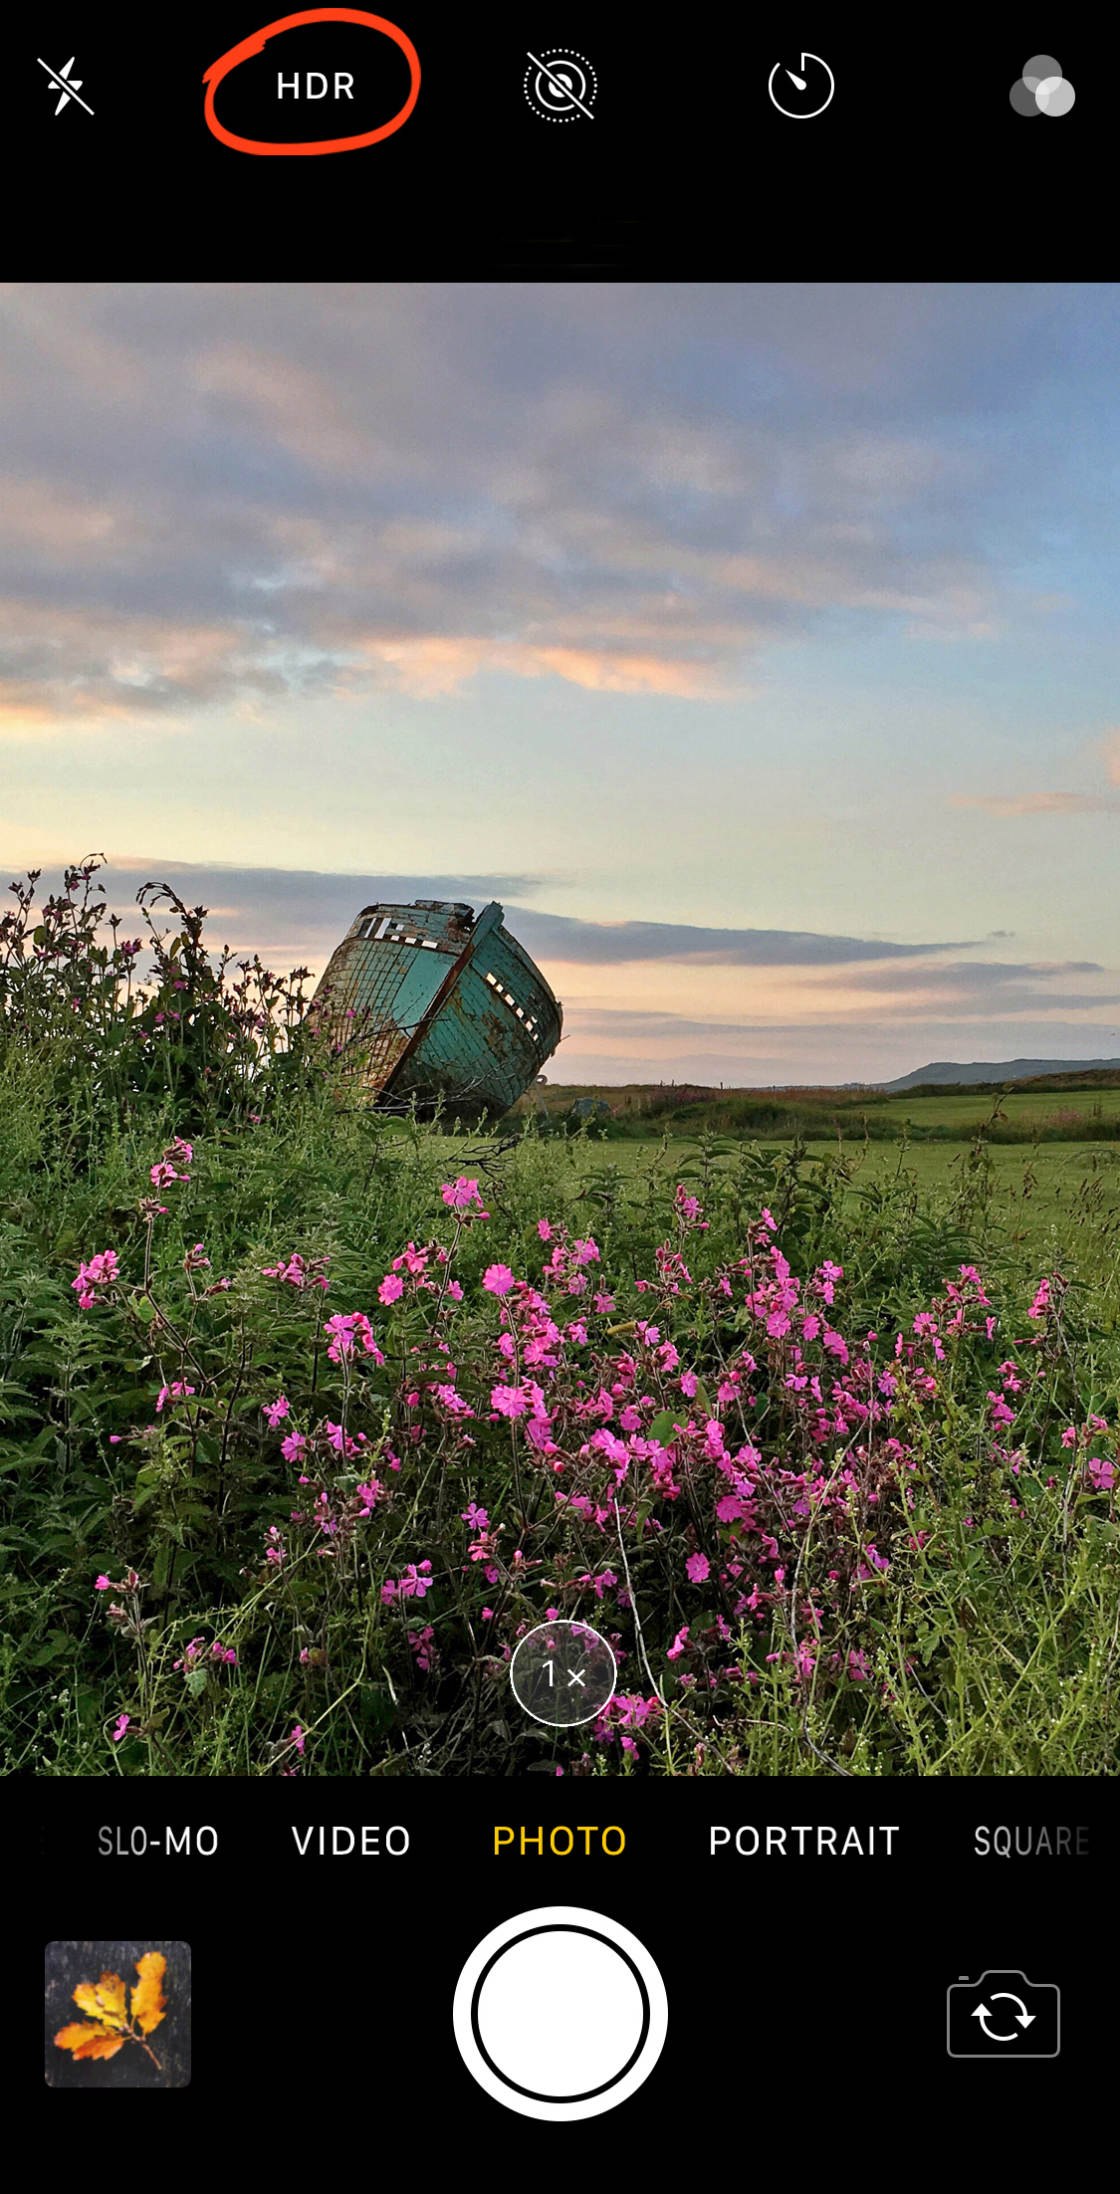
Now, open the iPhone camera and look at the top of the screen. An HDR icon should be present. Tap this icon, then select Onso that HDR appears in yellow.
You'll also notice an Auto HDR option. If you select this, the iPhone camera decides whether to use HDR. In general, I don't recommend this.
Why? It drains your iPhone's battery. When you are photographing a high-contrast scene, switch on the HDR setting yourself.
HDR is fantastic for shooting high-contrast scenes. Use it when photographing a sunset, a bright light, or an object with bright sky behind it.
However, the HDR setting doesn't work well when you're trying to record action shots. To capture an HDR photo, the iPhone camera actually takes three images. It then blends them together, taking the best parts from each image.
To do this, the iPhone camera takes one image after another. Fast moving objects will move from photo to photo. And this means that any action in the scene will appear slightly blurred. This effect is calledghosting, and it's best to avoid it in your photos.
But the HDR function performs well in other situations, and is fantastic for capturing high-contrast scenes. Use it when you want to portray beautiful detail in both highlights and shadows.
9. Use The Telephoto Lens To Get Closer To Your Subjects
It can be a real struggle to get close to your subjects. For example, if you're trying to photograph animals, you may not manage to get a tight shot using the camera's wide angle lens.
This is where the iPhone 8 Plus's telephoto lens comes in handy.
The telephoto lens is designed to magnify the scene—so that you can get those in-your-face shots that you've always dreamed of.
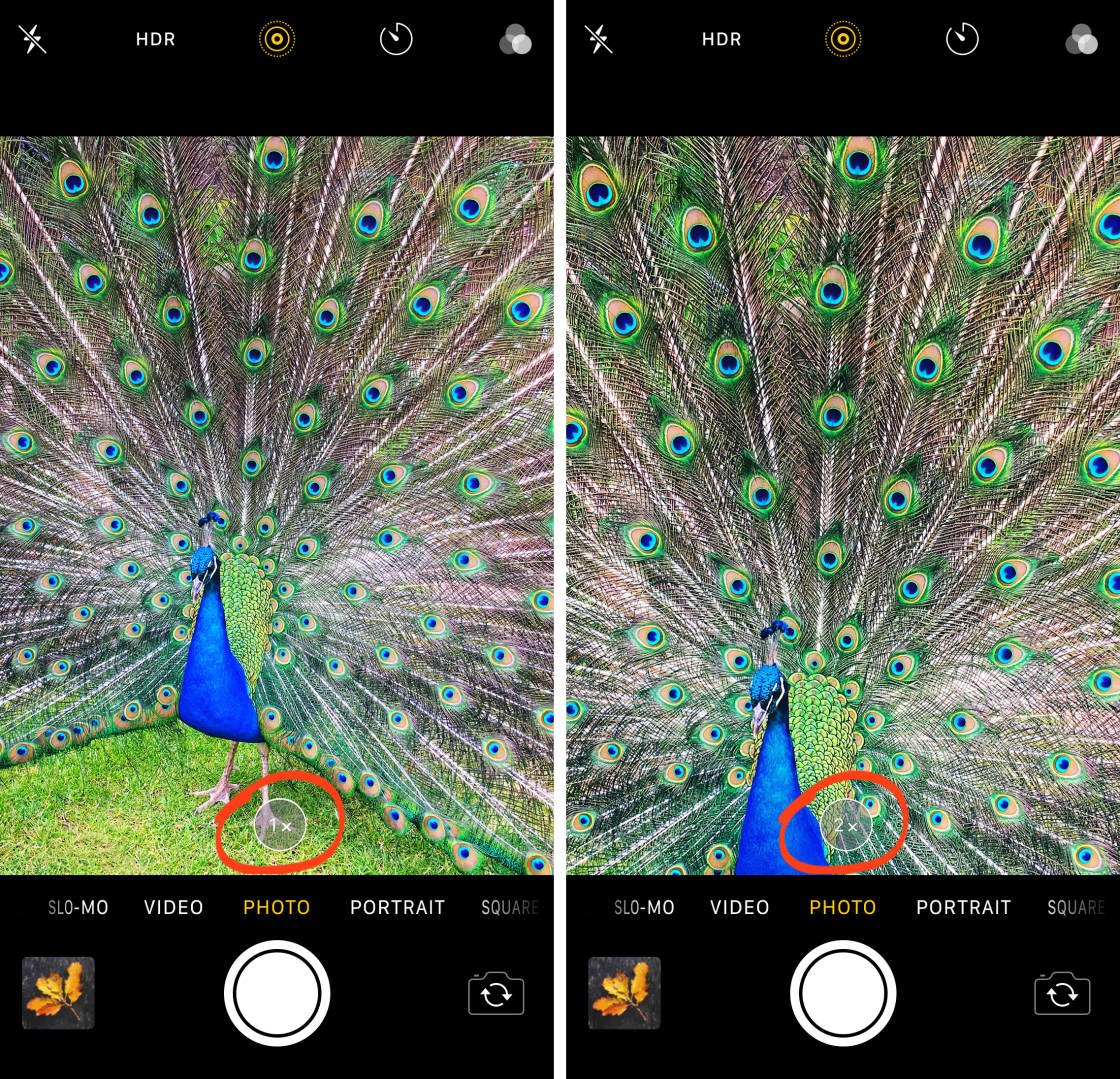
The default lens on the iPhone 8 Plus is the wide-angle lens. So how do you activate the telephoto lens?
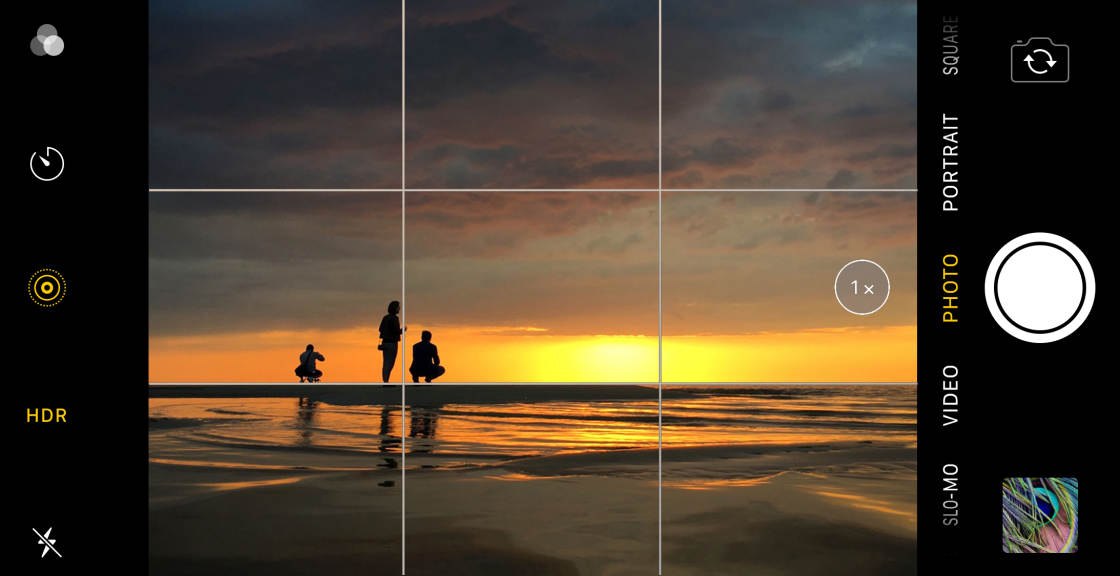
Simply open your camera and tap the 1x icon toward the bottom of the screen. And voila! Your camera will shoot with the telephoto lens. To switch back to the wide-angle lens, tap the 2x icon at the bottom of the screen.
When can you use this lens for stunning images?
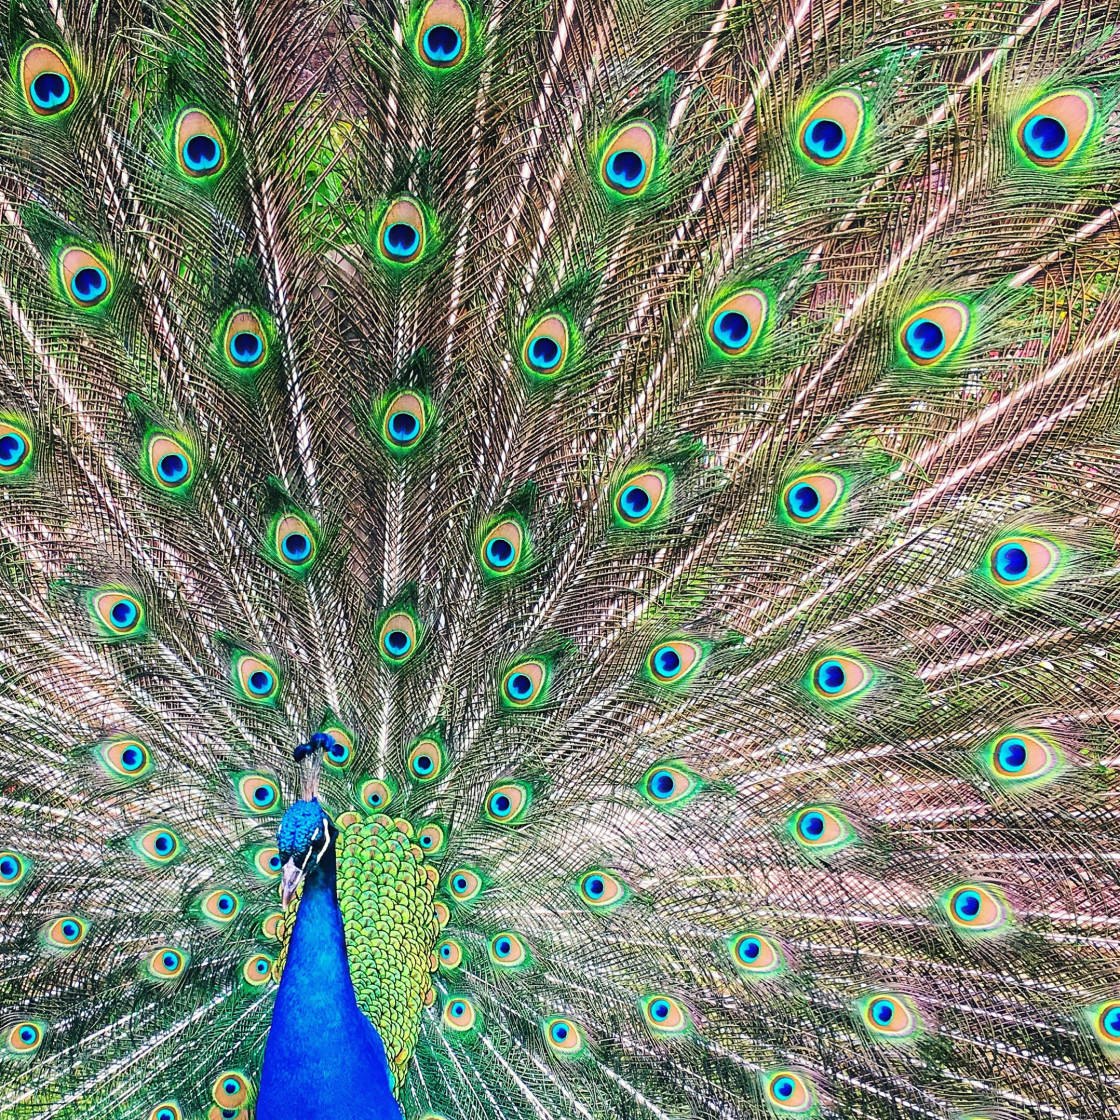
The telephoto lens is great for animal and pet photography. Use it to get powerful close-ups.
The telephoto lens is also fantastic for taking photos of people without actually bothering them.
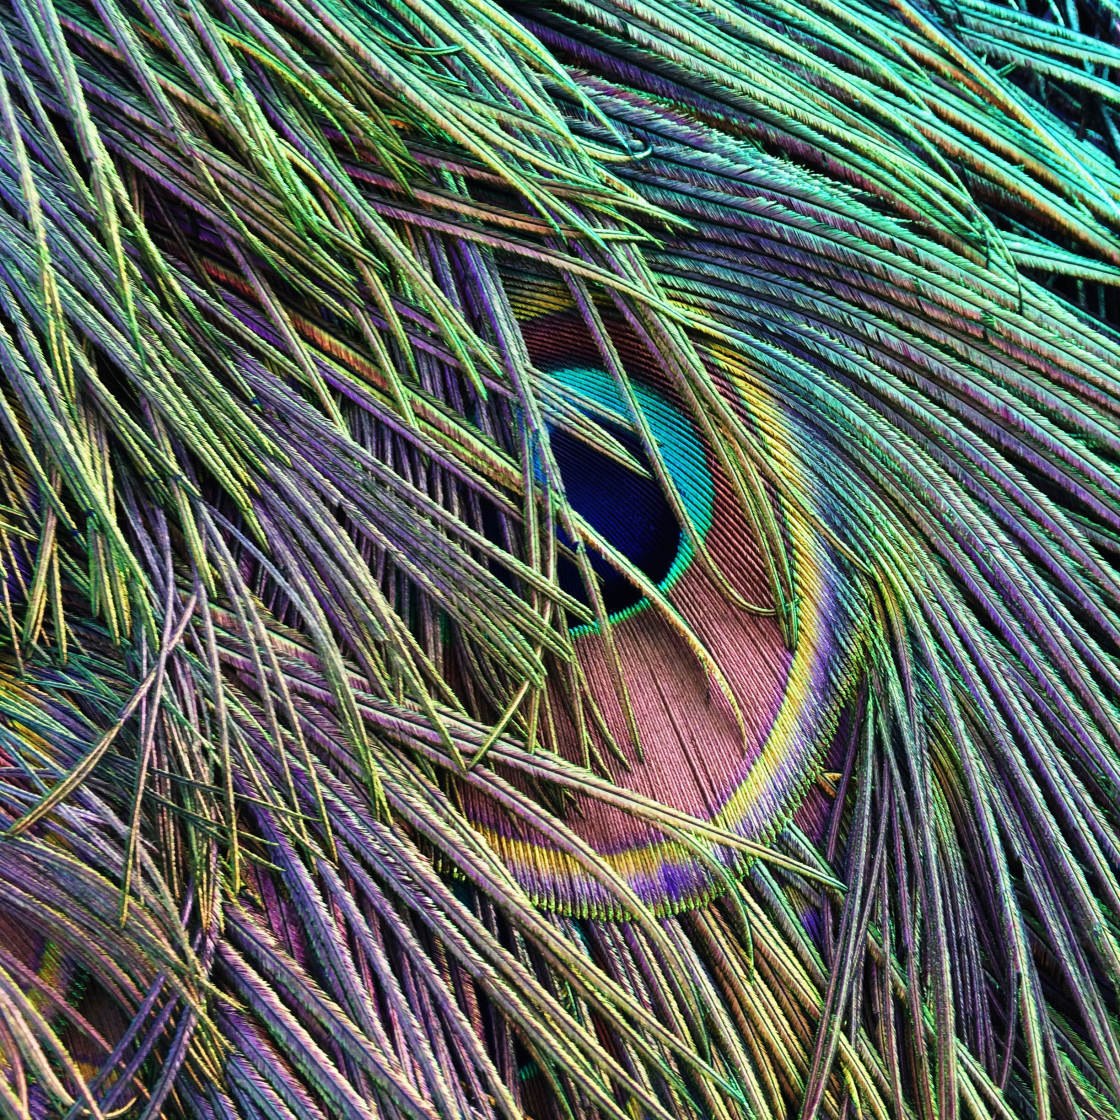
Finally, the telephoto lens is great for photographing close-ups of flowers and interesting textures. You can get close, really close—close enough to capture breathtaking detail.
However, it's best to avoid handholding the telephoto lens in low light situations. This is because the iPhone 8 Plus telephoto lens doesn't have optical image stabilization.
What does this mean?
Optical image stabilization is technology that stops you from taking blurry photos when the light is low. It's great for taking handheld photos when you shoot at night.
While the wide-angle lens on the iPhone 8 Plus does use optical image stabilization, the telephoto lens does not. So when shooting in low light, either use an iPhone tripod or switch to the wide-angle option.
In short, when photographing animals, strangers, portraits, or close-ups in good light, use the telephoto lens. It will allow you to get close without causing your subject any discomfort.

10. Turn On Live Photos To Make Your Photos Come To Life
Is a photo always enough to capture a special moment? A photo freezes a scene in time—but it doesn't show movement. It doesn't record sound.
Enter Live Photos.
The Live Photos setting allows you to take an image—but, when you open it in the Photos app, the image will be 'Live.' If you press and hold the image, you'll be shown a three second video clip containing footage from before and after the capture. It even contains sound!
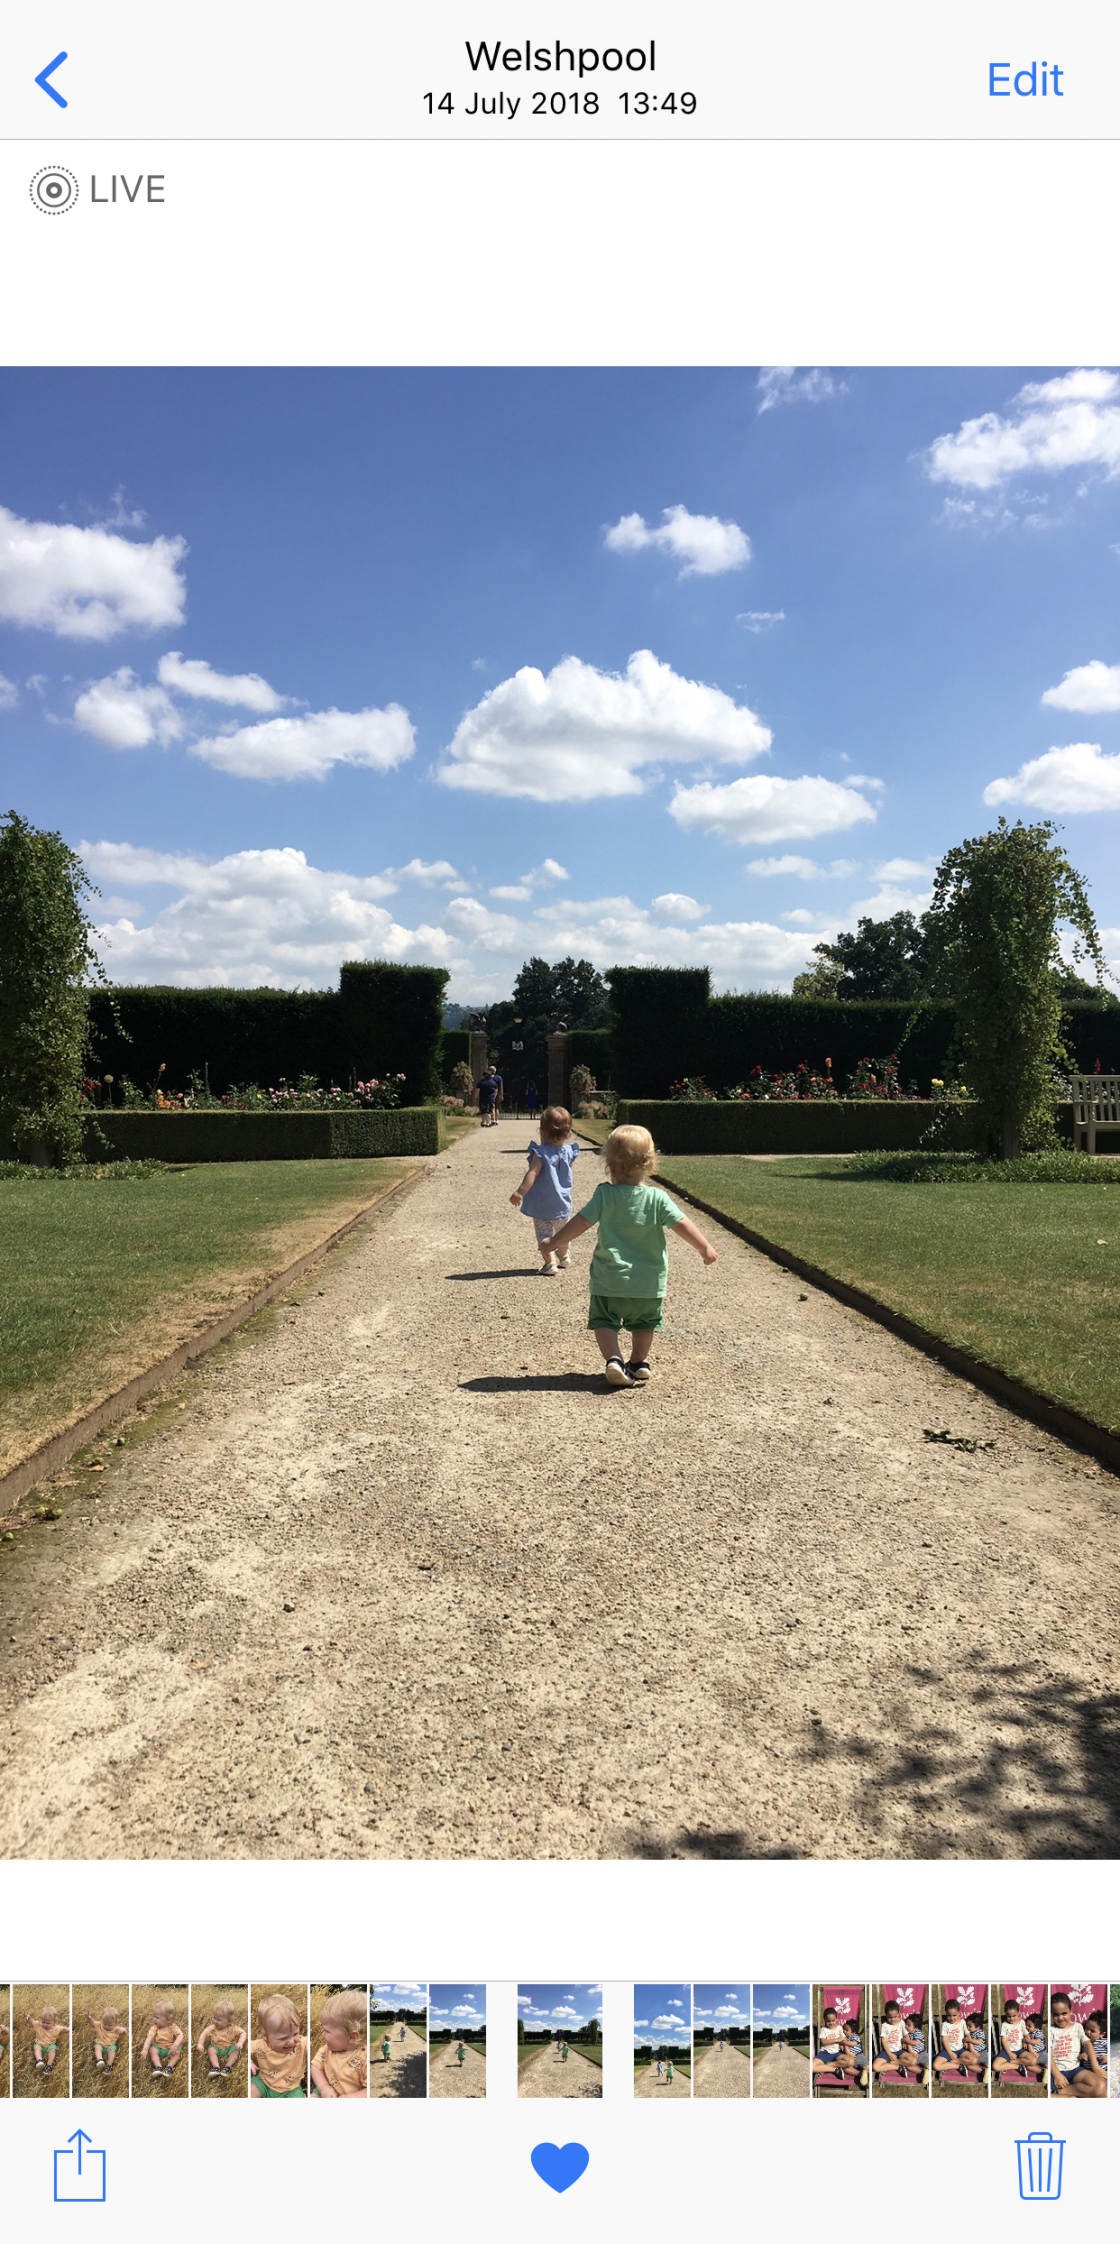
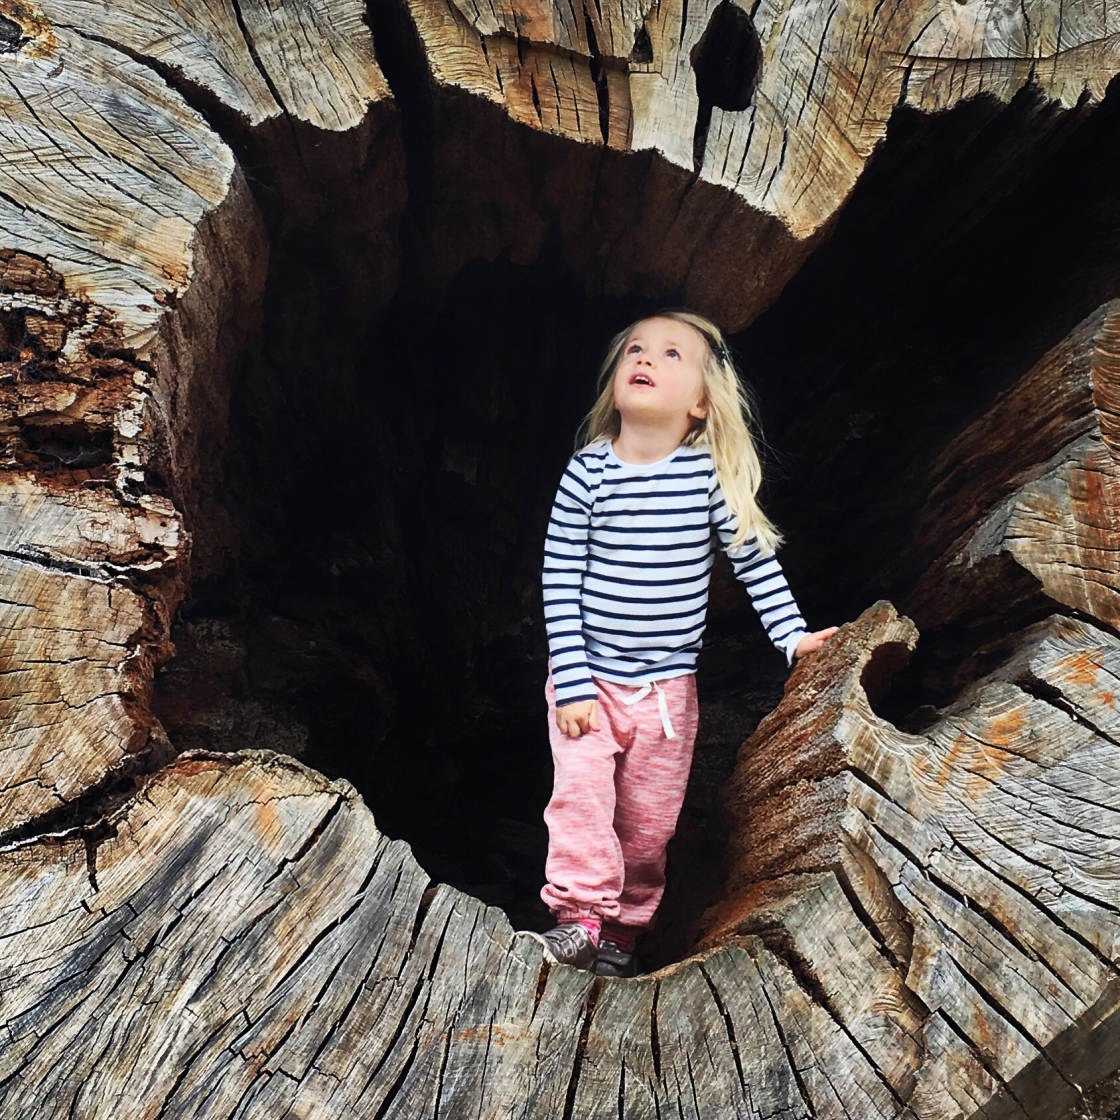
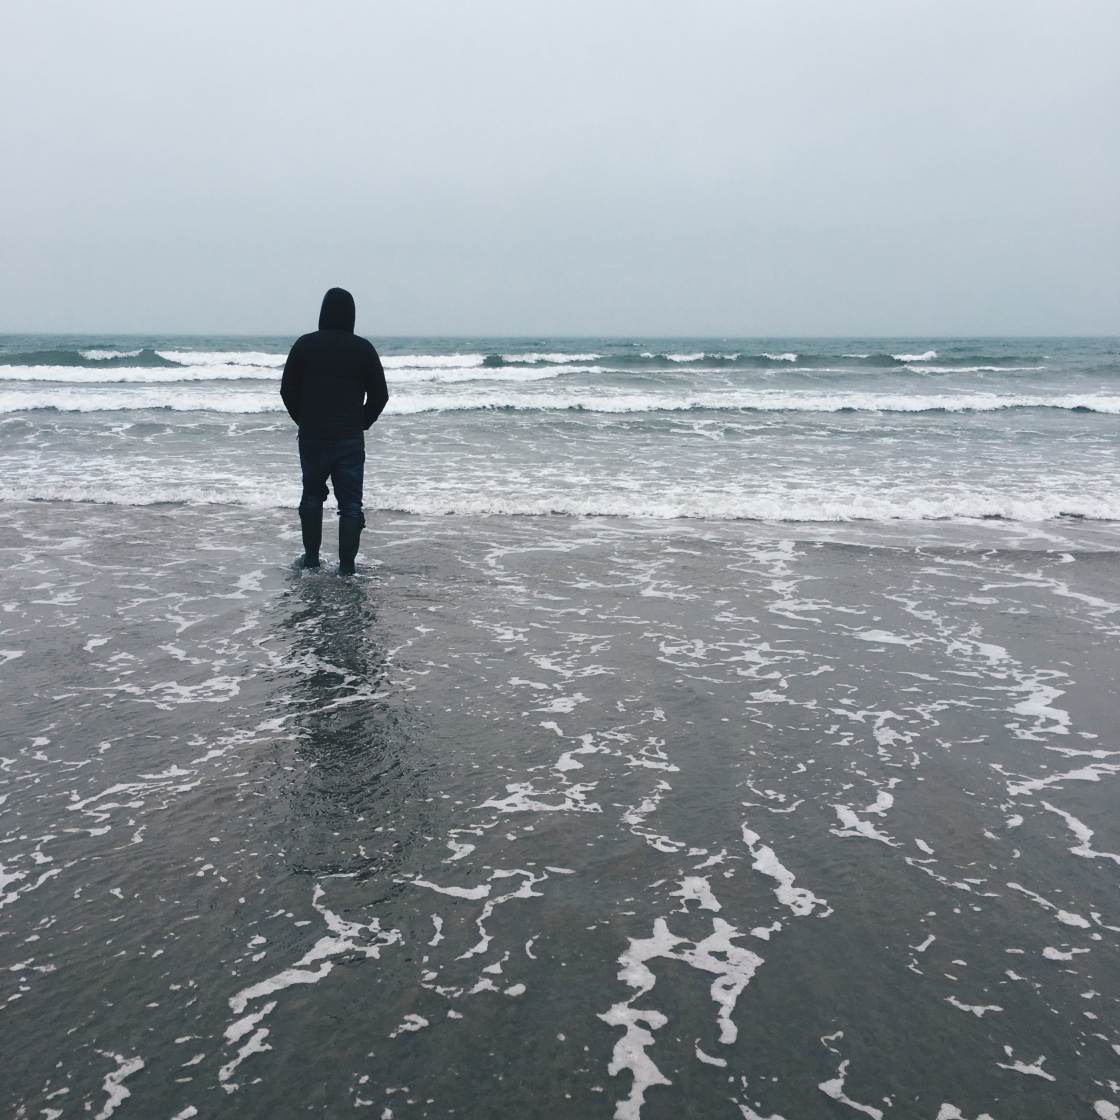
Live Photos are wonderful for recording those special moments with your family, or those times spent walking alone in nature. It's these Live Photos that you'll really treasure years later.
How do you turn on Live Photos?
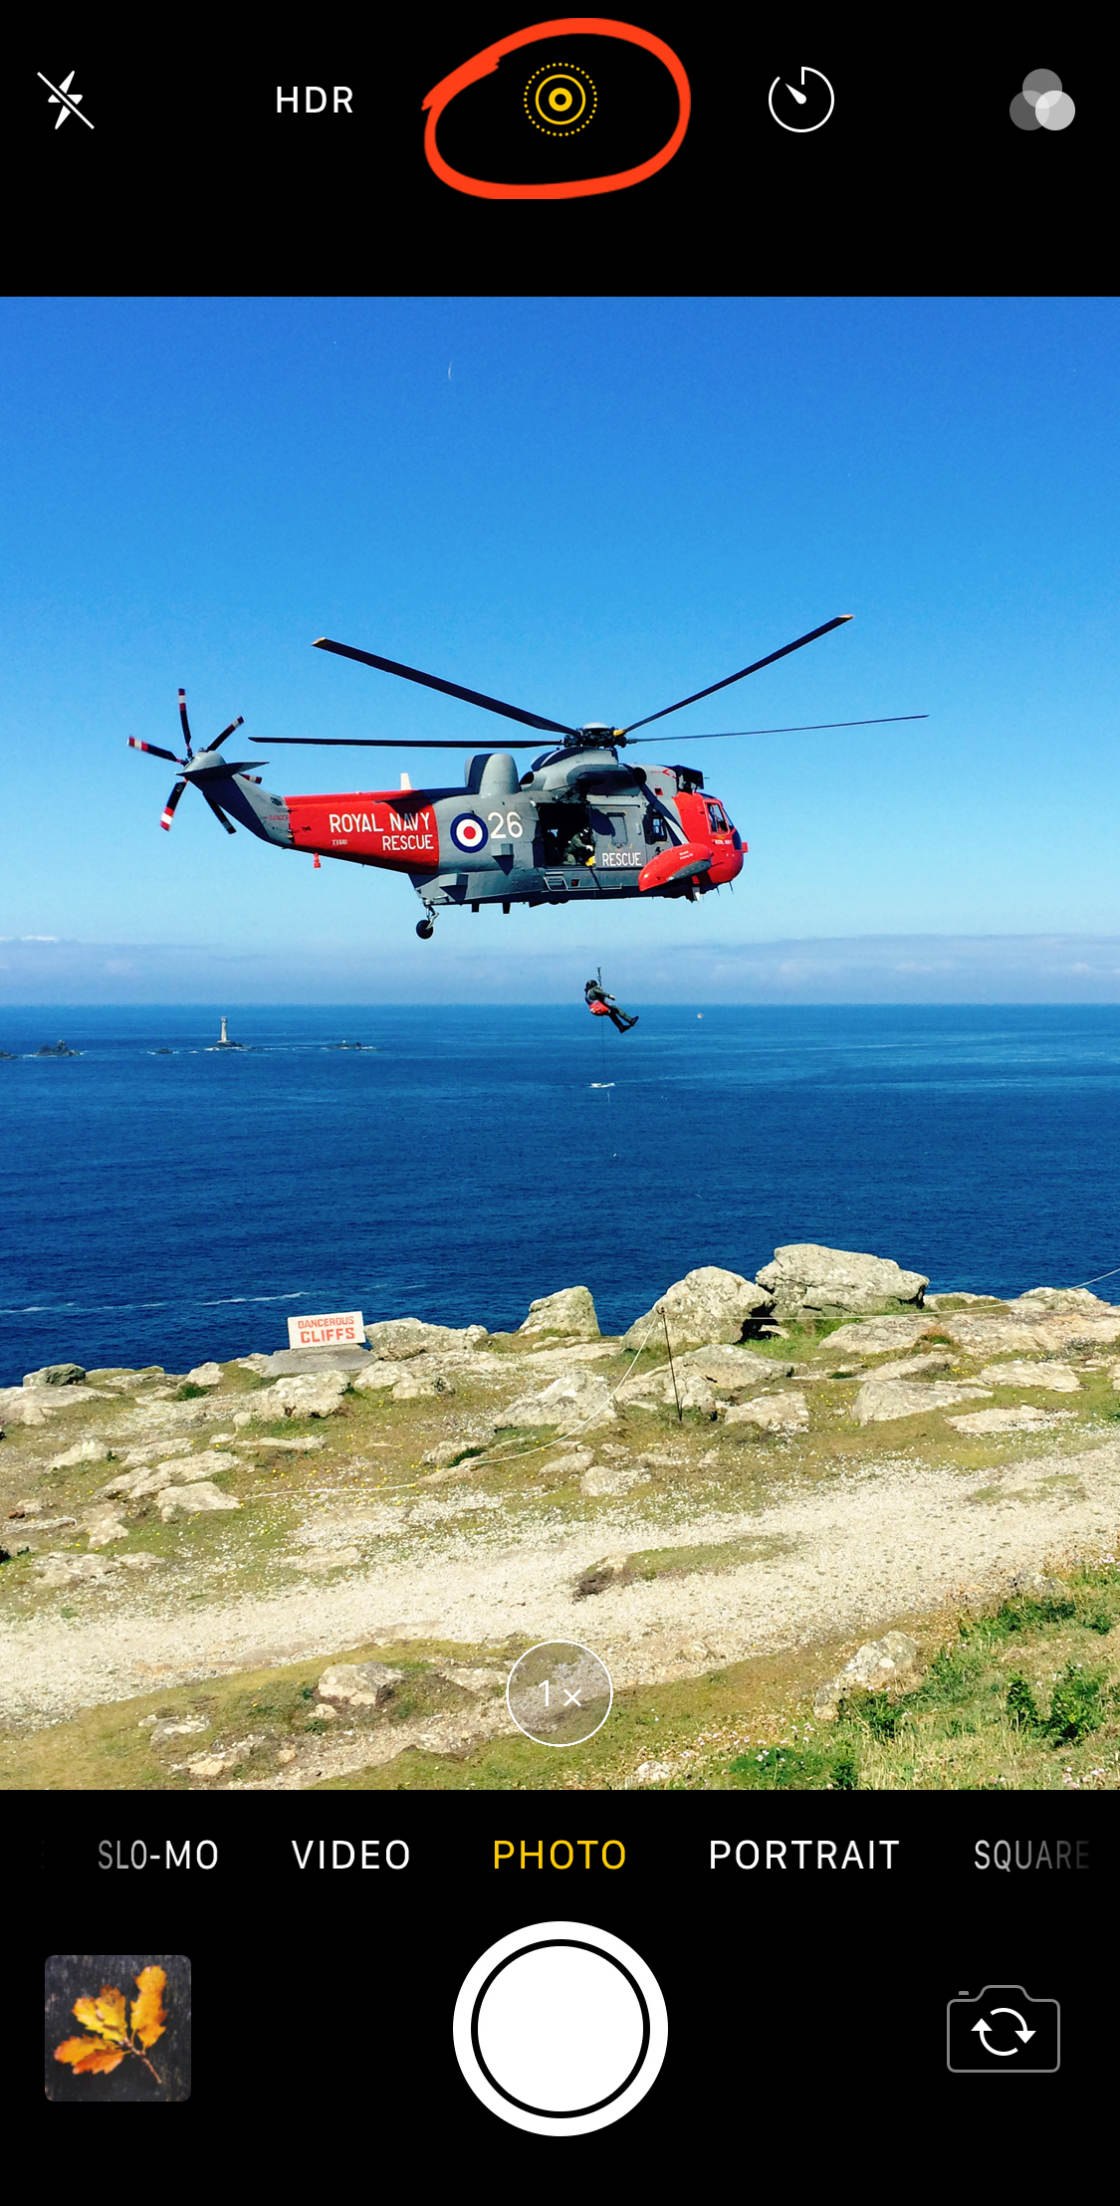
Open your camera and select the Live Photos icon at the top of the screen. When the Live Photos feature is active, the icon will turn yellow.
However, the fun has only just begun! Once you've taken your Live Photo, you can alter it using Live Photo effects.
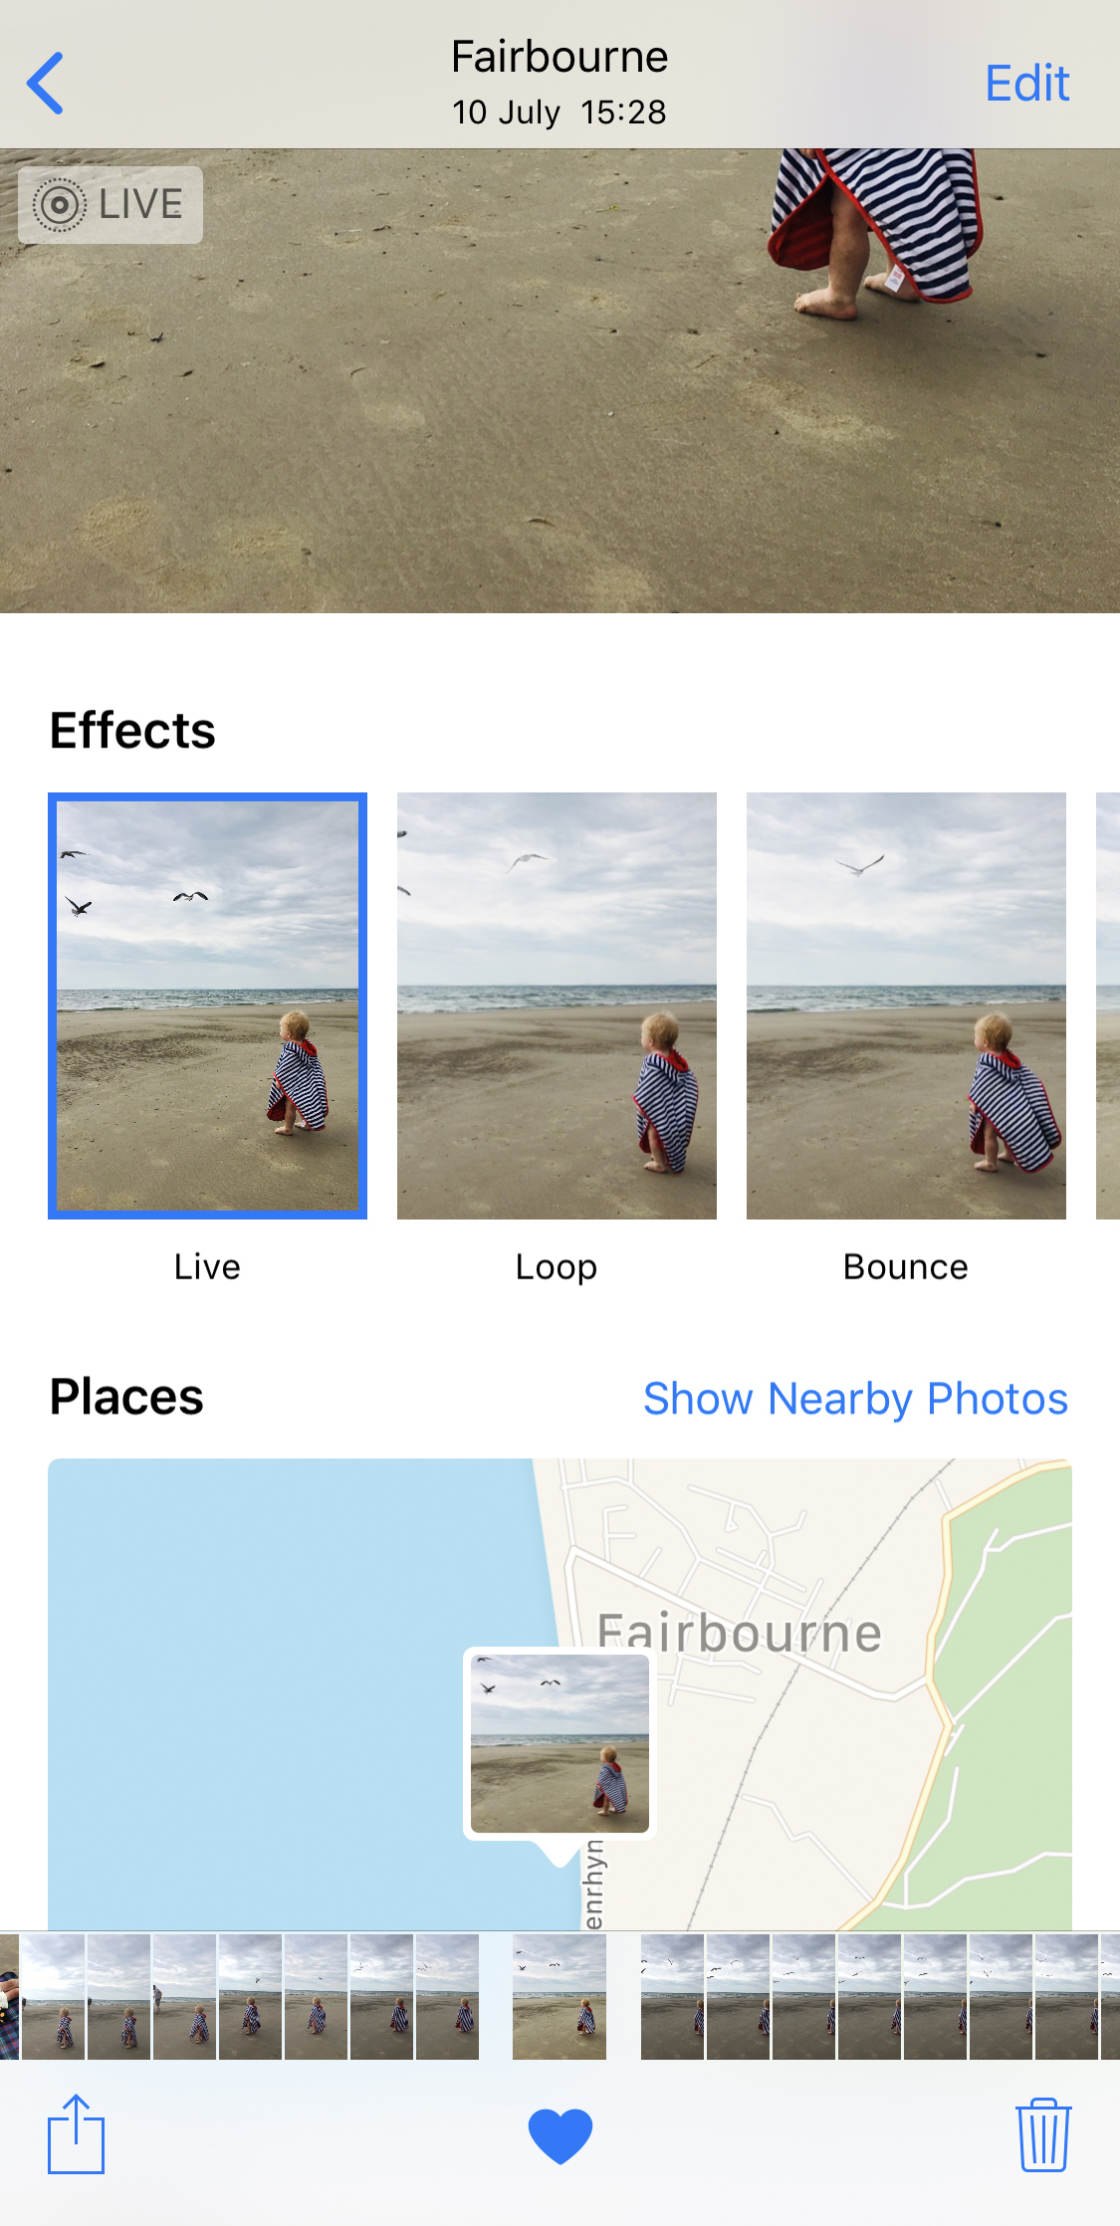
Find your Live Photo in the Photos app. Then swipe up to open the Effects panel.
You should see four options: Live, Loop, Bounce, and Long Exposure.
Tap the Loop option if you wish to display your Live Photo on a continuous loop.
Select the Bounce option if you want to display your Live Photo moving forward and then backward again.
Choose the Long Exposure option if you want to blend your Live Photo into a single long exposure photo.
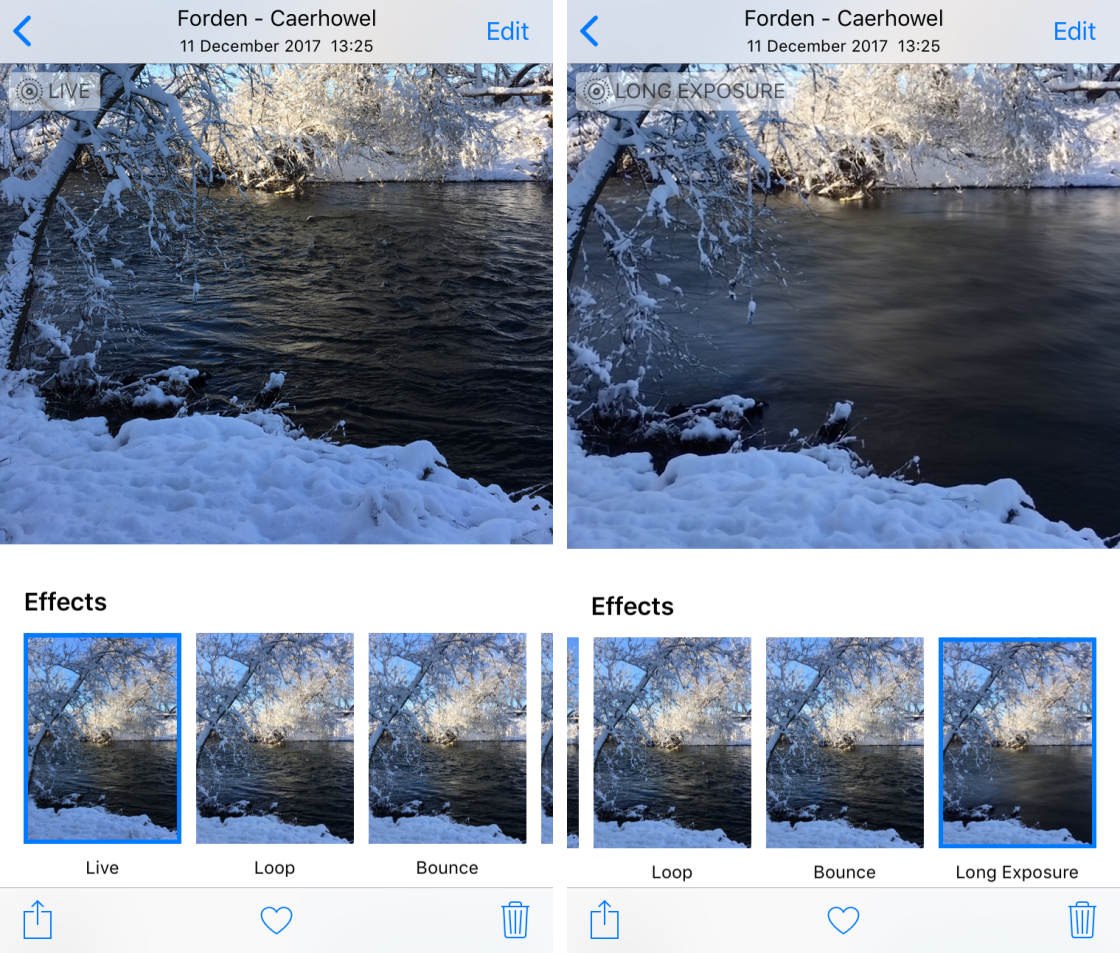
This is great for photographing moving water or flowers in the wind. Try to keep your camera perfectly still by placing it on a tripod or a stable surface.
What if you want to share your Live Photos? You'll want to convert your Live Photo to video, first. Then you'll be able to share it on many different platforms.
You can make your photos come alive with the Live Photos setting. Switch on Live Photos the next time you're experiencing a time really worth remembering.
11. Use The Self-Timer For Hands-Free Shooting
You may run into situations where you wish that you could take a photograph—without holding the camera.
For instance, you might want to take a self-portrait.
But how do you do this?
You use the iPhone 8 Plus self-timer.
This feature will allow you to delay the shutter. And it gives you the seconds you need to walk into the frame.
How do you switch on the self-timer?
At the top of the screen, select the Self-Timer icon. Then choose your shutter delay: three seconds (3s) or ten seconds (10s).
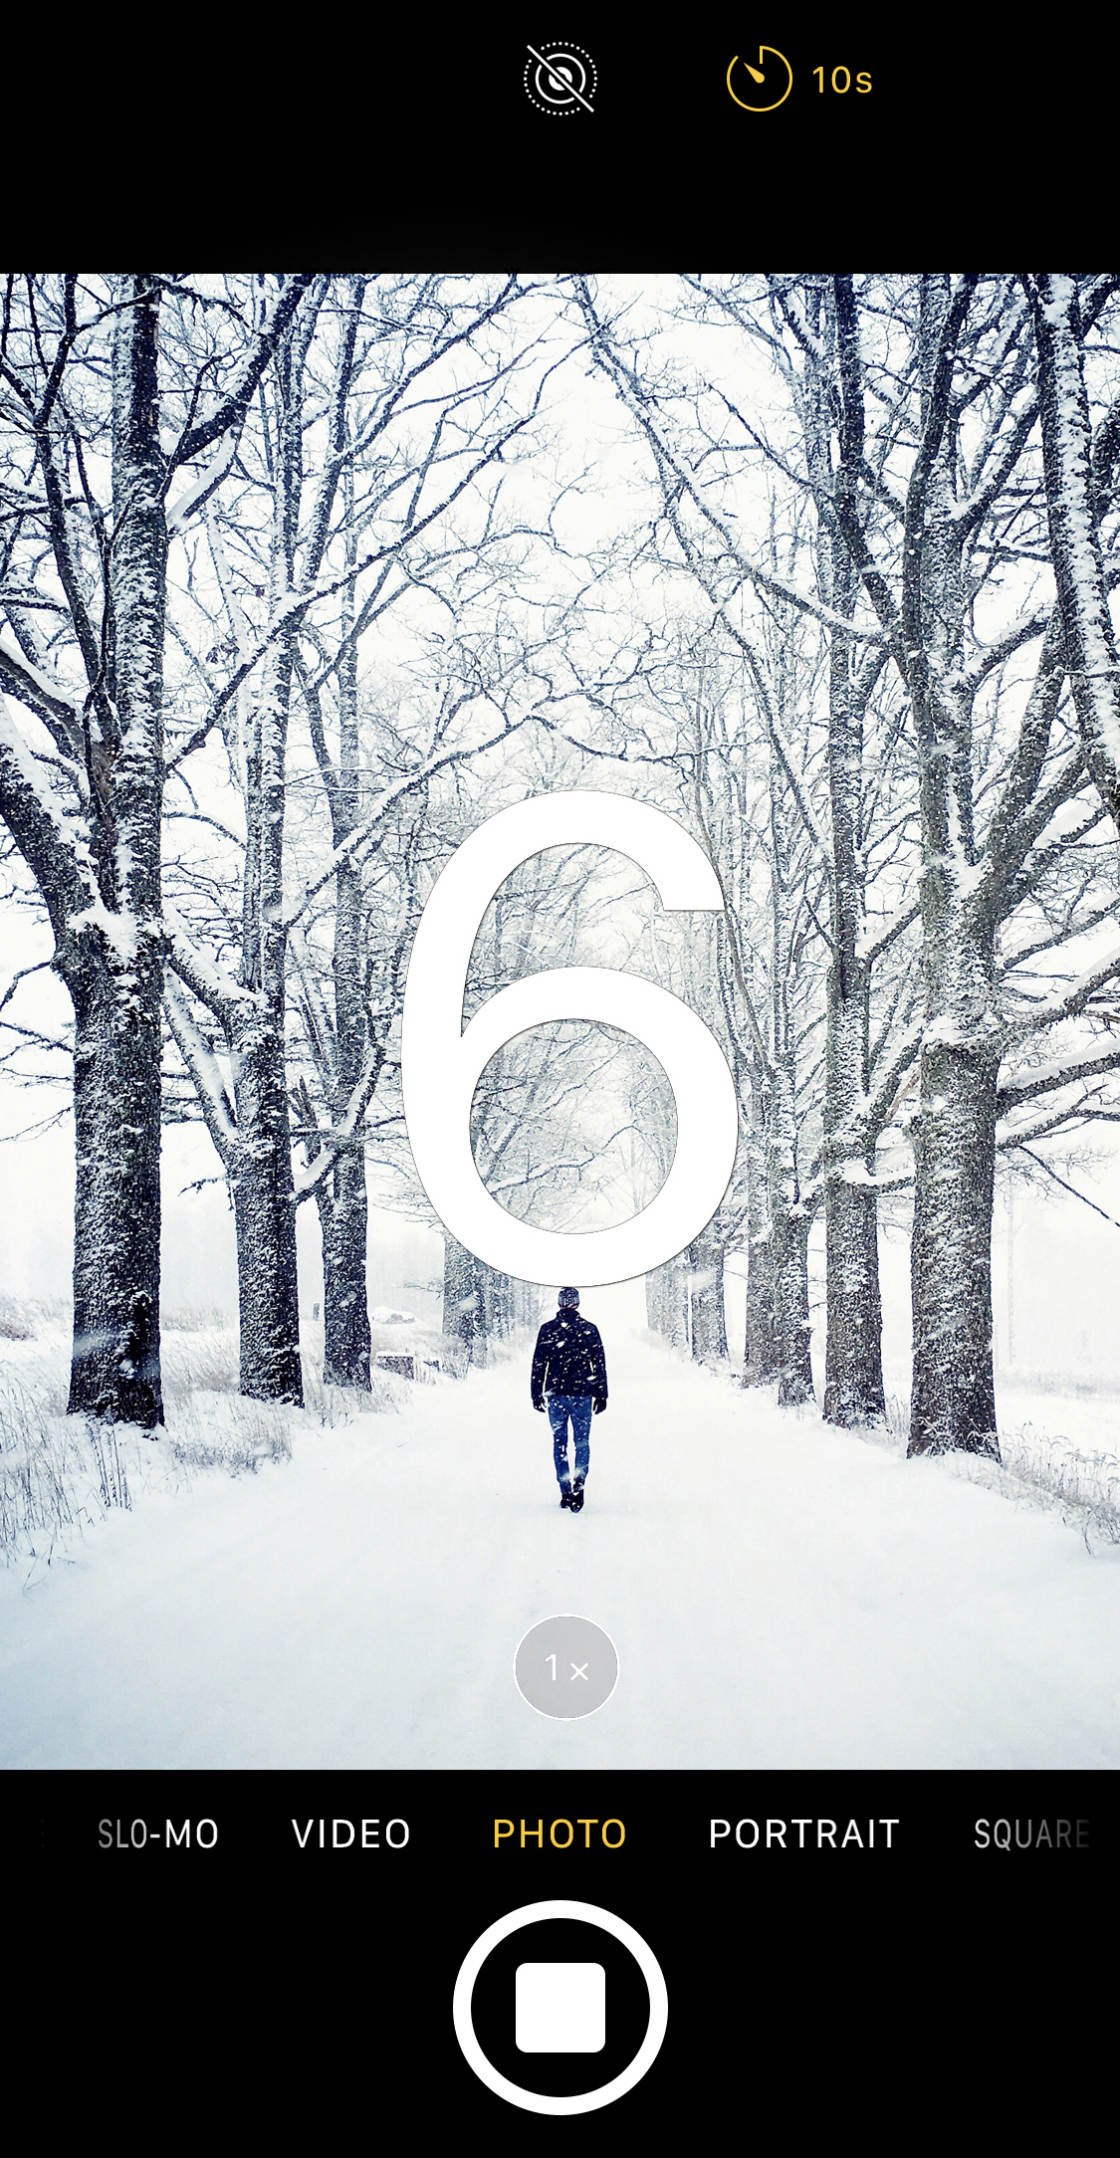
When you press the shutter button, the screen will display a countdown. When the countdown is complete, your camera will take a series of images.
As mentioned above, the self-timer is excellent for taking self-portraits. It's also great for taking group shots.
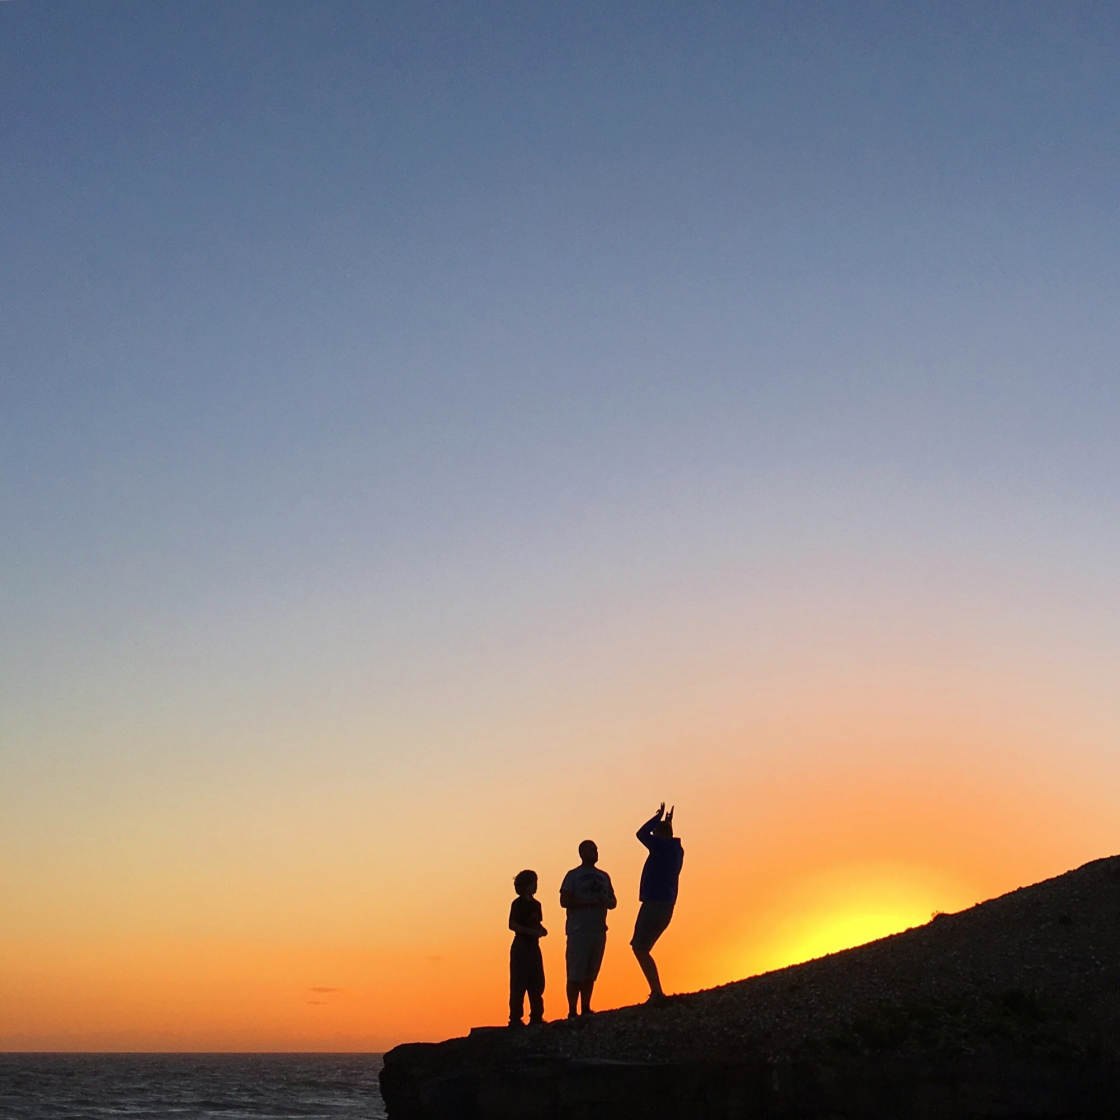
Simply set the ten second timer, place your iPhone on a tripod or against something solid, and walk into the frame.
So, next time you wish you had someone to take photos for you—never fear! Just whip out your iPhone, select the self-timer option, and take some hands free photos.
12. Use Burst Mode For Unbelievable Action Shots
You're photographing an action-filled scene, but everything is moving so fast. You're struggling to keep up. How do you take the perfect image?
You use burst mode.
Burst mode is one of my favorite iPhone camera features. It allows you to quickly take a series of shots: a burst. This ensures that you nail all of your action photos.
How do you use burst mode?
Simple: You press and hold the shutter button. The camera will continue to take photos as long as your finger is holding the button.
When you view a burst of shots in the Photos app, tapSelect at the bottom of the screen.
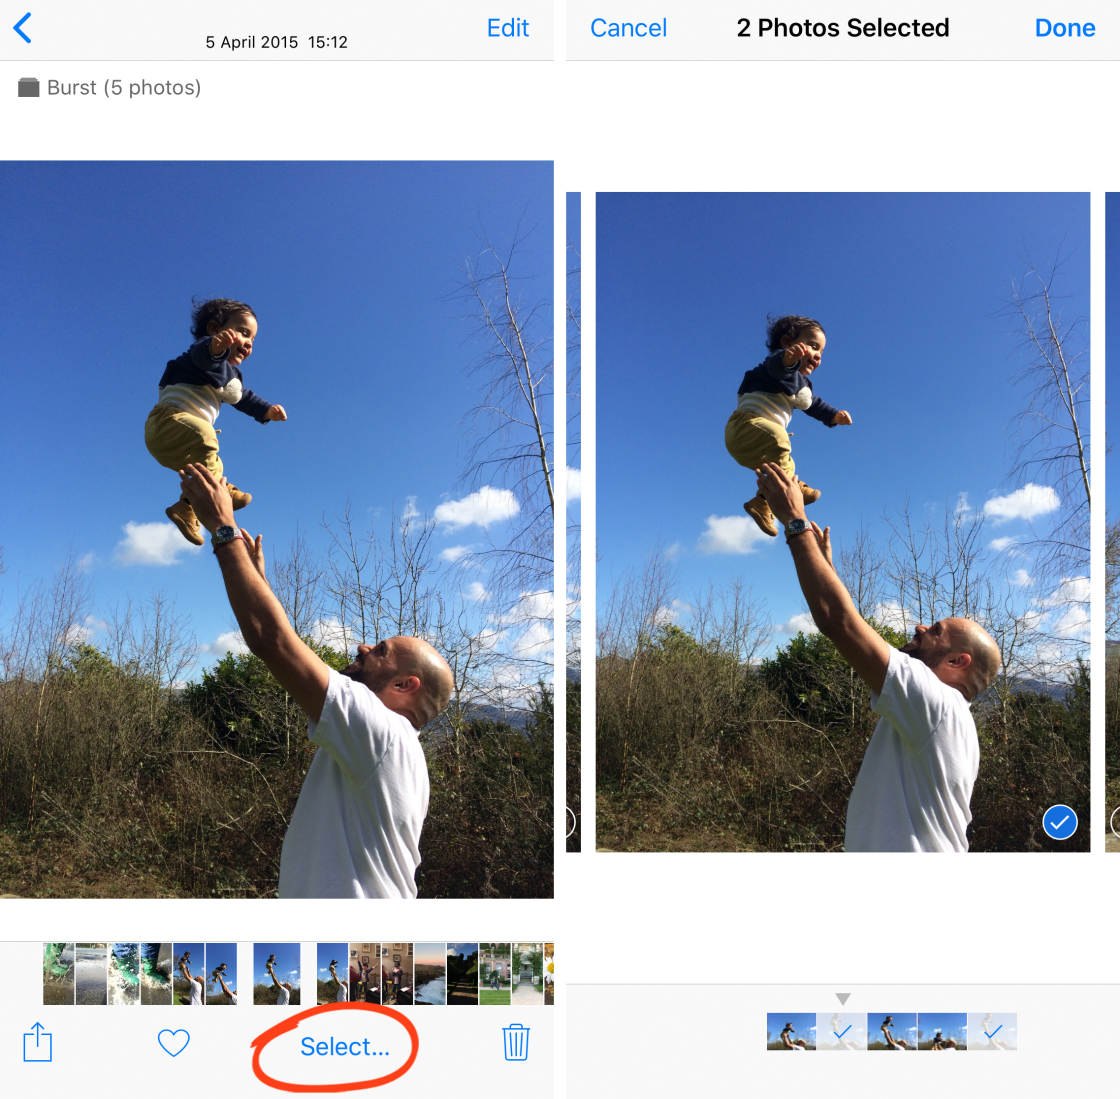
This will open the burst, and allow you to scroll through the series of photos that you've taken. You can select the best images. Your iPhone will delete the rest.
So next time you need to take an action shot, use burst mode. Your keeper rate will be greatly improved!
13. How Does iPhone 8 Plus Camera Compare To Other iPhones?
You may be wondering: Is the iPhone 8 Plus camera good enough? Should you get the iPhone 8 instead? Or purchase one of the newer iPhones?
In this section, I give you a rundown of the iPhone 8 Plus camera versus the iPhone 8. I also compare the iPhone 8 Plus camera to the newer iPhone offerings: the iPhone X camera, the iPhone XR camera, the iPhone XS camera, and the iPhone XS Max camera.
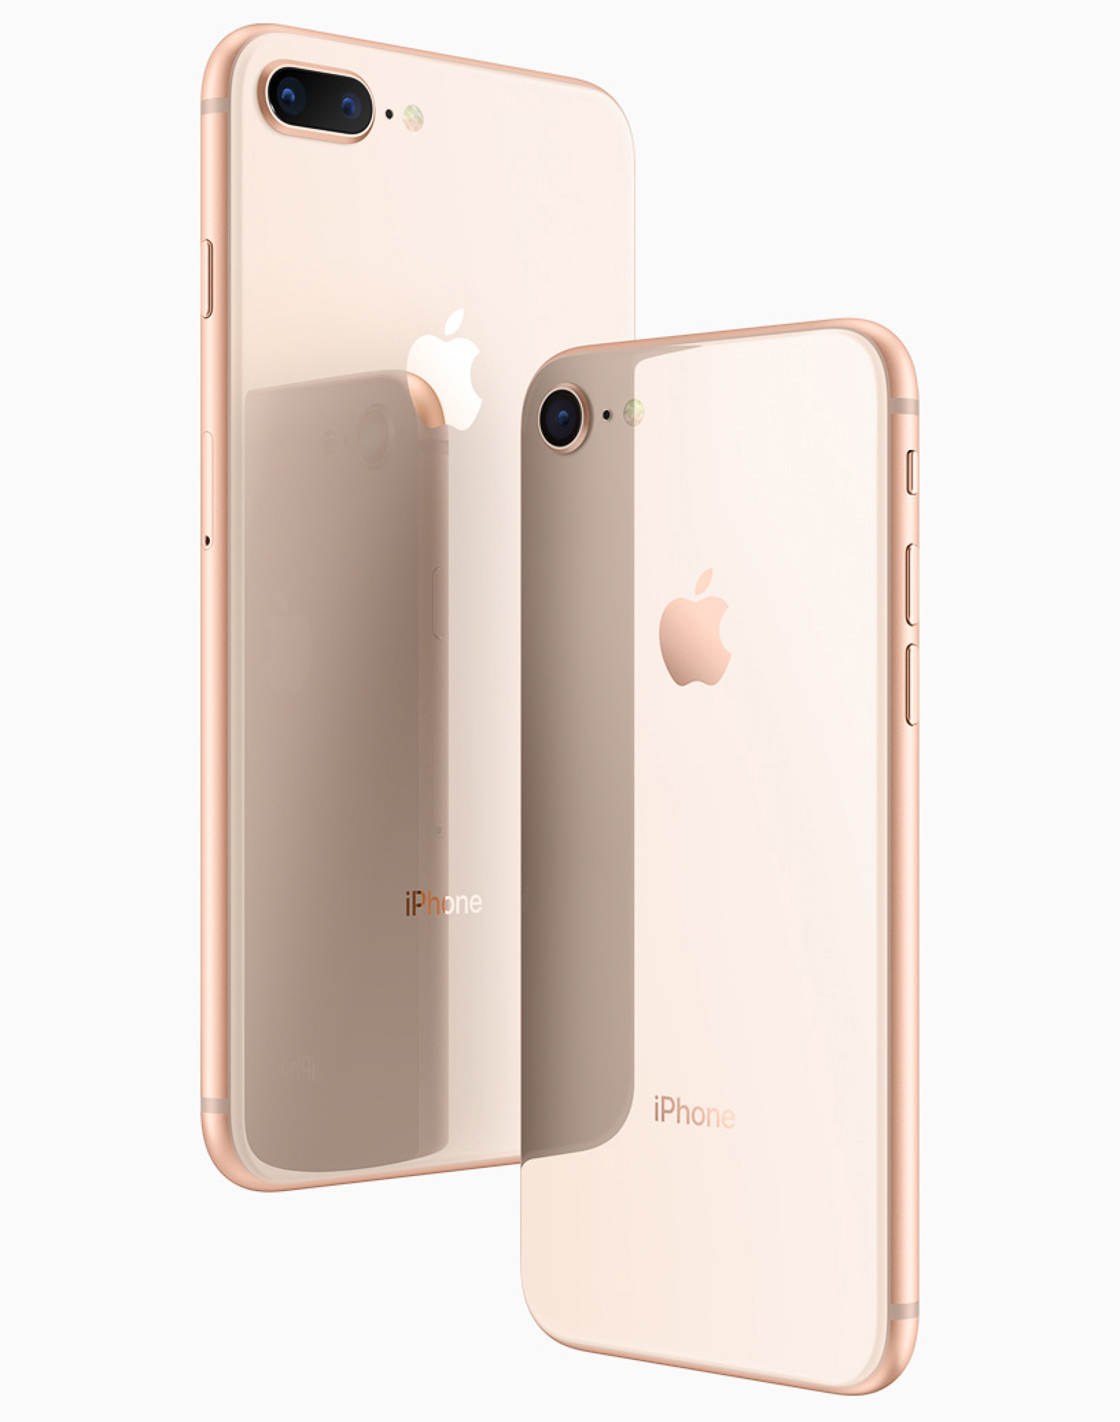
13.1 iPhone 8 Plus vs iPhone 8 Camera
I have good news for you: The iPhone 8 Plus camera is better than the iPhone 8 camera.
It's that simple.
What makes me say this? A couple of things.
First, the iPhone 8 Plus has two lenses, a wide angle and a telephoto.
But the iPhone 8 only has the wide-angle lens—a lens that is identical to the iPhone 8 Plus wide-angle lens.
The iPhone 8 Plus also offers Portrait mode, which the iPhone 8 lacks.
Therefore, the iPhone 8 Plus gets you every bit of camera that the iPhone 8 has, and packs a telephoto lens and Portrait mode as bonuses. As you know, the telephoto lens is extremely useful for street photography, portraits, and close-up photography. And Portrait mode can enhance your portraits even more.
So choose the iPhone 8 Plus over the iPhone 8.
13.2 iPhone 8 Plus vs iPhone X Camera
For those of you who are thinking about buying the iPhone X camera, I have bad news: Apple is discontinuing the iPhone X.
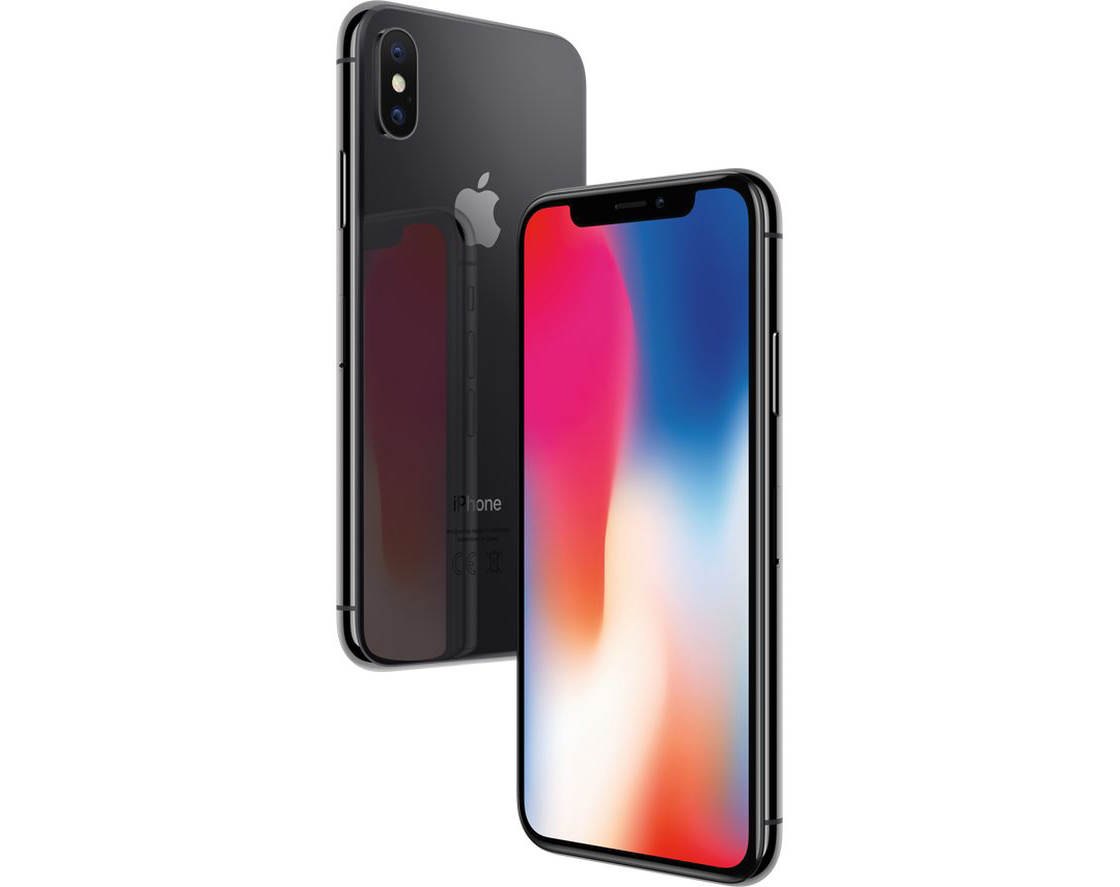
You can still buy the iPhone X from other retailers or on the used market. But why do that when you have so many other options?
Apple has recently announced three new iPhones, all packing powerful new cameras: the iPhone XR, the iPhone XS, and the iPhone XS Max…
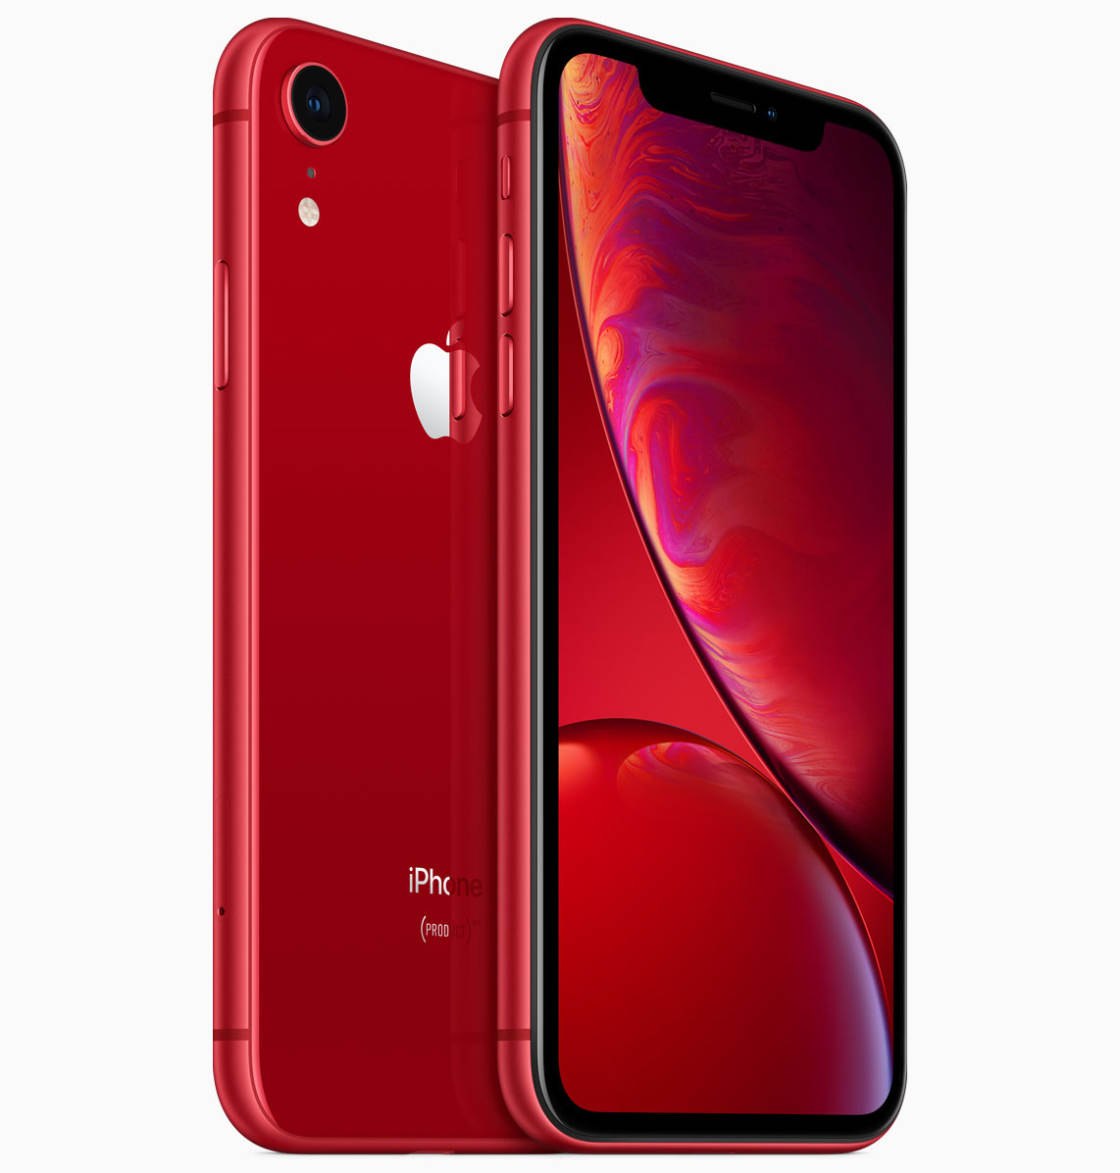
13.3 iPhone 8 Plus vs iPhone XR Camera
The iPhone XR comes with a new and shiny camera. In many ways, it's an advancement over the iPhone 8 Plus.
First, the iPhone XR camera sports a better sensor than the iPhone 8 Plus. This is especially important for night photography, when lower-quality sensors produce very noisy and unpleasant photos. With the iPhone XR camera, you'll be able to shoot better low-light images compared to the iPhone 8 Plus.
Second, the iPhone XR offers a new form of HDR photography: Smart HDR. This allows you to take HDR photos of moving subjects. The ghosting effect that is present in iPhone 8 Plus HDR photos will be removed. You'll now be able to capture beautiful, detailed images of high-contrast action scenes.
Third, the iPhone XR provides an upgraded Portrait mode. This will allow users to control the level of background blur. You'll be able to make more creative decisions when shooting portraits that pop off the page.
Finally, the iPhone XR possesses a larger screen than the iPhone 8 Plus. This means that you'll have an easier time viewing your camera. And you'll have an easier time editing your photos.
Unfortunately, there is one main downside to the iPhone XR camera, and it's a big one.
The iPhone XR doesn't have a telephoto lens.
For me, this is a deal breaker. The telephoto lens on the iPhone 8 Plus is fantastic for capturing close-up images of people, plants, and portraits. It's a big improvement over the single wide-angle lens.
As I mentioned, the iPhone XR does still have Portrait mode. But it doesn't use a telephoto lens for this. Instead, Apple's new technology blurs the background using only the single wide-angle lens. While this is a cool new feature, it just doesn't make up for the loss of the telephoto lens.
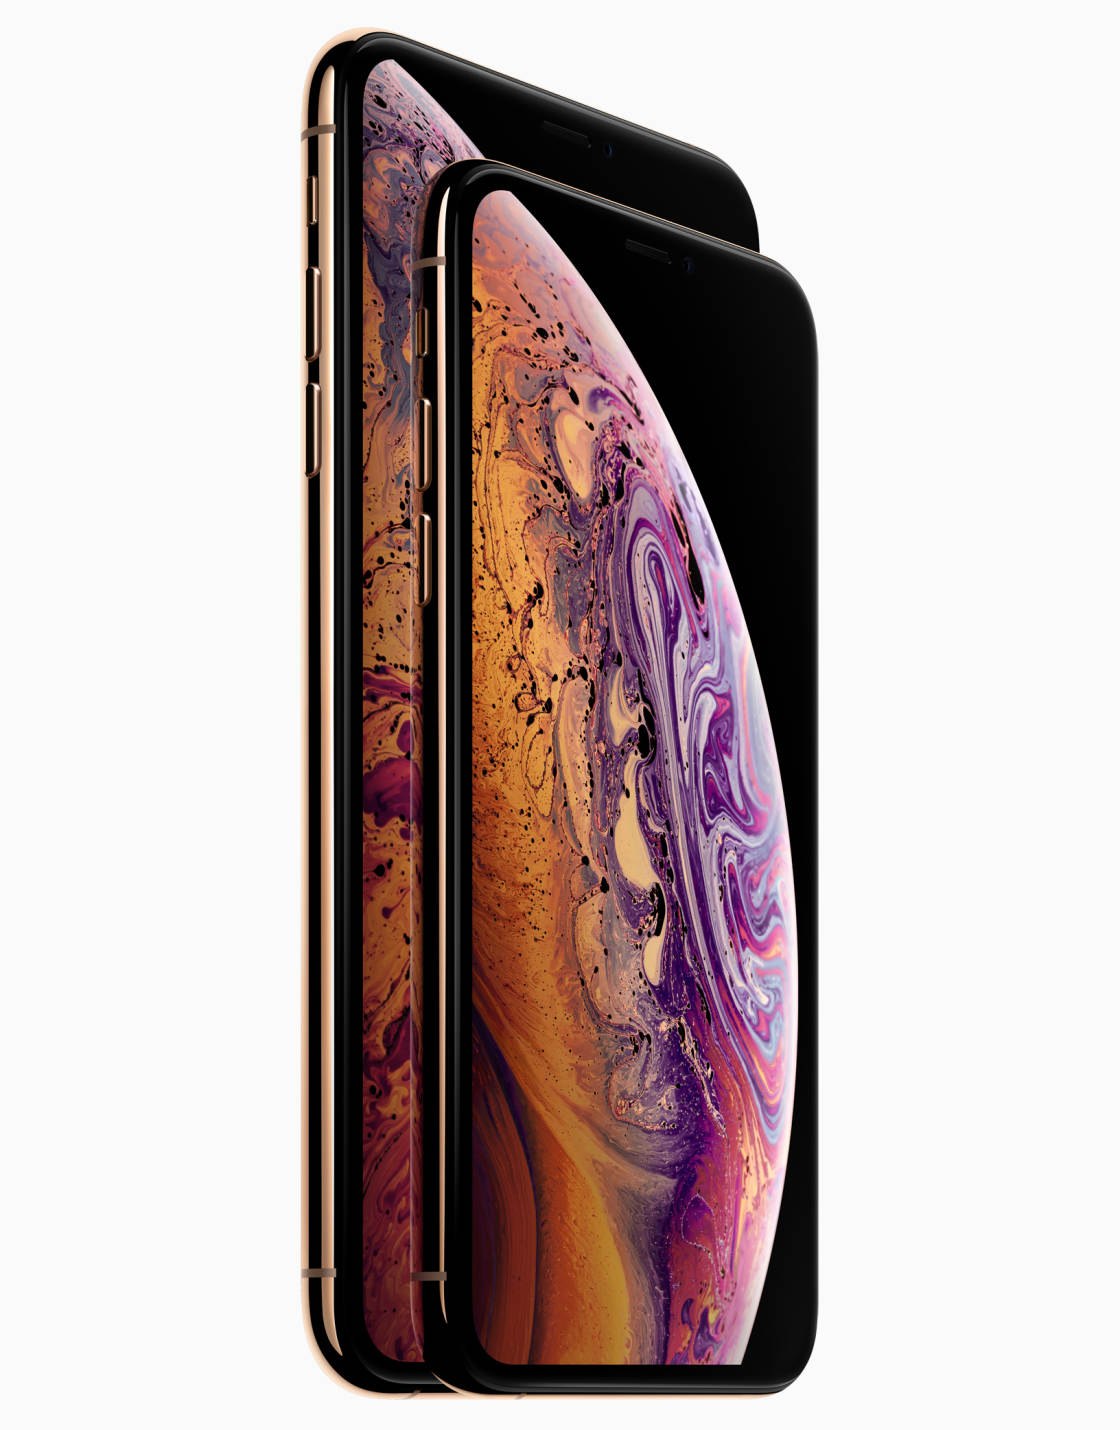
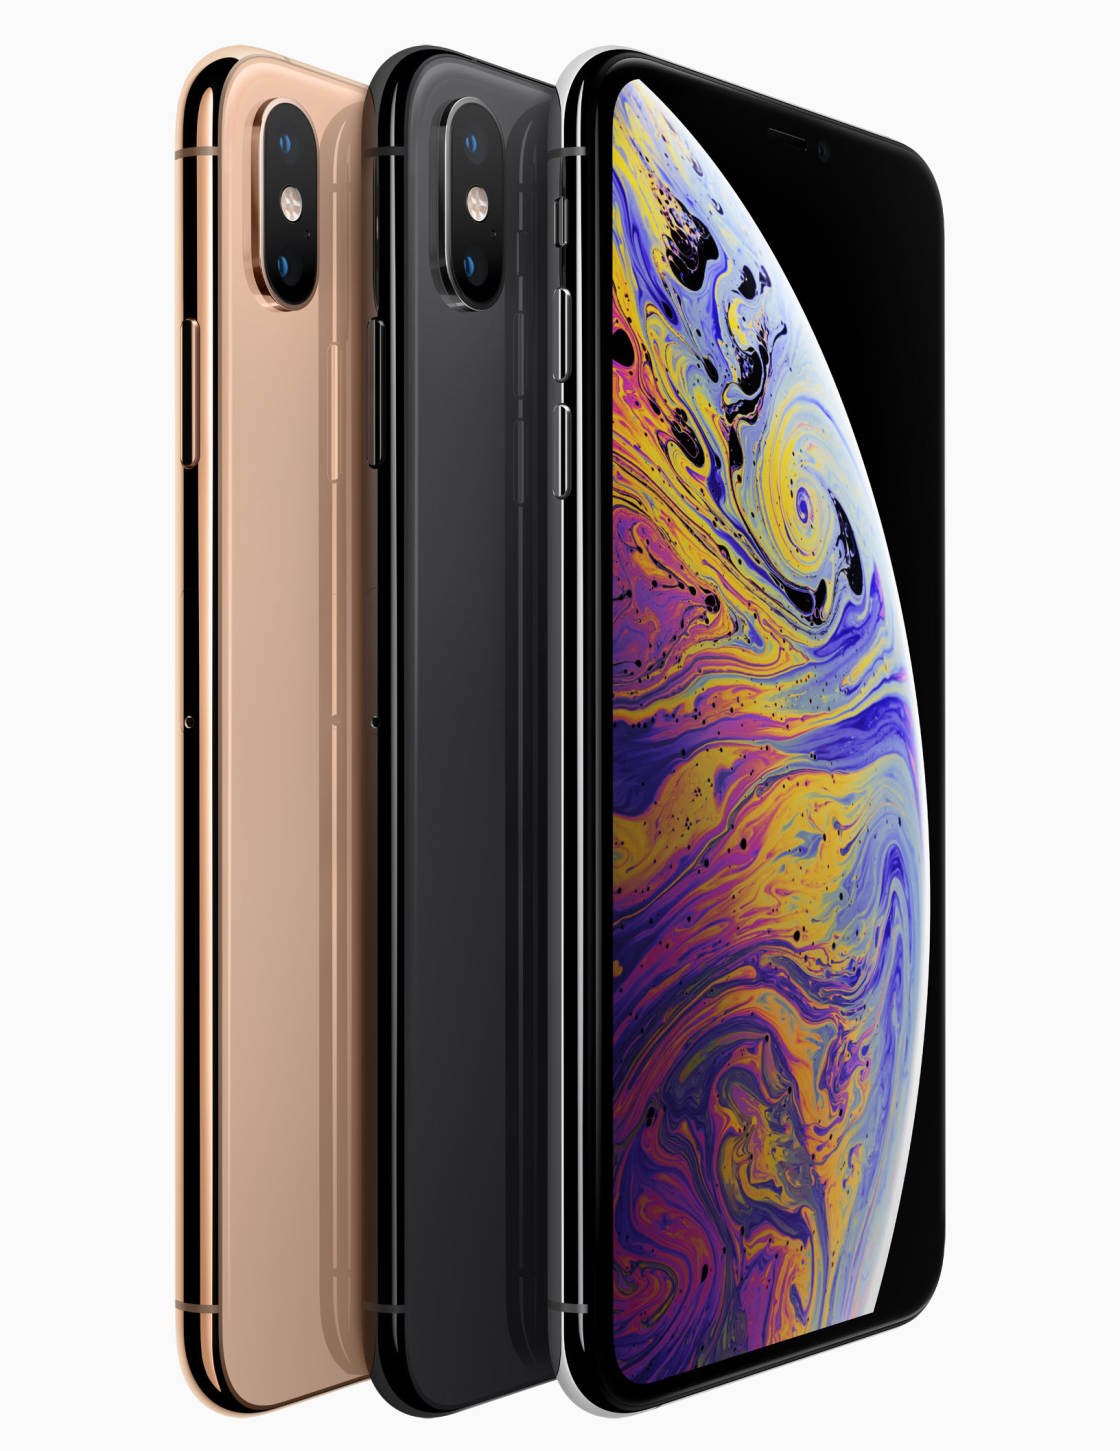
13.4 iPhone 8 Plus vs iPhone XS Camera (and XS Max)
Let me start by noting that the iPhone XS camera is indistinguishable from the iPhone XS Max camera.
The sole difference between these two options is size. The iPhone XS Max has a larger screen than the iPhone XS. So, if you prefer more screen real-estate, you'd do better with the iPhone XS Max. If screen size isn't something you care about, the iPhone XS camera will do the job just fine.
Both of these options have larger screens than the iPhone 8 Plus. And both of these options have better cameras.
Like the iPhone XR, the iPhone XS and XS Max offer a high-quality sensor, Smart HDR, and an upgraded Portrait mode. All of these are exciting advancements in iPhone camera technology.
Unlike the iPhone XR, the iPhone XS and XS Max both sport identical dual lens cameras. But they offer an upgraded set of lenses over the iPhone 8 Plus. For one, the iPhone XS and XS Max telephoto lenses have optical image stabilization.
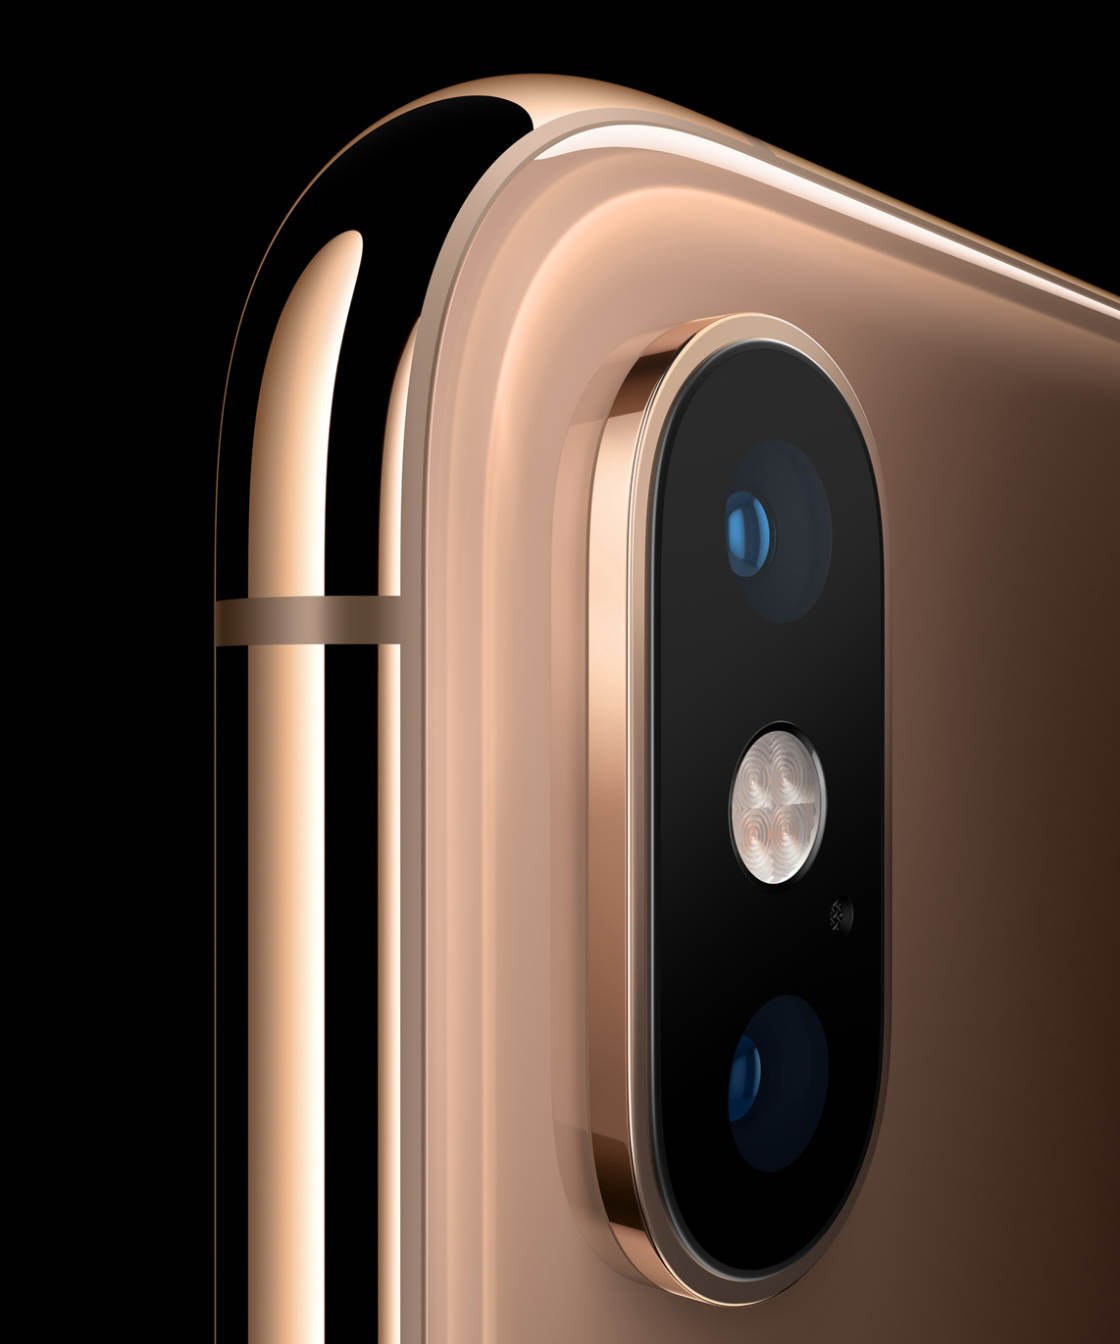
This is in contrast to the iPhone 8 Plus, where only the wide-angle lens offers this technology.
This improvement will allow users to take sharp handheld photos in low light with both the wide-angle and the telephoto lens.
And the iPhone XS and XS Max also possess faster telephoto lenses than the iPhone 8 Plus. What does this mean? Basically, the XS and XS Max telephoto lenses can take in more light. Like optical image stabilization, this is wonderful for shooting in darker situations.
It's fair to say that the iPhone XS and XS Max camera is a significant upgrade over the iPhone 8 Plus. While the iPhone 8 Plus camera quality is impressive, it just can't compare to the power of the XS and XS Max. These are the iPhones to check out, especially if you need to take shots in low light.
Click here to discover how to do incredible iPhone XS photography.
Click here for a rundown of the iPhone XS vs iPhone XS Max camera.
This is not to say that the iPhone 8 Plus camera is outdated. If you don't want to shoulder the cost of a new iPhone, don't worry. You can still get fantastic images with the iPhone 8 Plus!
How To Take Good Pictures On Iphone 8
Source: https://iphonephotographyschool.com/iphone-8-plus-camera/
Posted by: hendersonsomakingdon.blogspot.com
0 Response to "How To Take Good Pictures On Iphone 8"
Post a Comment